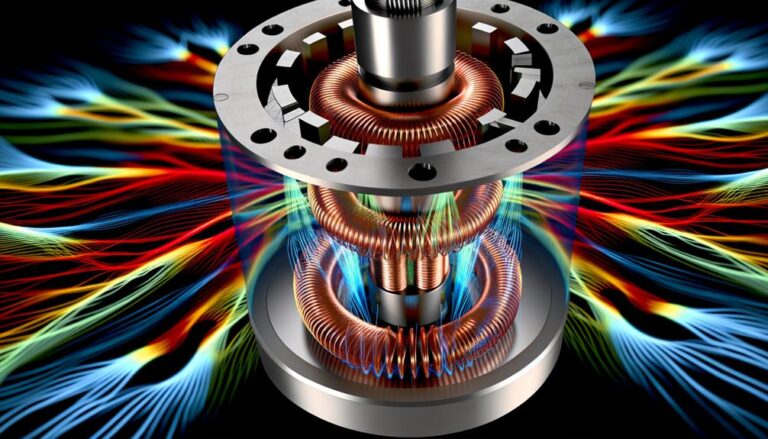
10 Tips for Building Your Own Induction Generator
Looking for the simple way for building your own induction generator? Look no further! This guide will provide you with 10 essential tips to get you started on this exciting DIY project.
From understanding the advantages and limitations of induction generators to selecting the right materials and optimizing efficiency, we’ve got you covered.
You’ll learn how to convert a motor into a powerful generator, experiment with capacitance values, and choose the perfect engine for optimal performance.
Safety is a top priority, so we’ll also guide you through necessary precautions and maintenance.
Whether you’re a beginner or an experienced DIY enthusiast, these tips will help you build a reliable and efficient induction generator that will make you feel like you truly belong in the world of renewable energy.
Selecting the Right Materials
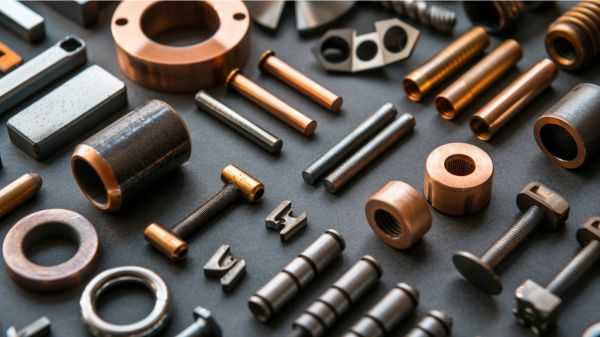
To select the right materials for building your own induction generator, consider the power output and efficiency requirements of the generator while ensuring they can withstand the potential dangers of working with AC power.
The materials you choose should be able to handle the power output of the generator to prevent any damage or malfunction.
Capacitors play a crucial role in an induction generator as they determine the voltage output. Make sure to select capacitors that are suitable for the motor and can produce the desired voltage output.
Additionally, the efficiency and power output of the generator should also be taken into account when selecting materials.
Lastly, it’s important to choose materials such as aluminum or cast iron flywheels that can meet the requirements of the engine while ensuring safety when working with AC power.
Understanding Electromagnetic Induction
To understand electromagnetic induction, you need to grasp the fundamentals of magnetic field generation and induced current production.
Magnetic field generation occurs when a changing magnetic field is created around a conductor. This changing magnetic field then induces a current in the conductor, resulting in the conversion of mechanical energy into electrical energy.
Magnetic Field Generation
To generate a magnetic field through electromagnetic induction, you need a coil of wire and a direct current (DC) power source. Here are four key steps to generate a magnetic field for your own induction generator:
- Coil Construction: Create a coil by winding insulated wire around a cylindrical form. The number of turns in the coil affects the strength of the magnetic field. More turns result in a stronger field.
- Power Source: Connect the coil to a DC power source, such as a battery or a power supply. The current flowing through the coil creates a magnetic field around it.
- Magnetic Field Strength: The strength of the magnetic field depends on the current flowing through the coil. Increasing the current increases the field strength.
- Magnetic Field Direction: The direction of the magnetic field can be determined using the right-hand rule. The field lines will circulate around the coil in a specific direction.
Understanding these steps will enable you to effectively generate a magnetic field for your induction generator.
Induced Current Production
You can understand electromagnetic induction by observing how an induced current is produced.
Induced current production occurs when a conductor, such as a coil of wire, moves through a magnetic field. As the conductor cuts through the magnetic field lines, it experiences a change in magnetic flux.
This change induces an electromotive force (EMF) in the conductor, according to Faraday’s law of electromagnetic induction. The induced EMF drives an electric current to flow in the conductor.
The magnitude of the induced current depends on factors such as the rate at which the conductor cuts through the magnetic field and the strength of the magnetic field itself.
Understanding induced current production is crucial for building an induction generator, as it allows you to harness the power of electromagnetic induction to generate AC voltage.
Designing the Coil Configuration
One key step in building your own induction generator is determining the optimal coil configuration for producing the desired voltage output. Designing the coil configuration involves several important considerations:
- Capacitor experimentation: Capacitors play a crucial role in the coil configuration, and it’s necessary to experiment with different capacitance values to find the optimal one for the motor. The final capacitance value should be able to produce the desired voltage output, such as 415V 3 phase in Australia.
- Output voltage requirements: The coil configuration should be designed to produce the desired voltage output. For example, if you need about 125VAC at 60Hz with no load, the coil configuration should be able to generate this voltage.
- Power output: The motor configuration directly affects the generator’s power output. Higher voltage outputs may require additional components or adjustments to ensure optimal performance.
- Seek expert advice: Consultation with experts or professionals in the field and joining relevant forums or communities can provide valuable insights and support for designing the coil configuration. This collaboration can help you create an effective coil configuration for your induction generator.
Calculating the Required Wire Gauge
Calculating the required wire gauge for your induction generator depends on factors such as current, wire length, and temperature limitations. To ensure safe and efficient operation, you need to consider the power output of the generator and the expected current.
The American Wire Gauge (AWG) system is commonly used to determine the appropriate wire gauge. This system ensures that the wire can handle the current without overheating. The calculation also takes into account the resistance of the wire and the maximum temperature it can reach during operation.
Building a Sturdy Generator Frame
When building your own induction generator, prioritize the use of a sturdy and well-constructed frame to support the weight and operation of the generator. A robust frame is essential to ensure the stability and longevity of your generator. Here are four important considerations when building a sturdy generator frame:
- Choose durable materials such as steel or aluminum for the frame. These materials provide excellent strength and resistance to environmental factors.
- Reinforce the frame with cross-bracing or additional support beams. This will prevent any potential vibrations or movement during operation, enhancing the overall stability of the generator.
- Utilize proper welding and assembly techniques. This will enhance the strength and resilience of the frame, ensuring it can withstand the demands of the generator.
- Incorporate adjustable feet or leveling mechanisms to maintain stability on various surfaces. This will ensure that the generator frame remains balanced and secure, even when placed on uneven ground.
Choosing the Right Magnet
When choosing the right magnet for your induction generator, magnet strength matters. The strength of the magnet will determine the efficiency and power output of your generator.
Additionally, material selection is an important consideration, as different materials have varying magnetic properties that can affect the performance of the generator.
Magnet Strength Matters
To optimize the efficiency and power output of your induction generator, start by selecting the right magnet. The strength of the magnet is crucial in determining the generator’s power generation capabilities. Here are four key factors to consider when choosing the magnet for your induction generator:
- Magnetic Field Strength: The magnet’s field strength directly affects the voltage output of the generator. Higher field strength leads to higher voltage output and increased power generation.
- Magnet Material: Different materials have varying magnetic properties. Neodymium magnets, for example, offer high coercivity and remanence, making them ideal for efficient power generation.
- Magnet Size: The size of the magnet affects the amount of magnetic flux produced. A larger magnet generates a stronger magnetic field, resulting in higher power output.
- Magnet Testing: It’s essential to test the magnet’s strength and adjust it accordingly to ensure it meets the necessary voltage output for your desired power requirements.
Material Selection Considerations
Consider the magnet’s material composition when selecting the right magnet for your induction generator. The material of the magnet plays a crucial role in determining its performance and durability. When choosing a magnet, opt for materials that possess high coercivity and remanence, as these properties ensure the magnet retains its magnetic field strength over time.
This is particularly important for an induction generator, as it relies on the magnet’s magnetic field to generate electricity. Additionally, consider the size and shape of the magnet, ensuring it’s compatible with the design and specifications of your induction generator.
Assembling the Rotor and Stator
To assemble the rotor and stator of your induction generator, begin by carefully aligning and securing the components. This step is crucial to ensure proper functioning and efficiency of your generator. Here are some tips to help you in assembling the rotor and stator:
- Follow the provided documentation: Refer to the manufacturer’s guidelines or any other relevant documentation to understand the correct assembly process. This will help you avoid any mistakes and ensure a successful build.
- Use visual aids: Utilize wiring diagrams or other visual representations to guide you through the assembly. These visual aids can provide a clear understanding of how the components should be connected and arranged.
- Double-check alignment: Check that the rotor and stator components are aligned correctly. This will help prevent issues such as rubbing or scraping, which can lead to damage or reduced performance.
- Secure the components: Once aligned, securely fasten the rotor and stator components using appropriate tools and techniques. This will ensure that they stay in place during operation, preventing any potential damage or malfunction.
Wiring the Generator Components
Start by connecting the generator components to ensure proper functionality and efficient power generation.
Begin by wiring the A/C motor to the capacitors. The capacitors are essential for voltage generation, so it’s crucial to make sure they’re properly connected. Refer to a wiring diagram or schematic for guidance.
Use appropriate connectors and ensure that all connections are secure. Take extra care to avoid loose or faulty connections, as they can lead to decreased performance or even damage to the generator.
Regularly inspect the wiring for any signs of wear or damage, and replace or repair as necessary.
Testing and Troubleshooting the Generator
To ensure the proper functionality and performance of your induction generator, begin by testing and troubleshooting the generator’s voltage output under various load conditions. This will help you identify any issues and ensure that the generator is capable of generating electricity efficiently.
Here are some steps you can follow:
- Vary the load: Connect different types of loads to the generator and measure the voltage output. This will help you determine if the generator can handle different power demands.
- Check the starting issues: Experiment with different motor speeds and apply low voltage to magnetize the rotor. This can help troubleshoot any starting problems and ensure smooth operation.
- Fine-tune performance: Experiment with different capacitance values and observe the corresponding voltage output. This will help you optimize the generator’s performance and output.
- Regular maintenance: Monitor and service the gasoline engine regularly, check oil levels, and ensure the speed governor is working properly. This will contribute to the efficient operation of the induction generator.
Optimizing Efficiency and Power Output
Maximize the efficiency and power output of your induction generator by implementing these optimization techniques.
To optimize efficiency, experiment with different capacitance values to find the optimal output. Regularly servicing the gasoline engine will ensure optimal performance and longer running time. Consider utilizing solid state ignition and replacing aluminum flywheels with cast iron ones for improved generator efficiency.
Testing the generator under varying loads will allow you to determine its power output and efficiency. Additionally, joining relevant forums or communities can provide you with additional insights and support for your DIY induction generator project.
If you’re specifically interested in wind turbines, ensure that the design and construction of the blades are optimized for maximum efficiency and power output.
Conclusion
Now that you have completed the construction of your induction generator, it’s important to note that regular maintenance and monitoring are crucial for optimal efficiency and power output.
Did you know that a well-maintained induction generator can produce enough power to light up an entire house?
By following the tips provided in this article, you have the knowledge and skills to ensure that your generator operates at its maximum potential, providing you with reliable power whenever you need it.
CLICK HERE TO LEARN MORE ABOUT ORGONE ENERGY!
