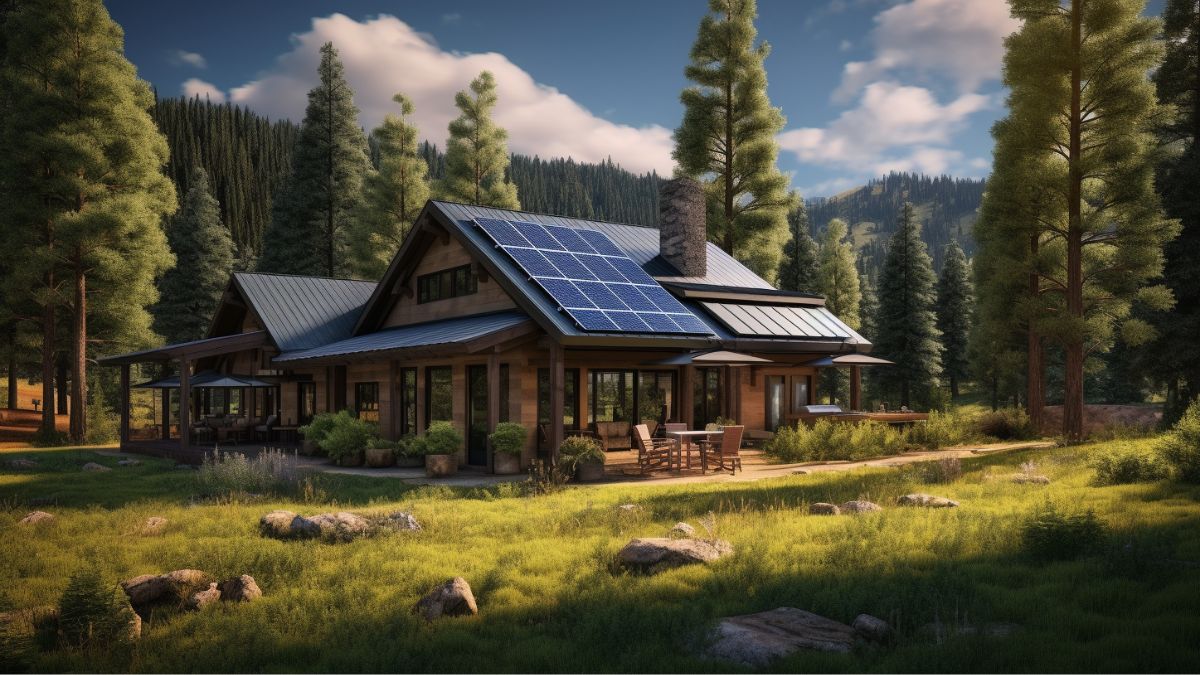
Imagine waking up in the peaceful wilderness of North Idaho, surrounded by towering pine trees and breathtaking mountain views. As the sun slowly rises, casting its golden rays across your homestead, you feel a sense of self-sufficiency and harmony with nature. How is this possible, you ask? With the installation of an off-grid solar system, you can harness the power of the sun and live completely independent from the grid.
In this article, we will guide you through the process of installing an off-grid solar system for your homestead in North Idaho. From the initial system components overview to the final safety measures, we will provide you with all the technical details you need to know.
With our step-by-step instructions, you will learn how to wire and connect your system, set up the batteries and inverters, and even monitor its performance. So get ready to embark on an electrifying journey towards energy independence, as we show you how to turn your homestead into a sustainable oasis in the heart of North Idaho.
Discover the revolutionary off-grid solar system that can reduce your power bills by 65%, providing reliable and affordable renewable energy for your homestead in North Idaho. Let’s dive in and get started!
Key Takeaways
- Off-grid solar systems allow for self-sufficiency and harmony with nature.
- Building a robust battery bank is essential for storing energy generated by solar panels.
- Proper installation and maintenance, including organizing and labeling wires, using high-quality connectors and cables, and installing a fuse or breaker, are crucial for system protection.
- Following manufacturer’s instructions, adjusting settings, and regularly monitoring the system’s performance are important for optimal energy usage and identifying potential issues.
System Components Overview
Now let’s take a closer look at the components that make up an off-grid solar system for your homestead in North Idaho. One of the most crucial elements is the battery bank for solar, which stores the energy generated by the solar panels. Building a robust battery bank for solar panels requires careful consideration of factors such as capacity, voltage, and maintenance requirements.
It’s like creating a power reservoir for your homestead, ensuring a steady supply of electricity even during cloudy days or at night. Choosing the right batteries and configuring them correctly is key to maximizing the efficiency and longevity of your solar power system.
Once you have your battery bank set up, you can move on to the installation process. This is where you’ll connect the solar panels, charge controller, and inverter. This transition marks the next phase of turning your homestead into an off-grid solar powerhouse.
Installation Process
First, you’ll experience the excitement of transforming your property into a self-sufficient haven. Get ready for an adventure as you embark on the installation process of your off-grid solar system.
Here’s what you can expect:
- Site Preparation: Clear the area where the solar panels will be installed, ensuring optimal sunlight exposure. This may involve trimming trees or removing obstacles.
- Mounting the Panels: Secure the solar panels onto sturdy mounts, ensuring proper alignment and angle for maximum efficiency.
- Battery Installation: Connect the batteries to the solar panels, storing the energy generated during the day for use at night or during cloudy days.
- Inverter Setup: Install the inverter, which converts the direct current (DC) power from the solar panels and batteries into alternating current (AC) power for your household appliances.
With the installation complete, you’re now ready to move on to the next step: wiring and connection.
Wiring and Connection
Once the panels are mounted and the batteries are connected, it’s time to focus on wiring and connection for your off-grid solar setup. This is where the real magic happens, as you bring all the pieces together to create a functioning system.
Start by laying out your wires strategically, ensuring they are well-organized and labeled for easy troubleshooting down the road. Use high-quality connectors and cables to minimize energy loss and maximize efficiency. Don’t forget to install a fuse or breaker to protect your system from overloads. And remember, safety first! Double-check that all connections are secure and insulated properly.
Now, with the wiring complete, you’re ready to move on to the next step: battery connection. This is where the power really starts flowing, so get ready to harness the sun’s energy like a pro!
Battery Connection
With the batteries in place, it’s time to get those power-hungry devices connected and start enjoying the benefits of your solar setup. Here’s how to connect your batteries for maximum efficiency:
- Gather all the necessary tools, such as a wrench, battery cables, and a battery terminal cleaner.
- Ensure that the batteries are fully charged before connecting them.
- Connect the positive terminal of one battery to the negative terminal of the other using the battery cables.
- Use the wrench to tighten the connections securely.
Once your batteries are connected, it’s time to move on to the next step: inverter setup. This will allow you to convert the direct current (DC) stored in your batteries into alternating current (AC) that can power your appliances. But we’ll get into that in the next section.
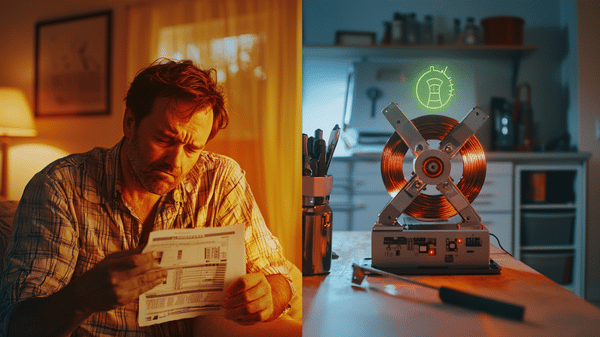
Looking to save money and increase the lifespan of your batteries for your off-grid solar system installation in North Idaho? The EZ Battery Reconditioning program is your solution. With step-by-step guides, accessible on any device, it reconditions old batteries back to 100% working condition, eliminating the need to buy expensive new ones.
Inverter Setup
Now, let’s dive into the exciting world of inverter setup and unleash the true power of your solar setup. The inverter is a key component that converts the DC power generated by your solar panels into usable AC power for your home. It’s like the translator that speaks the language of your appliances!
When setting up your inverter, make sure to follow the manufacturer’s instructions carefully. Connect the inverter to your battery bank and ensure that the polarity is correct to avoid any sparks or damage. Additionally, adjust the settings on the inverter to match the specifications of your solar panels and battery bank.
Once you have completed the setup, you can start enjoying the benefits of your solar power system.
Now that your inverter is ready, let’s move on to system monitoring and keep track of the energy you’re generating!
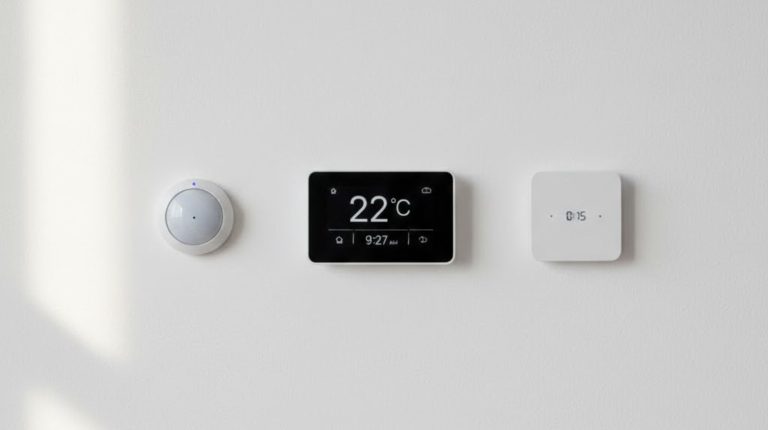
System Monitoring
Keep track of the energy your solar power system is generating with system monitoring. This allows you to stay informed and make the most of your sustainable energy source. System monitoring provides real-time data on your solar panel’s performance. It lets you know how much energy is being produced, how efficiently your system is working, and if any issues arise.
With this information at your fingertips, you can optimize your energy usage and identify potential problems before they become major. You can even brag to your friends about how much you’re saving on your energy bills.
But don’t stop with just monitoring. Next, we’ll delve into the crucial safety measures you need to keep in mind to ensure your off-grid solar system installation runs smoothly and securely.
Safety Measures
Ensuring the safety of your solar power setup is like having a vigilant guardian watching over your sustainable energy source. It’s crucial to implement safety measures when installing your off-grid solar system in North Idaho.
First, make sure to use proper safety equipment, including gloves, safety glasses, and a hard hat. Remember to turn off the solar panels before conducting any maintenance or repairs.
Additionally, keep the system away from flammable materials and ensure proper grounding to prevent electrical hazards. Regularly inspect and clean the panels to avoid any potential fire risks caused by debris accumulation.
Installing a lightning protection system is also recommended to safeguard your system during thunderstorms.
Finally, always follow the manufacturer’s instructions and consult with a professional to ensure optimal safety. Remember, a safe solar power setup is not only reliable but also provides peace of mind for your homestead.
Frequently Asked Questions
Can a solar system be installed in areas with limited sunlight, such as North Idaho?
Yes, a solar system can be installed in areas with limited sunlight like North Idaho. While it may not generate as much power as in sunnier areas, it can still provide a sustainable and cost-effective energy solution for your homestead. So, don’t let the lack of sun dampen your green dreams!
What is the average lifespan of the components in an off-grid solar system?
The average lifespan of components in an off-grid solar system is typically around 25-30 years. However, proper maintenance and regular inspections can extend their lifespan. So, don’t worry, your solar system will keep shining for a long time!
Are there any government incentives or tax credits available for installing an off-grid solar system in North Idaho?
Yes, there are tons of mind-blowing government incentives and tax credits available for installing an off-grid solar system in North Idaho! Get ready to save big and laugh your way to sustainable energy!
How much maintenance is required for an off-grid solar system?
Maintaining an off-grid solar system is crucial for its optimal performance. Regularly check and clean solar panels, inspect connections, and monitor battery levels. It may not be as exciting as watching paint dry, but hey, it’s worth it!
Can an off-grid solar system be easily expanded in the future if more power is needed?
Yes, an off-grid solar system can be easily expanded in the future if more power is needed. Just like adding a new branch to a tree, you can simply install more solar panels and batteries to meet your growing energy demands.
Conclusion
Now that you’ve completed the installation process of your off-grid solar system for your homestead in North Idaho, it’s time to enjoy the benefits of clean and sustainable energy.
With the system components properly wired and connected, the battery and inverter set up, and the monitoring system in place, you can rest assured knowing that you’ve taken the necessary safety measures.
It’s time to sit back, relax, and let the sun power your home. This creates a rhythm and flow of energy that will sustain you for years to come.
Discover how a revolutionary off-grid solar system installation can reduce your power bills by 65%, providing reliable and affordable renewable energy for your homestead in North Idaho.