Are you ready to harness the power of the sun and create your own solar panel? With just a few materials and tools, you can embark on an exciting journey to sustainability. Did you know that solar panels can reduce your carbon footprint by up to 80%? That’s right, by following this step-by-step guide, you’ll not only be saving the environment but also saving money on your energy bills. So, let’s dive in and learn how to make a solar panel with aluminum foil!
Understanding Solar Panels and Aluminum Foil
Solar panels can be made more efficient with the use of aluminum foil. Understanding the relationship between solar panels and aluminum foil is crucial when considering how to make a solar panel with aluminum foil.
Aluminum foil is highly conductive, allowing for efficient transfer of electricity within the solar panel system. It can be used to connect different parts of a DIY solar panel, ensuring a smooth flow of energy.
Additionally, aluminum foil is cost-effective, making it an attractive alternative to silicon for making solar panels. By incorporating aluminum foil into the construction of solar panels, you can increase their efficiency while keeping costs low.
Is Your Home Ready for the Next Grid Failure?
Standard gas generators are loud, toxic, and rely on expensive fuel that runs out during a crisis. Discover how everyday homeowners are building silent, self-sustaining magnetic generators to keep their refrigerators running and their families safe indefinitely. Set up your workbench for success today.
Gathering Materials and Tools
To create a solar panel, you’ll need a list of materials and tools. Making a homemade solar panel at home from scratch requires careful gathering of the necessary items.
First, you will need solar cells, which are the heart of the panel. These can be purchased online or from specialized stores.
Next, you’ll need a backing material, such as plywood, to provide support for the cells. Aluminum foil is also essential as a conductor, helping to transfer the energy generated by the cells.
Other materials include solder, wire, and flux for connecting the cells together. Additionally, you’ll need a soldering iron, wire cutters, and a multimeter for testing and troubleshooting.
Don’t forget safety equipment like gloves and protective eyewear. With these materials and tools in hand, you’re ready to embark on your solar panel-making journey.
How To Make a Solar Panel with Aluminum Foil: Step-by-Step Guide
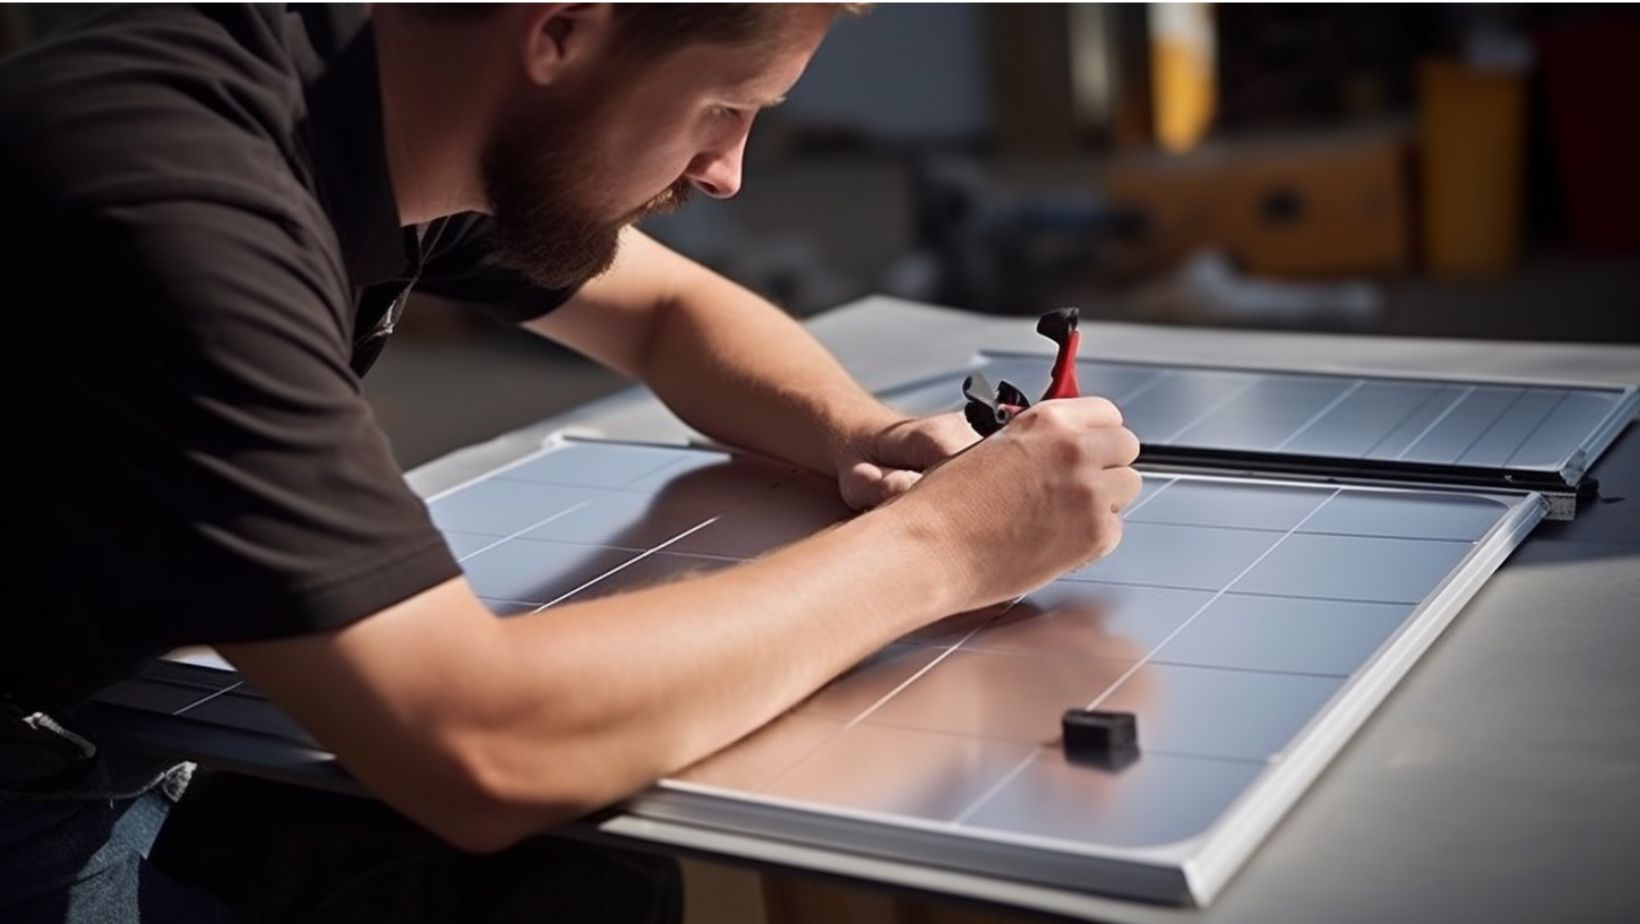
To begin preparing the base for your solar panel, ensure that it is clean and free from any dirt or debris. Next, carefully measure and mark the desired dimensions on the base, ensuring accuracy and precision. Once the base is ready, apply a layer of aluminum foil, ensuring it’s smooth and tightly secured to the surface to maximize conductivity.
Watch the video below for more detailed step-by-step guide on how to make a solar panel with aluminum foil.
Preparing the Base
After cutting the plywood into four equal pieces, use a utility knife to create a hole in the center of each piece. This hole will serve as the opening for the solar panel. Once the holes are cut, apply silicone caulk around the edges to ensure a tight seal.
To give you a better understanding of the process, here is a table outlining the steps involved in preparing the base of the solar panel:
| Step | Description |
|---|---|
| 1 | Cut plywood into four equal pieces |
| 2 | Use a utility knife to create a hole in the center of each piece |
| 3 | Apply silicone caulk around the edge of the hole on each piece |
Applying Aluminum Foil
Once the glass is covered in overlapping strips of cut aluminum foil, use a utility knife to cut through all layers of foil around the edge of the glass. This step ensures a clean and precise finish for your solar panel. By cutting through all layers of foil, you create a defined border that will later be sealed with silicone caulk.
It is crucial to be careful and steady while cutting to avoid any accidental damage to the glass. Once the foil is cut, proceed to apply silicone caulk around the edges of the glass. Gently press down on the aluminum foil strips to ensure a tight seal. This step is vital as it prevents any moisture or debris from entering the panel and affecting its functionality.
Adding the Aluminum Backing
Now that you have successfully applied the aluminum foil to the solar panel, it’s time to add the aluminum backing.
The aluminum backing serves multiple purposes and plays a crucial role in the overall functionality of the panel. Not only does it provide support to the solar cells, but it also reflects light onto them, maximizing their efficiency.
Additionally, the aluminum backing acts as a protective layer, shielding the solar cells from potential damage caused by weather conditions. Thanks to its durability and suitability for outdoor applications, aluminum is the ideal material for this purpose.
By adding the aluminum backing, you are ensuring the structural integrity and stability of the panel, allowing it to withstand various environmental factors.
Measuring the Voltage of the Solar Panel
To measure the voltage of your homemade solar panel, simply connect the multimeter to the positive and negative terminals of the panel. Ensure that the multimeter is set to the DC voltage measuring option. This will allow you to accurately measure the voltage output of your solar panel.
Once the multimeter is properly set up, touch the positive lead of the multimeter to the positive terminal of the solar panel, and the negative lead to the negative terminal. The multimeter will display the voltage reading, which represents the electrical potential difference generated by your solar panel.
Conclusion
Making a solar panel with aluminum foil is a cost-effective and efficient way to harness solar energy. By following the step-by-step guide, you can create your own renewable energy source. While some may argue that homemade solar panels may not be as powerful as commercially available ones, it’s important to understand that they are still capable of generating significant voltage. So why not give it a try? With a little effort and the right materials, you can contribute to a greener future.
Is Your Home Ready for the Next Grid Failure?
Standard gas generators are loud, toxic, and rely on expensive fuel that runs out during a crisis. Discover how everyday homeowners are building silent, self-sustaining magnetic generators to keep their refrigerators running and their families safe indefinitely. Set up your workbench for success today.