Reviewed for accuracy by James Miller, Renewable Energy Specialist and Master Electrician
When electricity bills climb and grid reliability falters, the appeal of generating your own power is undeniable. Achieving energy independence is a dream for many homeowners, but the upfront cost of a commercial solar array can be a steep barrier. This leads many handy individuals to ask: Can I just build my own?
As someone who has spent years in the renewable energy sector—both assembling off-grid hobby systems and overseeing residential grid-tied installations—I can tell you that learning how to make solar panels is entirely possible. However, the decision between building DIY solar panels and buying a commercial system involves a complex web of costs, technical challenges, and long-term performance realities.
In this comprehensive guide, you will learn the exact step-by-step process of building a solar panel from scratch, the tools and materials you need, how different solar panel types compare, and a realistic breakdown of costs and 2026 tax incentives. By the end, you’ll have the knowledge to decide if DIY solar is your path to off-grid freedom or if hiring a licensed installer is the smarter investment.
Understanding Solar Panel Types
Before heating up your soldering iron, you need to understand the raw materials. Solar cells are manufactured by purifying silicon (often derived from quartz sand), melting it, and slicing it into thin wafers. As a DIY builder, you will purchase these pre-sliced, bare cells. The type of cell you buy dictates your panel’s overall efficiency and cost.
Monocrystalline Panels
Monocrystalline cells are cut from a single, pure silicon crystal. They are easily recognizable by their uniform dark black color and rounded edges.
- Efficiency: They are the most efficient option on the market, typically converting 19% to 23% of sunlight into electricity.
- Best Use: Ideal for roofs or setups with limited space where you need maximum power output per square foot.
Polycrystalline Panels
Polycrystalline cells are made by melting multiple silicon fragments together, resulting in a blue, speckled appearance.
- Efficiency: They are slightly less efficient, usually ranging from 15% to 18%.
- Best Use: Because they are cheaper to manufacture, polycrystalline cells are highly popular for DIY solar panels and off-grid projects where space isn’t the primary constraint.
Thin-Film Panels
Thin-film technology involves depositing photovoltaic material onto a flexible substrate like plastic or metal.
- Efficiency: They generally max out around 10% to 13% efficiency.
- Best Use: While you cannot realistically manufacture thin-film panels at home from scratch, you can buy commercial flexible panels for curved surfaces like RV roofs or boats.
Solar Panel Types Comparison
| Feature | Monocrystalline | Polycrystalline | Thin-Film |
|---|---|---|---|
| Efficiency | 19% – 23% | 15% – 18% | 10% – 13% |
| Cost | Highest | Moderate | Lowest (per module) |
| Aesthetics | Solid Black | Speckled Blue | Solid Black/Flexible |
| Lifespan | 25+ Years | 25+ Years | 10 – 15 Years |
| DIY Suitability | Good (Available as bare cells) | Excellent (Cheaper bare cells) | Poor (Factory process required) |
Want to skip the guesswork and build a flawless system on your first try?
Figuring out exact voltage calculations and sourcing the right bypass diodes can be overwhelming for first-timers. Instead of risking your materials on a wiring mistake, get the exact step-by-step blueprints used by over 40,000 off-grid enthusiasts. The DIY Home Energy System provides detailed video tutorials, illustrated wiring plans, and exact materials lists so you can build professional-grade solar panels for a fraction of the retail cost.
Step-by-Step DIY Construction Process
Building a solar panel requires patience, a steady hand, and a clean workspace. Here is the sequential process for assembling a standard 12V charging panel.
Step 1: Sourcing and Sizing Your Cells
The golden rule of solar panel physics is that a single crystalline silicon cell produces roughly 0.5 to 0.6 volts at maximum power, regardless of its physical size. The physical size of the cell dictates the amperage (current), while the number of cells dictates the voltage.
To build a panel that can charge a standard 12V battery, you need a working voltage of roughly 18V to 19.8V to give your charge controller enough margin. Therefore, you must wire 36 cells in series (36 cells × ~0.55V = 19.8V). Purchase a batch of “Grade A” or “Grade B” bare solar cells, and always buy 10-20% extra because they are as fragile as potato chips and will break during handling.
Step 2: Preparing the Backing Board and Frame
You need a non-conductive, rigid backing board. While wood or pegboard is cheap, moisture will eventually rot it. I recommend using a sheet of UV-resistant acrylic, polycarbonate, or specialized solar backsheet material.
- Cut the backing board to size, leaving a 2-inch perimeter around your grid of 36 cells (usually laid out in 4 rows of 9 cells).
- Build a rigid frame around the perimeter using anodized aluminum angle iron to prevent the panel from flexing.
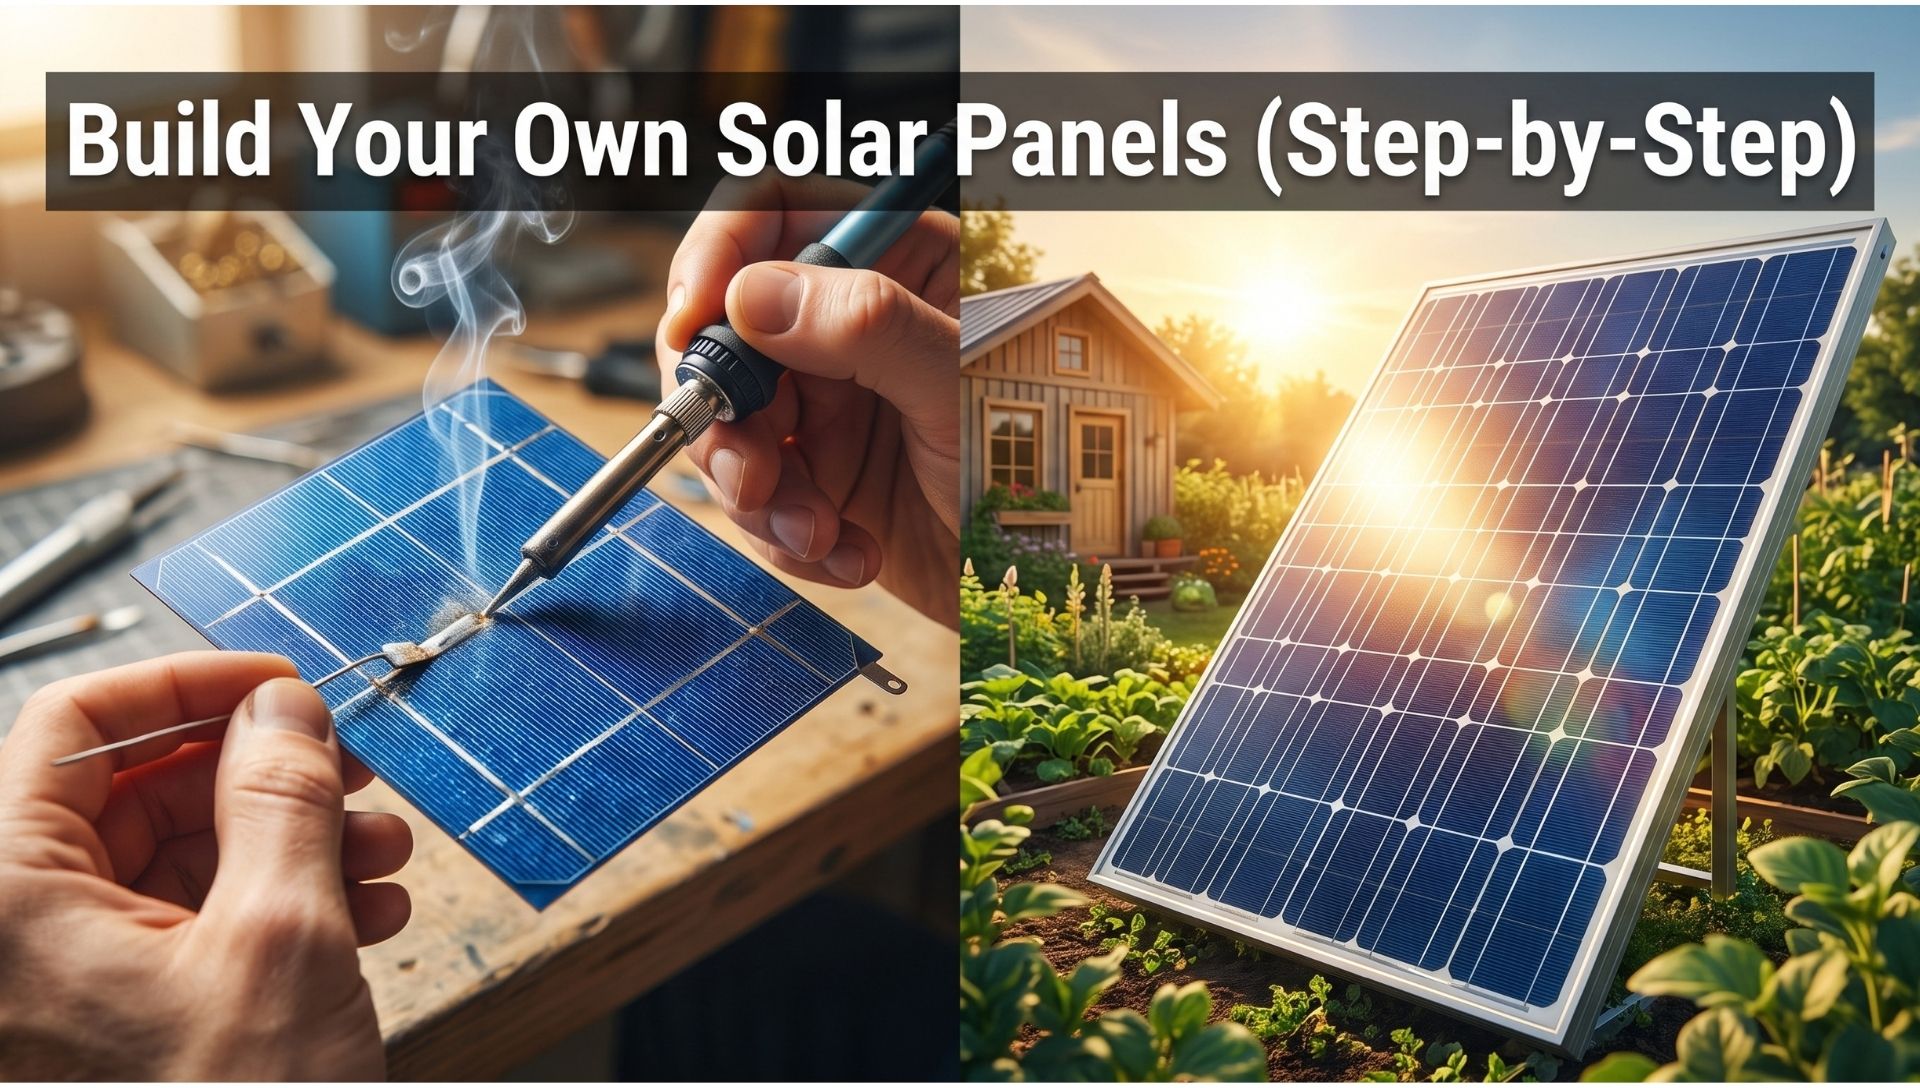
Step 3: Tabbing and Soldering the Cells
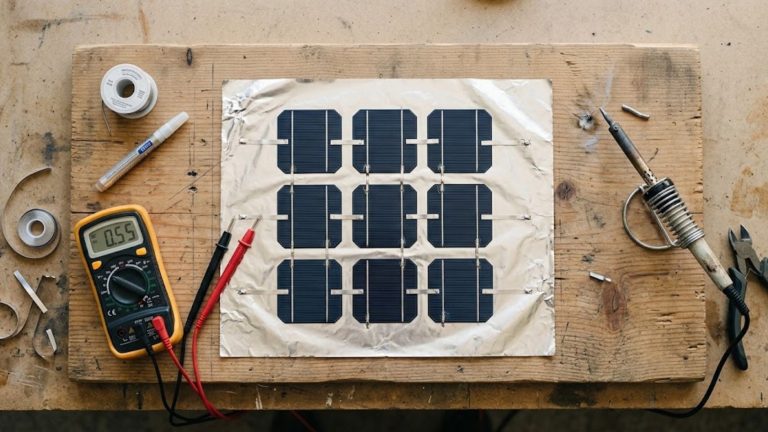
This is where DIYers make or break their project. Solar cells have thick silver lines (contact pads) on the front (negative) and back (positive). You must connect the back of one cell to the front of the next to create a series circuit.
- Cut the Tabbing Wire: Cut flat, solder-coated copper tabbing wire to length (twice the length of the cell).
- Apply Flux: Use a flux pen on the contact pads to prevent oxidation and ensure the solder bonds cleanly.
- Solder the Fronts: Practitioner Tip: Don’t press hard with your soldering iron; let the heat draw the solder. Solder two strips of tabbing wire to the front of each cell.
- String the Cells: Flip the first cell face down. Place the second cell face down next to it. Take the tabbing wire protruding from the front of the first cell and solder it to the contact pads on the back of the second cell. Repeat until you have a row of 9 cells.
- Bus Wire: Connect the rows using thicker, flat bus wire at the ends to link the four rows into one continuous 36-cell snake.
Step 4: Junction Box and Wiring
Drill a hole in your backing board for the positive and negative bus wires to exit. Mount a weatherproof solar junction box on the back. Inside the box, solder your bus wires to the terminals. Crucially, install bypass diodes in the junction box. If a leaf shades one cell, a series circuit drops the current of the entire panel to match that shaded cell. Bypass diodes allow the current to route around shaded rows, preventing total power loss and protecting cells from overheating.
Step 5: Encapsulation and Glass Cover
A solar panel must survive decades of rain, snow, and UV radiation. In commercial manufacturing, cells are laminated in a vacuum oven using Ethylene Vinyl Acetate (EVA) film. At home, hand-sealing is the weak link.
- Lay the soldered cell strings flat on the backing board.
- Pour a two-part encapsulating liquid silicone (like Sylgard 184) over the cells to seal out oxygen and moisture.
- Place a sheet of tempered glass (never standard glass, which shatters dangerously and blocks certain light wavelengths) carefully over the wet silicone, pressing out air bubbles.
- Seal the edges of the glass and the aluminum frame with industrial-grade outdoor silicone caulk.
Estimated time for 1 panel: 8–12 hours for a beginner.
Components and Safety Measures
Working with electricity and soldering equipment requires strict safety protocols. Always wear safety glasses and nitrile gloves. Bare cells can slice your fingers, and oils from your skin can degrade the cell’s efficiency.
Core Components Function:
- Photovoltaic Cells: The engine of the panel, converting photons into direct current (DC) electricity.
- Tabbing/Bus Wire: The “plumbing” that carries the electrical current.
- Encapsulant: Protects the fragile silicon from moisture corrosion and physical impacts.
- Tempered Glass: Allows maximum light transmission while withstanding hail and debris.
Safety Risks to Mitigate:
- Ventilation: Flux smoke contains rosin core fumes which are harmful to inhale. Always solder in a well-ventilated area or use a fume extractor.
- Fire Risk: Poor solder joints create high-resistance bottlenecks. Under heavy sunlight, these joints can arc or overheat, melting the backing board or causing a fire.
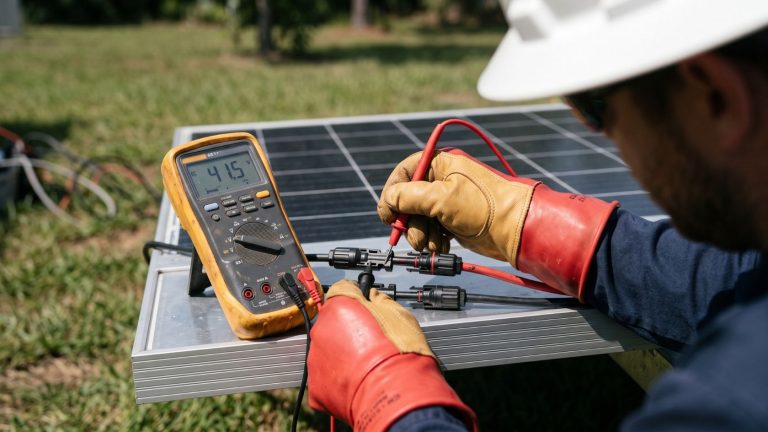
- Electrical Shock: Even a DIY 18V panel will generate live current the moment it is exposed to light. Keep panels covered with a blanket until you are ready to test them with a multimeter.
Installation and Efficiency Optimization
Once your DIY solar panels are built, installation dictates their real-world output.
Mounting and Orientation
I strongly advise against roof-mounting DIY solar panels. Without standard UL certifications or professional engineering stamps, mounting a heavy, homemade glass box over your head poses structural and liability risks. Ground-mount systems are safer, easier to maintain, and allow for seasonal angle adjustments.
To maximize solar panel installation efficiency:
- Azimuth: In the Northern Hemisphere, face your panels True South (not magnetic south).
- Tilt Angle: Set your panels to an angle equal to your local latitude. For optimal performance, adjust them +15 degrees in the winter and -15 degrees in the summer.
- Shading Analysis: Ensure there are no trees or chimneys casting shadows between 9 AM and 3 PM. Remember, shading just one cell can effectively kill the output of the entire panel.
Code Compliance
If you intend to tie your solar system to the municipal grid, DIY panels will almost certainly fail inspection. The National Electrical Code (NEC) requires grid-tied equipment to be certified by a recognized testing laboratory (like UL). Therefore, DIY panels are strictly best for off-grid applications: charging RVs, powering sheds, running water pumps, or charging portable solar generators.
DIY vs. Professional Installation: Pros and Cons
Is it cheaper to build your own solar panels? Upfront, yes. Over 20 years? Usually no. Let’s look at a balanced comparison.
The Pros of DIY Solar Panels:
- Deep Knowledge: You will intimately understand how solar energy works, building emergency preparedness skills and the ability to repair your own tech.
- Low Initial Material Cost: Buying bare cells, tabbing wire, and glass can bring the raw material cost down to roughly $0.75 to $1.25 per watt.
- Custom Sizing: You can build panels to perfectly fit odd shapes, like the curved roof of a teardrop camper.
The Cons of DIY Solar Panels:
- The Performance Gap: Commercial solar panels degrade at a predictable rate of about 0.5% per year, meaning they still operate at 80% to 90% capacity after 25 years. Because DIY encapsulation (hand-poured silicone) is imperfect, moisture inevitably gets in. A DIY panel might lose 50% of its efficiency within 3 to 5 years due to internal corrosion and thermal cycling.
- No Warranties: Commercial panels come with 25-year performance warranties. If a DIY panel fails on day 30, the financial loss is entirely yours.
- Permitting and Insurance: Grid-tying a homemade panel is virtually impossible due to lack of UL certification, and putting uncertified electrical equipment on your roof could void your homeowner’s insurance if a fire occurs.
Costs, Lifespan, and 2026 Tax Incentives
When evaluating solar panel cost, you must look at the lifespan. A commercial installation typically costs $2.50 to $3.50 per watt installed, heavily front-loaded but guaranteed to last 25+ years. A DIY panel costs ~$1.00 per watt in materials but may only last 5 to 10 years before the hand-soldered connections fail or the glass seal breaks.
Critical Update on Solar Tax Incentives (2026 Rules)
If you are planning to build or buy a home solar system, you must be aware of recent legislative changes. The highly popular 30% federal solar tax credit (Section 25D) for homeowner-owned systems expired for systems placed in service after December 31, 2025.
As of 2026, homeowners purchasing systems with cash or loans can no longer claim this new Section 25D credit. This dramatically changes the return-on-investment math. While commercial third-party leased systems (PPAs) might still qualify for commercial credits, a DIYer buying parts for their own property will not get a federal tax offset.
However, do not ignore local utility incentives. Many states still offer net-metering, Solar Renewable Energy Certificates (SRECs), and local cash rebates. Always consult a tax professional and your local utility provider to verify what programs remain active in your specific zip code.
Conclusion with Clear Recommendation
Building DIY solar panels is an incredibly rewarding, educational, and fun project. It teaches you the fundamentals of renewable energy and electrical engineering.
Who should DIY? If you are building an off-grid cabin, setting up a solar-powered workshop, wiring a camper van, or just want a weekend STEM project, building your own panels is a fantastic endeavor.
Who should hire a professional? If your goal is to power your primary residence, tie into the municipal utility grid, slash your monthly electric bill, and add lasting value to your home, you should hire a licensed solar installer and purchase commercial panels. The longevity, safety certifications, 25-year warranties, and professional weatherproofing are impossible to replicate in a garage.
Next Step: Ready to explore commercial options? Start by gathering 3 to 4 quotes from local, NABCEP-certified solar installers in your area to establish a baseline cost, then compare it against your DIY material budget.
Disclaimer: Always consult with a licensed electrician before undertaking any high-voltage electrical projects. Grid-tied connections must always be permitted and executed by a certified professional to ensure safety and legal compliance.
Frequently Asked Questions (FAQ)
In terms of raw upfront material costs, yes. You can source bare cells and glass for under $1 per watt. However, when factoring in your labor time, the cost of specialized tools, and the significantly shorter lifespan of homemade panels, commercial panels are far more cost-effective over a 20-year timeline.
A well-sourced DIY solar panel typically costs between $0.75 and $1.50 per watt for the materials (cells, glass, frame, encapsulant, and wiring). By comparison, buying pre-made commercial panels without installation labor generally costs around $0.60 to $1.00 per watt, making buying wholesale panels cheaper and more reliable than building from bare cells.
No. While the bare cells you buy might be rated at 20% efficiency, the lack of professional vacuum-laminated anti-reflective glass and precision machine soldering usually drops the final real-world output. Furthermore, DIY panels degrade much faster due to imperfect weather sealing.
As of 2026, the 30% federal residential clean energy tax credit (Section 25D) has expired for homeowner-purchased systems. Prior to 2026, DIY components did qualify if they were used for a primary or secondary home, but moving forward, DIYers will need to rely on state or local utility rebates, if available.
Ready to declare your energy independence?
If you are building a solar setup for an off-grid cabin, an RV, or a backyard emergency power bank, you don’t need a $20,000 commercial installation. You just need the right instructions. The DIY Home Energy System walks you through building a complete, safe, and high-efficiency solar and wind power setup from scratch—even if you have zero electrical experience.