Every month, millions of homeowners unknowingly pay a “draft tax.” You diligently adjust your thermostat, invest in smart home technology, and turn off the lights when you leave a room, yet your utility bills remain stubbornly high. The culprit? Invisible gaps, cracks, and holes hidden in plain sight. If you want to achieve true home energy efficiency, you must learn how to uncover hidden energy wasters in your home.
In this comprehensive guide, we will dive deep into the science of building envelopes, explore professional and DIY air leak detection methods, and provide actionable steps for sealing air leaks. Whether you want to reduce energy bills, improve your indoor air quality, or lower your carbon footprint, mastering draft reduction is the foundational first step.
The Critical Importance of Addressing Air Leaks
A home’s building envelope—the physical separator between the conditioned indoor environment and the unconditioned outdoors—is your primary defense against energy waste. When this envelope is compromised by air leaks, your heating and cooling systems are forced to work overtime.
According to the U.S. Department of Energy (DOE), air leaks and poor insulation are responsible for up to 25% to 30% of residential heating and cooling energy use. To put that into perspective, leaving a window open a few inches all year long would result in catastrophic energy loss; collectively, the small cracks around a typical unsealed home add up to the exact same size as that open window.
But the impact of air leaks extends far beyond your monthly utility bills:
- Degraded Indoor Air Quality (IAQ): Air leaks don’t just let conditioned air out; they let untreated, unfiltered outdoor air in. Leaks in your crawlspace or attic can actively pull dust, fiberglass insulation particles, mold spores, and radon gas directly into your living spaces.
- Compromised Occupant Health: By pulling in allergens and moisture, unchecked air leaks can exacerbate asthma, allergies, and respiratory issues.
- Thermal Discomfort: Drafty rooms lead to uneven temperature distribution, creating cold spots in the winter and humid, stuffy pockets in the summer.
- Moisture and Structural Damage: Air carrying water vapor can enter wall cavities through leaks. When it meets a cold surface, condensation forms, potentially leading to hidden wood rot and structural decay over time.
Proven Methods for Finding Air Leaks
Finding the source of drafts requires a mix of sensory observation, simple DIY tricks, and advanced diagnostic technology. Here is how you can perform effective air leak detection in your own house.
1. DIY Visual Inspections and the “Depressurization Test”
Before calling a professional, you can conduct a basic inspection yourself. Start by looking for daylight around exterior doors and window frames. Check for old, cracked, or missing weatherstripping.
For a more accurate DIY assessment, you can use the classic “incense stick” or “smoke pencil” test. To do this properly, you must first depressurize your home:
- Close all exterior doors, windows, and fireplace flues on a cool, windy day.
- Turn off your HVAC system so it isn’t blowing air.
- Turn on all exhaust fans (bathroom vents, range hoods) to pull air out of the house.
- Light an incense stick and trace the perimeter of windows, baseboards, and outlets.
- Watch the smoke; if it wavers or is blown inward, you’ve found a leak.
Personal Experience Note: When I first bought my 1970s-era home, I assumed my windows were the main source of my high winter heating bills. I grabbed a smoke pencil and started testing. To my absolute shock, the windows were mostly fine—it was the baseboards along the exterior walls and the electrical outlets that were blowing the smoke sideways. Experiencing that invisible wind tunnel first-hand completely changed how I approach home weatherization.
2. Professional Blower Door Tests
For comprehensive results, nothing beats a professional energy audit featuring a blower door test. An auditor mounts a powerful, calibrated fan into the frame of an exterior door. The fan pulls air out of the house, significantly depressurizing the interior. This forces outside air to rush in through all unsealed cracks and openings. The equipment measures exactly how leaky the home is in Cubic Feet per Minute (CFM), giving you a standardized metric of your home’s airtightness.
3. Thermal Imaging Home Inspection
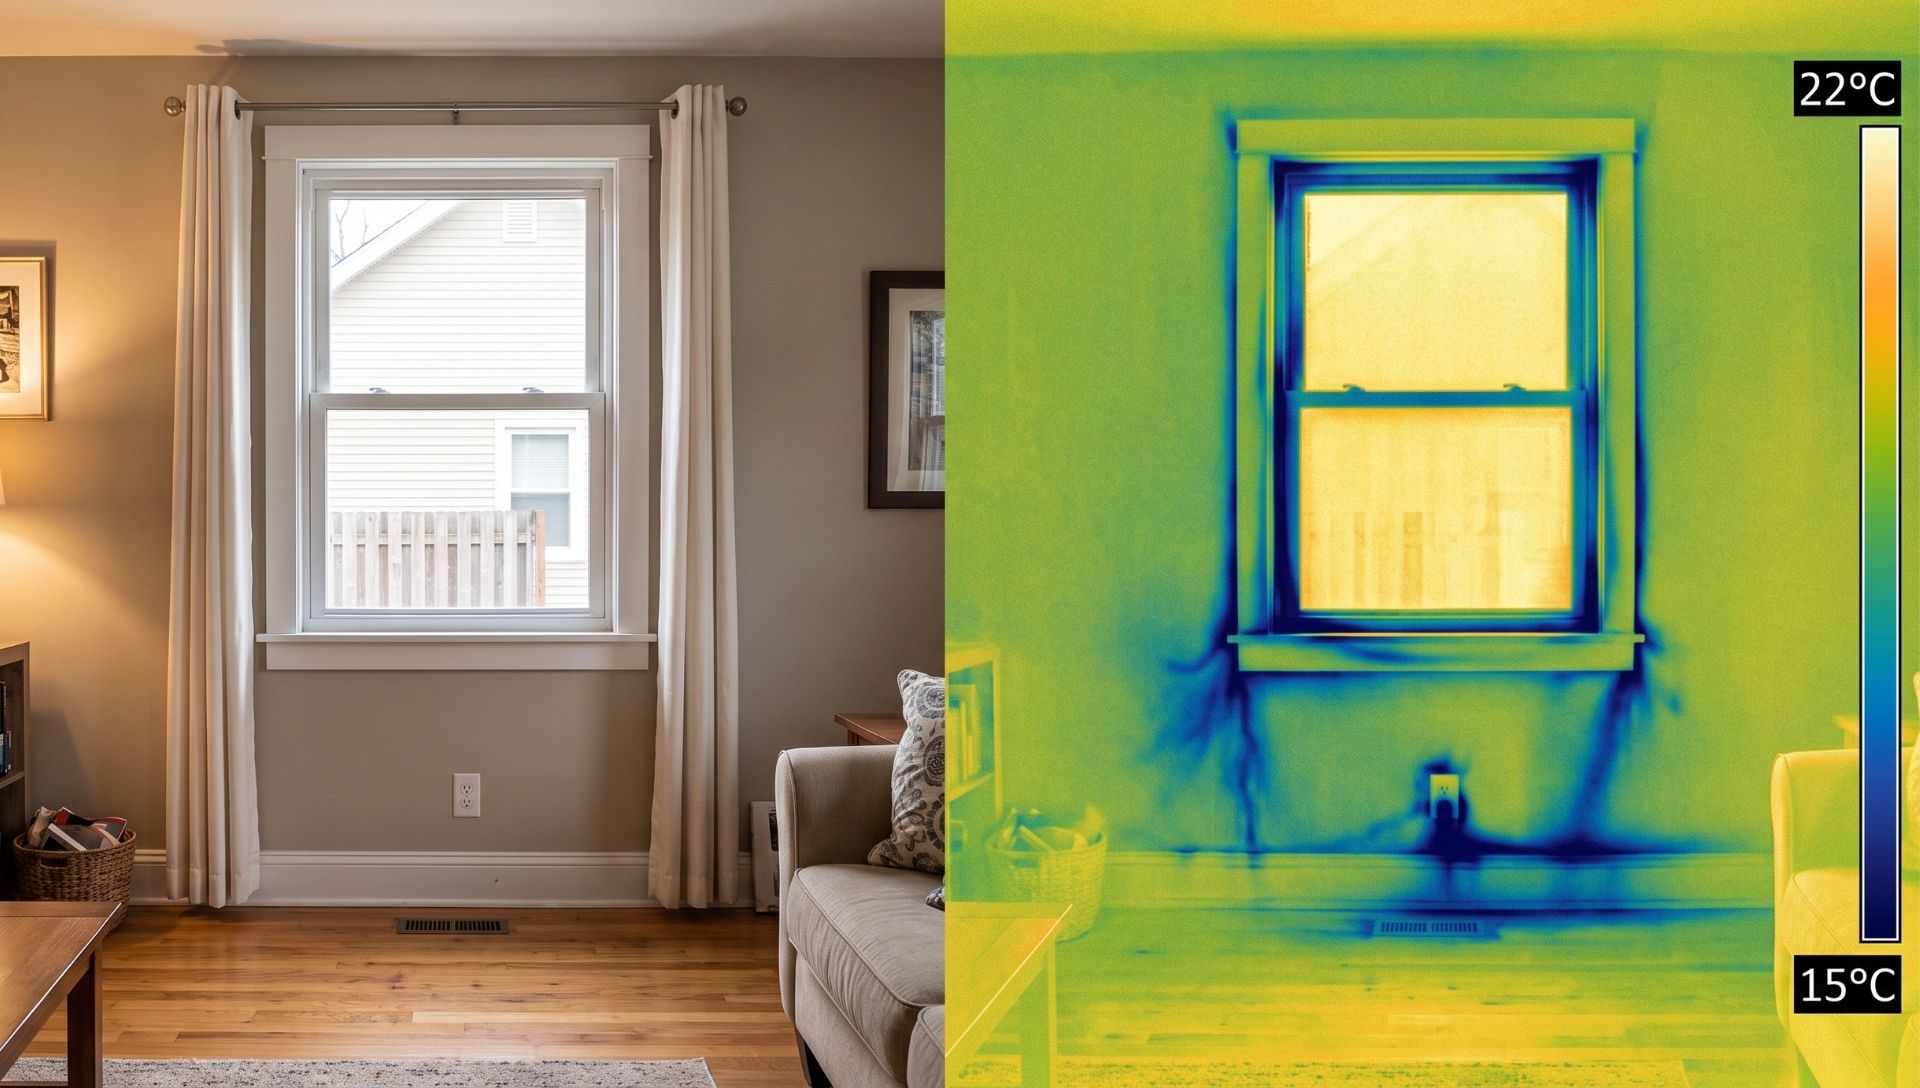
Often paired with a blower door test, a thermal imaging home inspection utilizes infrared cameras to visualize temperature differentials. During depressurization, the infrared camera will vividly display cold outside air streaming in through hidden cracks (appearing as dark blue or purple streaks on the screen) or hot summer air infiltrating your cool home (appearing as bright yellow or red). This method is unparalleled for finding leaks hidden behind drywall or under floorboards without any destructive testing.
Expert Insight: When to Call a Pro vs. DIY
If your home is relatively new and you are just looking to do seasonal maintenance, DIY weatherstripping and caulking are perfectly adequate. However, if your home is over 20 years old, you experience unexplained temperature swings, or your utility bills are 15% higher than your neighbors, invest in a professional home energy audit. An auditor will pinpoint exact leakage locations, ensuring you don’t waste money fixing the wrong things.
Most Common Locations for Air Leaks (The Usual Suspects)
When aiming to uncover hidden energy wasters in your home, start your search in these highly susceptible areas:
1. Attic Hatches and Pull-Down Stairs
- Why it leaks: Attic access points are essentially large holes in your ceiling. They are rarely insulated or air-sealed by default, creating a massive chimney effect that sucks conditioned air up into the attic.
- The fix: Install an insulated attic stair cover or weatherstrip the edges of the hatch cover. Add rigid foam board insulation to the back of the hatch door. [Link to related post on home insulation basics]
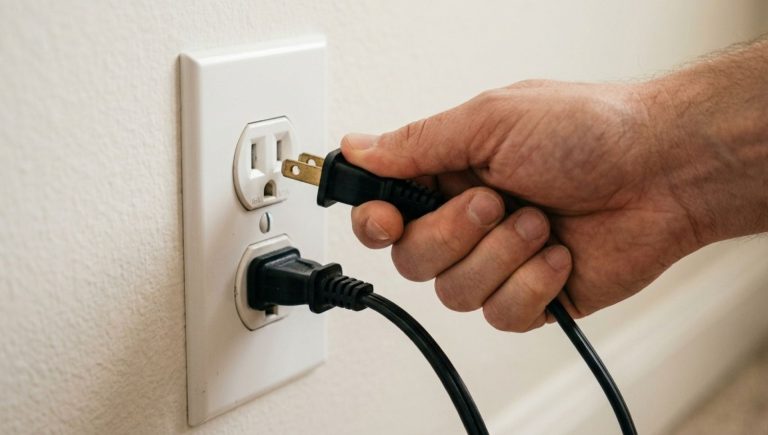
2. Electrical Outlets and Light Switches (Exterior Walls)
- Why it leaks: The holes cut into drywall for electrical boxes are almost always cut larger than necessary. Since they sit inside exterior walls, they provide a direct pathway for outdoor air to enter.
- The fix: Turn off the power at the breaker, remove the cover plate, and install inexpensive, precut foam socket sealers. For larger gaps around the box, use a fire-blocking expanding foam.
3. Window and Door Frames
- Why it leaks: While the glass itself might be efficient, the gap between the window frame and the rough opening of the wall often lacks proper sealing. Furthermore, the operable parts of windows and doors rely on weatherstripping that degrades over time.
- The fix: Apply an elastomeric acrylic latex caulk to stationary cracks. Replace worn V-strip or felt weatherstripping on moving parts.
4. Plumbing Penetrations
- Why it leaks: Plumbers drill large holes beneath sinks, behind toilets, and in basements to run pipes. The gaps left around these pipes allow massive amounts of air to travel between floors and into the crawlspace.
- The fix: Fill the gaps around the pipes with expanding polyurethane spray foam. For extra-large holes, pack the gap with steel wool first (to deter pests) before foaming.
5. Recessed Lighting (Can Lights)
- Why it leaks: Older recessed lights vent directly into the attic to prevent overheating. Unfortunately, this means your heated winter air is constantly escaping through the ceiling.
- The fix: If the fixtures are ICAT (Insulation Contact Air Tight) rated, you can seal the trim with caulk. If they are older, non-IC rated, the safest and most efficient fix is replacing them with sealed LED retrofit baffles.
The True Benefits of Sealing Air Leaks
Once you identify and seal these gaps, the benefits are immediate and multifaceted.
Immediate Financial Savings and ROI
According to the ENERGY STAR program (a joint program of the EPA and DOE), homeowners can save up to 20% on heating and cooling costs simply by air sealing their home and adding insulation in attics, floors, and crawlspaces. Because materials like caulk, weatherstripping, and spray foam are incredibly inexpensive, the Return on Investment (ROI) for DIY air sealing is often realized in less than one year.
Extended HVAC System Lifespan
When your home is leaky, your furnace or air conditioner has to cycle on and off frequently (“short-cycling”) to maintain the thermostat’s set temperature. By sealing air leaks, your home retains its temperature longer. This reduces the mechanical wear and tear on your expensive HVAC equipment, potentially extending its lifespan by years and saving you thousands in premature replacement costs.
Enhanced Acoustic Comfort (Noise Reduction)
Sound travels through the air. If air can get through a crack in your wall, so can the noise of traffic, barking dogs, and sirens. A well-sealed home is noticeably quieter, contributing to a more peaceful, zen-like living environment.
Reduced Carbon Footprint
Every kilowatt-hour of electricity or therm of natural gas you save directly translates to fewer greenhouse gas emissions. A tight building envelope is a cornerstone of sustainable, eco-friendly living.
Pro Tip: Beware of “Too Tight”
As you aggressively seal leaks, keep in mind the saying: “Build tight, ventilate right.” If you seal a home too tightly without providing mechanical ventilation, indoor pollutants and humidity can build up. If your post-sealing blower door test results show your home is highly airtight, you should install an Energy Recovery Ventilator (ERV) or Heat Recovery Ventilator (HRV) to ensure a steady supply of fresh, filtered air without losing your thermal energy.
While some homeowners may choose to tackle air sealing as a DIY project, it’s important to note that the effectiveness of DIY air sealing may vary. For optimal results, it is recommended to consult home air sealing professionals who can provide expert guidance and ensure thorough sealing of air leaks.
Conclusion
If you want to create a sustainable, comfortable, and cost-effective living space, you must start by securing your building envelope. Choosing to uncover hidden energy wasters in your home is one of the smartest, highest-return investments you can make as a homeowner. By utilizing professional thermal imaging, blower door tests, or even simple DIY smoke tests, you can track down rogue drafts and stop them in their tracks.
Don’t let your hard-earned money float out the window. Take action today: grab a stick of incense to test your windows, or better yet, schedule a comprehensive home energy audit with a local certified professional. For more actionable tips on sustainable living and transforming your house into an eco-friendly sanctuary, be sure to read this related article: The Complete Guide to Eco-Friendly Home Retrofitting (2026).
Frequently Asked Questions (FAQ)
Q: How much can I reduce energy bills by sealing air leaks?
A: Depending on the age and condition of your house, the EPA estimates that comprehensive air sealing, combined with proper insulation, can save the average homeowner 15% to 20% on heating and cooling costs annually.
Q: Do I need a professional energy audit to find all leaks?
A: While DIY visual inspections and smoke tests are great for finding obvious drafts around doors and windows, they often miss major bypass leaks in attics, basements, and wall cavities. A professional energy audit utilizing a blower door test and a thermal imaging home inspection is the only way to find 100% of the hidden leaks.
Q: Should I prioritize sealing air leaks in the summer or the winter?
A: You can—and should—seal air leaks year-round. However, they are often easiest to detect during the winter or the peak of summer when the temperature difference between the indoors and outdoors is the most extreme, making drafts more noticeable to the touch.
Q: Can a house be sealed too tightly?
A: Yes. Older homes relied on air leaks for natural ventilation. If you seal a home completely without adding mechanical ventilation (like an ERV or exhaust fans), indoor moisture, odors, and pollutants can become trapped, severely lowering your indoor air quality. Always aim to “build tight and ventilate right.”
Editorial Note: This comprehensive guide was written and reviewed by a certified Residential Energy Services Network (RESNET) HERS Rater and sustainable building specialist with over a decade of experience in home energy diagnostics and green renovations. Last updated: September 2026.