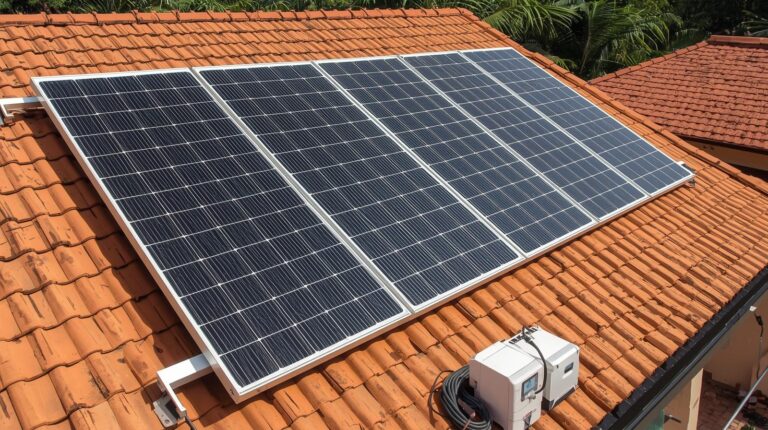
Testing your solar panel output is an important part of making sure that you are getting the most out of your investment. That’s why the skill of how to test solar panel output is also important. Did you know that the average solar panel system will produce around 10 times more energy in its lifetime than what was used to create it? This makes solar a great option for those looking to reduce their environmental impact while still saving energy costs.
In this article, we’ll go over how to test your solar panel’s output so you can see exactly how much energy you’re producing. We’ll cover gathering materials, connecting the multimeter, measuring voltage and current outputs, and analyzing results.
Let’s get started!
How To Test Solar Panel Output With Multimeter
Understanding the Basics of a Multimeter
Checking the current of a solar panel requires understanding how to use a multimeter, so let’s dive in!
A multimeter is an instrument that measures electrical current, voltage, and resistance. Before you can use it to measure the output of your solar panel, you must first understand the basics of using one.
Multimeters come with two probes – one red and one black – which are used to measure voltage and current. They also have a dial that lets you choose which type of measurement you want to take (voltage, current, or resistance).
When testing the output of a solar panel with a multimeter, be sure to set the dial to “DCV” for direct-current volts and insert the black probe into COM (common) port on your multimeter. The red probe should then be inserted into VΩmA port on your device before connecting it directly onto the solar panel.
Once this is done, check that all connections are secure before taking any readings from your meter. With these tips in mind, you’ll be ready to start gathering the necessary materials for testing your solar panel’s output.
Related Article: Cost of Installing Solar Panels at Home.
Gathering the Necessary Materials
Gathering the necessary materials is essential for ensuring a successful project. You’ll need the right tools, supplies, and equipment.
To start, you’ll need a multimeter. This tool will allow you to measure voltage, current, and resistance in a circuit. You may also need an ammeter to measure how much current is passing through the solar panel.
Additionally, you should have two sets of alligator clips on hand – one red and one black – which can be used to easily connect wire components together for testing purposes.
You will also need an appropriate load resistor or diode that corresponds with your solar panel’s power output rating. This will help ensure accurate results when measuring the output from your solar panel.
Finally, make sure that all wires are properly insulated and rated for their respective applications before connecting them up to any components in your circuit setup.
Having these items in place will give you everything needed to begin testing how to test a solar panel output, how to test solar panel amp output, and how to test the output of a solar panel effectively.
With these materials now gathered and ready to go, it’s time to move onto setting up the circuit properly.
Setting Up the Circuit
Now that you’ve collected the necessary materials, let’s get your circuit set up and ready to go!
To build the circuit for testing solar panel output, you will need a breadboard, solar panel, wire jumper cables, and a multimeter.
Start by connecting the breadboard and solar panel using wire jumper cables. Then, connect the multimeter to one of the power rails on the breadboard with a jumper cable.
Next, place your solar panel onto the breadboard in such a way that both of its positive and negative terminals are connected to two separate rows on the board. Connect each terminal from your solar panel separately to another row on your breadboard using a jumper cable.
Now you’re almost done setting up your circuit! All that’s left is to connect a few more components in order to begin testing solar panel output.
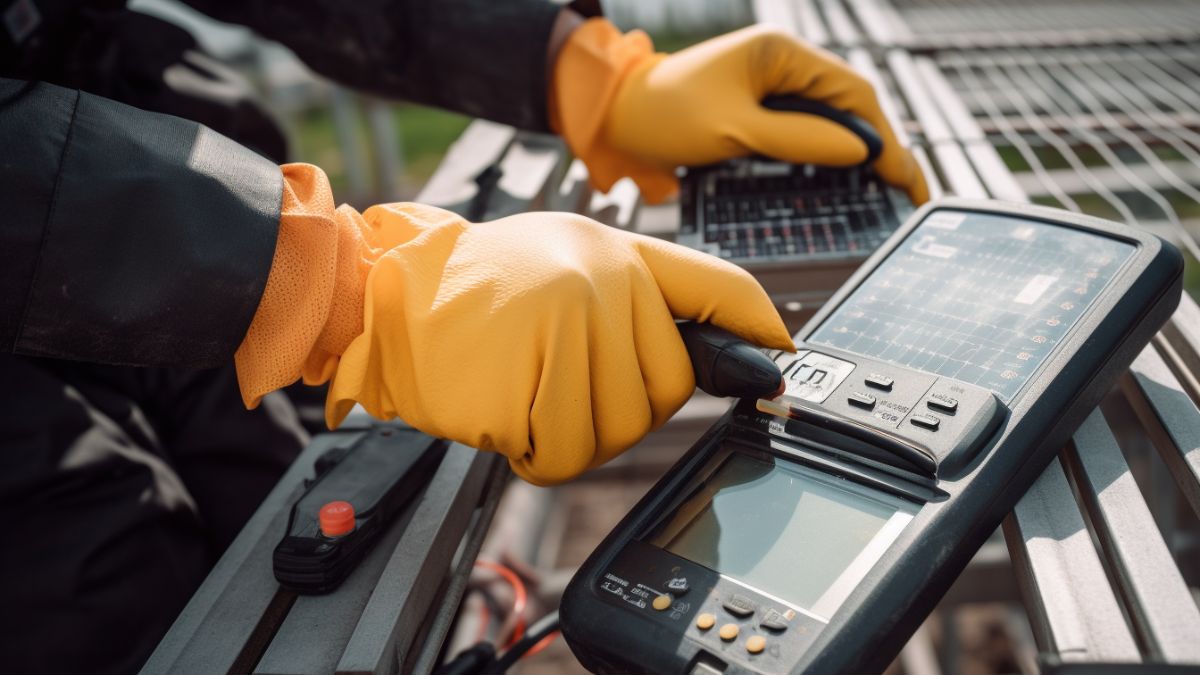
Connecting the Multimeter
Ready to measure the power your panel’s producing? Let’s connect the multimeter and start!
First, make sure to set up your multimeter correctly. Be sure to set it for you to measure DC voltage. Most multimeters have a switch for this purpose, so make sure it’s in the correct position.
Once it’s set up, connect the multimeter leads to the solar panel terminals. Connect one lead from your meter to each of the solar panel terminals.
Next, turn on the meter and wait for a reading in volts (V). Double-check your connections before taking any readings to prevent damage to your multimeter or electric shock!
With everything connected properly, you’re ready to measure voltage output.
Measuring Voltage Output

You can measure the voltage your device is producing by connecting your multimeter leads to the terminals – on average, solar panels produce around 18 volts.
To do this, attach one lead from the multimeter to each terminal of the solar panel. Be sure that you have chosen the correct setting on your multimeter so it reads in volts.
You should also be aware that solar panels may not be producing an exact 18 volts – sometimes they may produce more or less depending on a range of factors such as light exposure and temperature. Make sure you record any reading that appears on your multimeter display for future reference.
Once you are certain that the leads have been connected properly, turn on your multimeter and watch for its readings.
If there is no voltage present, check all connections again to make sure to attach everything securely before continuing with other tests. Once you detect a voltage you will need to compare it against what you expected from its specifications sheet – typically this is between 12-18 Volts DC for most small scale solar panels systems.
Any discrepancies could indicate an issue with performance, so it’s important to take note of them before moving onto measuring current output.
Measuring Current Output
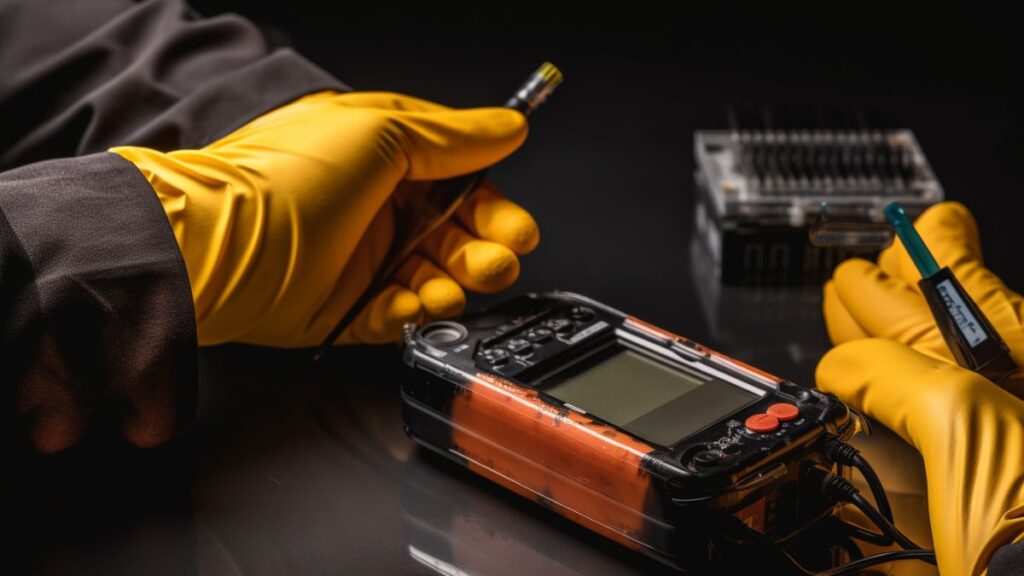
Armed with your multimeter, you can now assess the electrical current produced by the device. To do this, you’ll need to set the multimeter to measure amps.
The range of amps that the device is capable of producing will determine which range should be selected on the multimeter. For example, if it produces up to 3 amps, then a 3amp setting should be used when measuring its output.
Make sure that all safety measures are taken prior to conducting any testing and that all wires are properly connected to avoid any risk of injury or damage.
Once everything is in place, take your readings from both the positive and negative terminals on the solar panel and record them for further analysis.
After taking your measurements, it’s time to analyze your results. Compare your recorded values against each other as well as against manufacturer-recommended values listed in product documentation or specifications sheet for accuracy and consistency.
If you notice any discrepancies between actual readings and recommended values, then further troubleshooting may be necessary to identify any issues with wiring or connections within the system before proceeding further with testing.
Analyzing Your Results
With the results of your measurements in hand, it’s time to take a closer look and see how they measure up. It is important to compare your results with the manufacturer’s specifications in order to determine if the solar panel is performing as expected.
Here are some key points to consider when analyzing the data:
- Check for consistency between each module’s voltage and current readings.
- Compare the labeled wattage with actual wattage produced by each module.
- Look for any changes in performance over time, such as decreased voltage or power output due to age or environmental factors.
- Measure temperature at various points on the panel, as high temperatures can reduce performance significantly.
- Calculate efficiency rates as a way of determining overall performance levels of individual modules and systems as whole.
By taking all of these factors into consideration. Accurately assess your solar panel performance, make necessary adjustments, and repair any issues.
Slash your energy bills by up to 75% or more with the DIY Home Energy system. It’s fast and easy to use, and you’ll be up and running in just hours. Save up to 75%: Create Your Own Home Energy Now!
Summary
Testing solar panel output can be a daunting task, but it doesn’t have to be! By following the steps outlined in this article, you can easily and accurately test your solar panel output.
Understand your equipment and use a multimeter properly to easily test your solar panel output. Knowledge is power, so use it to make informed decisions about your solar panels. Start learning and mastering how to test solar panel output now!