If you are a homeowner exploring sustainable infrastructure, you have likely asked yourself: is installing a rainwater collection system actually worth the investment? With rising utility rates, prolonged drought conditions in many regions, and a growing emphasis on self-sufficient living, harvesting rain is becoming less of a niche hobby and more of a mainstream utility strategy.
In my years of designing and consulting on residential water systems, I have seen homeowners enthusiastically jump into rainwater capture, only to be caught off guard by hidden costs or system requirements they hadn’t anticipated. To make the best decision for your property, you need a clear, unvarnished look at residential rainwater harvesting costs. This guide will walk you through everything you need to know, from initial equipment expenses to long-term maintenance and return on investment (ROI).
What Is a Residential Rainwater Harvesting System?
A residential rainwater harvesting system is a dedicated infrastructure setup designed to capture, divert, store, and treat rainwater runoff—typically from a home’s roof—for later use in landscaping, irrigation, or indoor plumbing. These systems range from simple rain barrels to highly engineered, large-capacity underground cisterns integrated into a home’s main water supply.
Understanding the components that make up these systems is the first step in understanding the financial investment required. Let’s look at the broad strokes of what you can expect to spend.
Summary Table of Typical Costs
If you are looking for a quick snapshot of what you might spend, this table outlines the standard ranges for a complete, professionally installed mid-sized residential system.
| Component / Expense Category | Estimated Cost Range | What It Includes |
|---|---|---|
| Rainwater Storage Tanks (Cisterns) | $500 – $5,000 | Above-ground or underground tanks, ranging from 500 to 5,000+ gallons. |
| Gutters & Downspout Modifications | $1,000 – $3,000 | Seamless gutters, leaf guards, and high-capacity downspouts. |
| Labor & Professional Installation | $2,000 – $5,000 | Site excavation, plumbing connections, electrical wiring, and system testing. |
| Permits & Regulatory Compliance | $200 – $500 | Local building codes, environmental permits, and municipal inspections. |
| Pumps & Filtration | $500 – $2,500 | Pressurized pumps, first-flush diverters, UV filters, and sediment screens. |
| Total Estimated Initial Investment | $4,200 – $16,000 | Varies heavily based on system scale and local labor rates. |
(Note: These figures represent averages for standard residential properties. Custom or whole-home potable systems may exceed these ranges.)
The Rainwater System Installation Process
Installing a rainwater collection system is a sequential process. To give you a practical idea of what you are paying for when you hire labor, here is a numbered breakdown of a typical rainwater system installation:
- Site Assessment and Design: Analyzing roof catchment area, calculating average local rainfall, and determining the optimal location for the storage tank.
- Permitting and Approval: Submitting design schematics to the local municipal building department to ensure compliance with zoning and safety codes.
- Site Preparation and Excavation: Clearing the installation area, pouring concrete pads for above-ground tanks, or excavating soil for underground cisterns.
- Gutter and Catchment Upgrades: Installing or upgrading gutters, adding leaf guards, and routing downspouts toward the central collection point.
- Pre-Filtration Setup: Installing first-flush diverters to discard the initial, debris-heavy runoff, ensuring only clean water enters the main storage.
- Tank Placement and Connection: Securing the rainwater storage tank and plumbing the downspouts into the tank inlet.
- Pump and Distribution Integration: Wiring the water pump and connecting the output lines to the home’s irrigation system or indoor plumbing.
- Final Testing and Inspection: Running water through the catchment area, checking for leaks, testing pump pressure, and passing final municipal inspections.
Deep Dive into the Cost Breakdown
To accurately budget for your project, it is essential to understand the variables that drive costs up or down within each category.
1. Rainwater Storage Tanks ($500–$5,000)
The storage tank, or cistern, is the heart of your rainwater collection system and often the most variable cost. You can purchase a simple, small above-ground polyethylene tank for around $500. However, if you are looking at a 5,000-gallon fiberglass or concrete underground cistern, you are easily approaching the $5,000 mark.
Cost Variables:
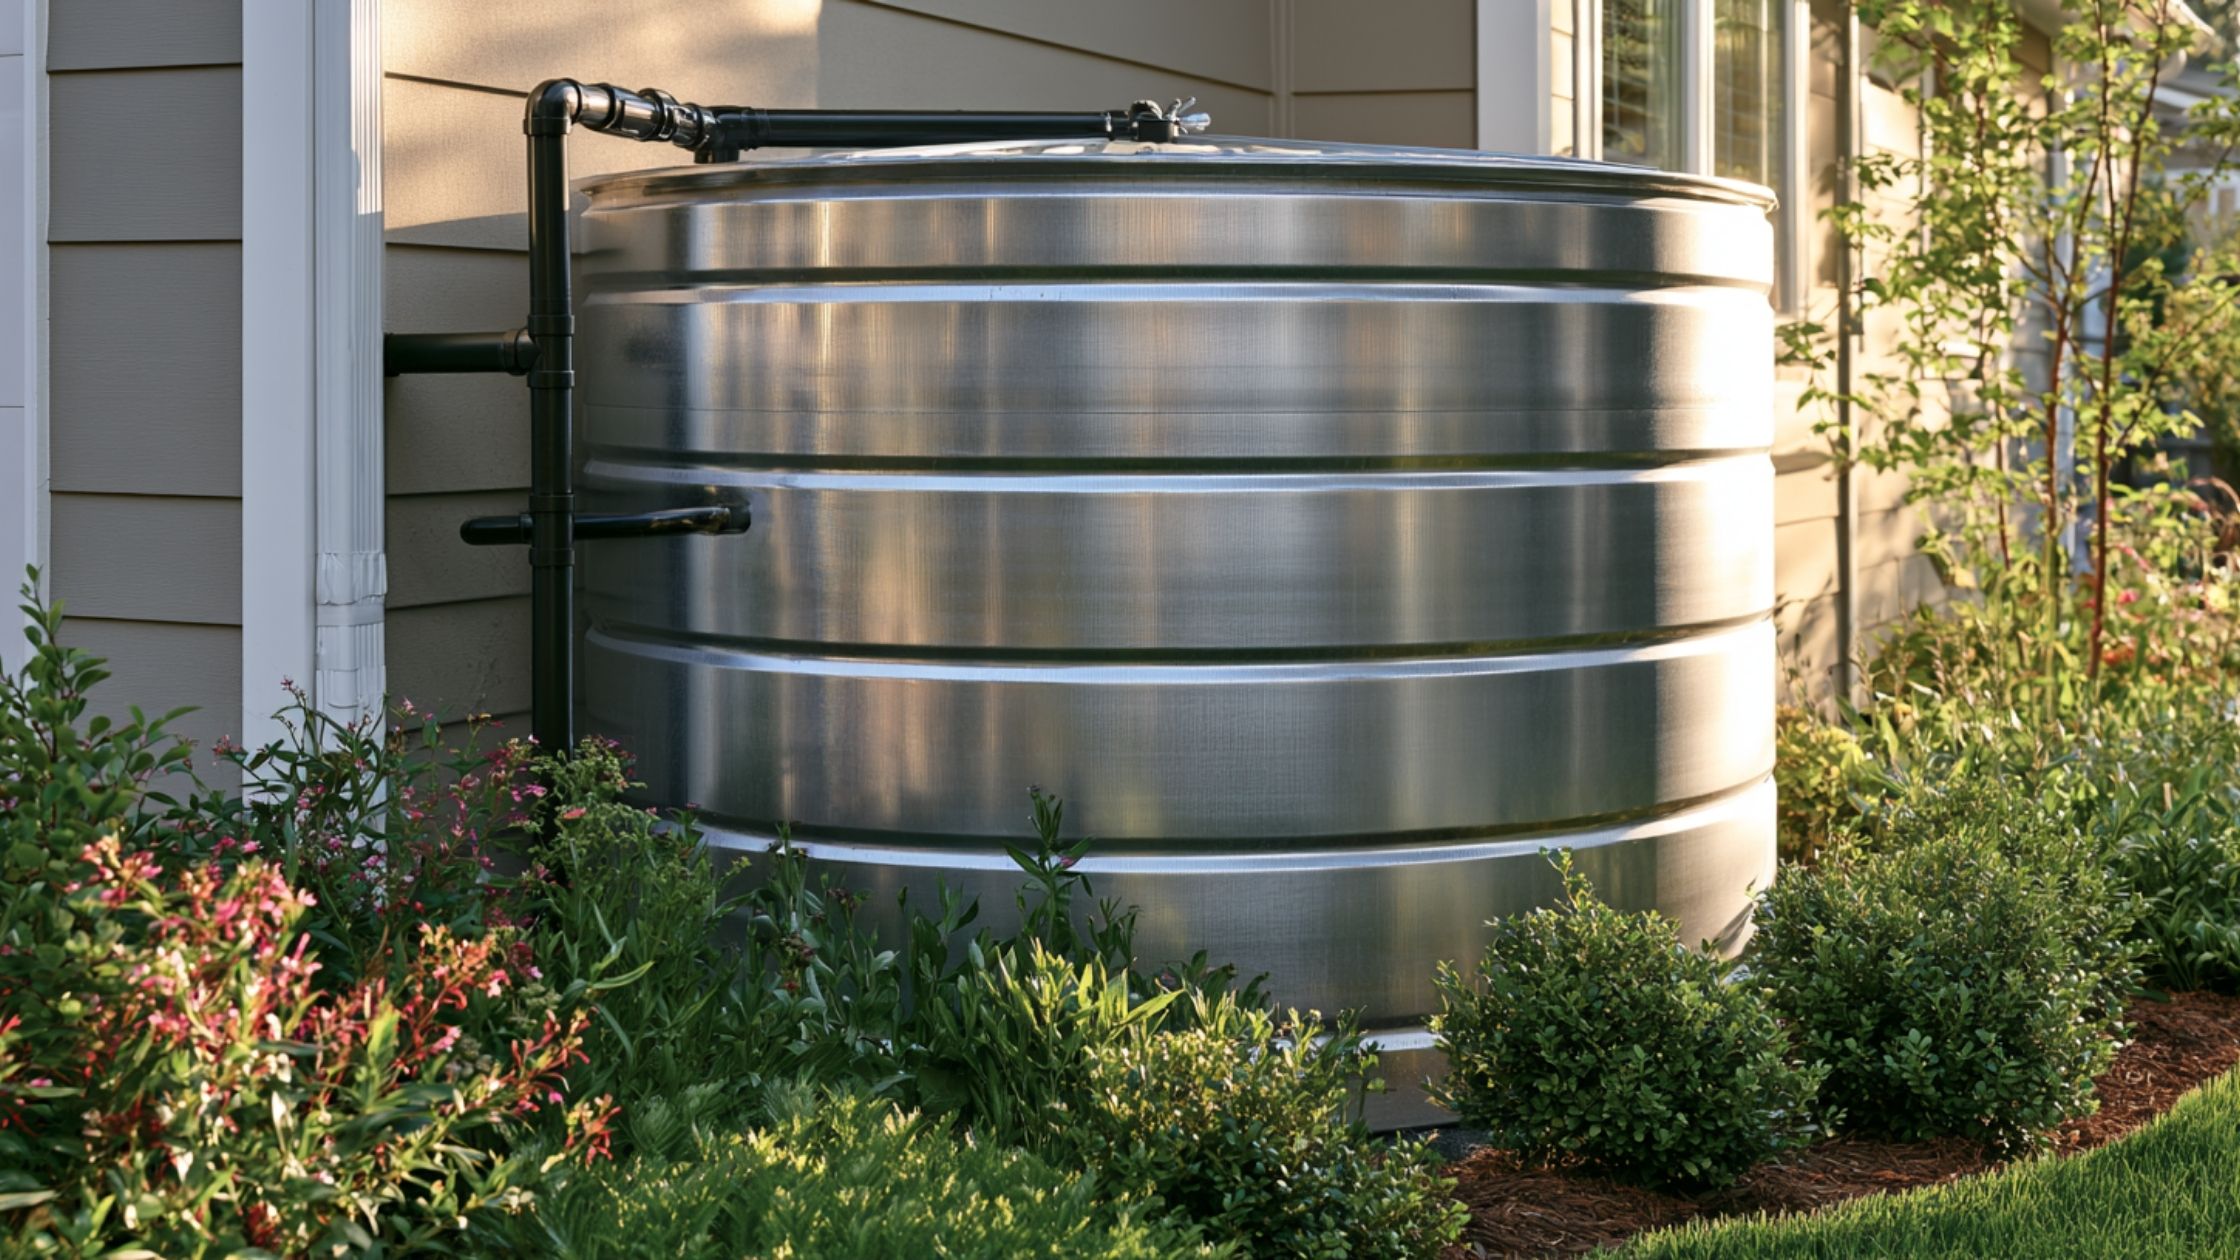
- Material: Polyethylene (plastic) is the most affordable and common. Galvanized steel offers durability and a modern aesthetic but costs more. Concrete and fiberglass are the most expensive, typically used for large-scale or underground installations.
- Placement: Above-ground tanks are cheaper to install because they don’t require heavy earthmoving. Underground tanks save yard space and keep water cooler (reducing algae growth), but the excavation safely requires heavy machinery and shoring, pushing costs higher.
- Capacity: The larger the tank, the higher the material and shipping costs. However, a larger tank allows you to survive longer dry spells, offering better water conservation savings in the long run.
Read more about choosing the right cistern material for your climate here
2. Gutter and Downspout Installation ($1,000–$3,000)
Your roof is the catchment area, but the gutters are the highway that transports the water. Standard residential gutters are often insufficient for the sheer volume of water generated by a heavy downpour.
Cost Variables:
- Gutter Size: Moving from standard 5-inch gutters to 6-inch or 7-inch seamless gutters prevents overflow during heavy storms but increases material costs.
- Debris Guards: High-quality micro-mesh gutter guards are essential to keep leaves, twigs, and roof grit out of your system. Depending on your roof’s linear footage, these guards can add $500 to $1,500 to the project.
- Modifications: Rerouting existing downspouts from various corners of your home to a centralized cistern requires additional piping, elbows, and aesthetic concealment, which adds to the bottom line.
3. Labor and Professional Installation ($2,000–$5,000)
While a rain barrel can be a weekend DIY project, a comprehensive, pressurized rainwater harvesting system requires professional expertise. I always recommend consulting with licensed contractors—specifically those with experience in sustainable water infrastructure—because the risk of property damage from a poorly installed 2,000-gallon tank is immense.
Cost Variables:
- Plumbing Complexity: Tying a system into an outdoor irrigation network is relatively straightforward. If you are routing rainwater indoors to flush toilets or wash clothes, the plumbing gets far more complex and requires strict backflow prevention measures to protect the municipal water supply.
- Electrical Work: High-capacity pumps and smart-monitored filtration systems require dedicated electrical circuits, necessitating a licensed electrician.
- Site Accessibility: If contractors have to carry a 1,000-pound tank by hand because heavy machinery cannot fit through your side gate, labor hours (and costs) will increase dramatically.
4. Permits and Regulatory Compliance ($200–$500)
Permit costs are often overlooked by homeowners in the planning phase. Water rights and building codes vary wildly depending on where you live.
Cost Variables:
- Location: In some rural areas, you may not need a permit at all. In strict urban municipalities, you may need building, plumbing, and electrical permits, along with specialized environmental reviews.
- System Type: Systems designed for non-potable outdoor use usually have lower permit fees. If you are attempting a whole-house potable water system, expect rigorous permitting, required UV filtration standards, and multiple inspection phases.
(Note: Always check with your local municipal water authority or building department before purchasing equipment. In a few specific jurisdictions, harvesting rainwater is strictly regulated due to historical water rights laws.)
Managing Rainwater Harvesting Maintenance Costs
A rainwater system is not “set it and forget it.” Regular maintenance ensures the water remains clean, the pump operates efficiently, and the system reaches its maximum lifespan. Realistic annual maintenance costs generally fall between $100 and $300, provided you do some of the basic labor yourself.
Typical Maintenance Breakdown
- Filter Replacements: $50 – $150 annually (depending on whether you use basic sediment filters or advanced UV bulbs).
- Gutter Cleaning: $100 – $250 per cleaning if hired out, or free if you do it yourself.
- Pump Servicing: Typically not required annually, but expect a $300–$500 replacement cost every 7 to 10 years.
Recommended Maintenance Schedule
- Monthly: Check the tank’s inlet screens and first-flush diverters for debris buildup. Inspect the tank for any signs of algae or insect ingress.
- Quarterly: Clean out gutters and downspout catchments, particularly after the autumn leaf drop or major spring storms. Check pump pressure.
- Annually: Flush the bottom of the tank to remove settled sediment. Replace sediment filters and UV bulbs (if applicable). Inspect all pipes and connections for winter freeze damage or minor leaks.
Check out this complete seasonal maintenance checklist for water systems.
Analyzing Water Harvesting ROI and Water Conservation Savings
The upfront costs can seem daunting, but evaluating the return on investment (ROI) is crucial. When analyzing water harvesting ROI, you are looking at several distinct financial pillars: direct water savings, prolonged system lifespan, and property value increases.
Water conservation savings are directly tied to your local utility rates. In areas where municipal water is heavily tiered or subjected to drought surcharges, the payback period accelerates rapidly. The volume of water you can collect is astonishing; for every 1 inch of rain that falls on a 1,000-square-foot roof, you can capture roughly 600 gallons of water. Over a year, this can amount to tens of thousands of gallons of free water replacing expensive municipal supply for your landscaping.
The financial data supports this investment. A notable California study assessing sustainable home infrastructure demonstrated an average 20% ROI over a 20-year period for well-designed residential systems. This factors in the offset of municipal water costs, the rising trajectory of standard utility bills, and the minimal operational overhead of the system itself once installed. When you consider that a high-quality polyethylene or fiberglass tank can last 20 to 30 years, the system pays for itself and then continues to generate savings.
The Role of Rebates and Incentives
Your ROI can be significantly shortened by leveraging local financial incentives. Many municipalities, states, and regional water districts offer substantial rebates to homeowners who install rainwater collection systems, as it reduces the burden on aging stormwater infrastructure.
For example, some cities offer rebates calculated per gallon of storage capacity (e.g., $1.00 per gallon up to $2,000), effectively slashing your equipment costs in half. However, government incentives and rebates are highly variable and region-dependent. They are subject to annual funding limits and often require pre-approval before you begin construction. Never base your entire budget on the assumption of a rebate without getting written approval from your local authority first.
Important Considerations Before You Build
As a professional in the field, I always advise homeowners to maintain a balanced perspective. Rainwater harvesting is an incredible tool for sustainability, but it has limitations.
First, a rainwater storage tank requires consistent rainfall to be useful. If you live in an environment with nine months of total drought followed by three months of torrential rain, you will need a massive (and expensive) tank to capture enough water to last through the dry season. For some properties, a smaller system designed strictly for peak-summer garden watering makes more economic sense than a massive whole-property cistern.
Second, consider the visual footprint. Above-ground tanks are large. You will need to account for aesthetic screening—like fencing or strategic landscaping—if you do not want a massive industrial-looking tank dominating your backyard.
Conclusion
Understanding residential rainwater harvesting costs requires looking past the price tag of a simple plastic barrel. A robust, functional system that genuinely offsets your municipal water use is an infrastructural investment involving tanks, gutter upgrades, professional labor, and proper filtration.
While the initial outlay ranging from $4,200 to $16,000 can be significant, the long-term benefits are undeniable. With an average 20% ROI over 20 years, immediate water conservation savings, and resilience against drought restrictions, a rainwater system is a powerful step toward a self-sufficient home.
If you are ready to explore this for your own property, start by observing your roof lines during the next rainstorm, calculating your catchment area, and reaching out to a licensed local contractor to discuss what size system fits your budget and lifestyle.