Are you ready to harness the power of the wind and take control of your energy consumption? We’ve got you covered. In this step-by-step guide, we’ll walk you through the process of how to install a home wind turbine. From assessing your site to making electrical connections, we’ll provide the expertise and guidance you need. With our detailed instructions and expert tips, you’ll be able to join a community of like-minded individuals who are making a positive impact on the environment and enjoying the benefits of renewable energy. Let’s get started!
Site Assessment
First, we frequently assess potential sites for our home wind turbine installation. Site assessment is a critical step in determining the viability and effectiveness of harnessing wind energy.
To ensure optimal performance, we carefully analyze the wind speed and direction at various locations on our property. Wind speed is a key factor as it determines the amount of energy that can be generated by the turbine. We assess wind speed using anemometers and wind maps to identify areas with consistent and sufficient wind flow.
Additionally, we consider wind direction to determine the ideal placement of the turbine. By analyzing prevailing wind patterns, we can position the turbine in a way that maximizes its exposure to the wind, thus maximizing its energy production potential.
Foundation Preparation
To continue with our home wind turbine installation, we begin by preparing the foundation for the turbine. This step is crucial to ensure stability and longevity for the entire system. Here is a detailed guide on how to prepare the foundation:
Excavation Process:
- Determine the size and depth of the foundation needed based on the manufacturer’s specifications.
- Use an excavator or hire a professional to dig the hole according to the required dimensions.
- Ensure the excavation is level and free from any obstructions or debris.
Anchor Installation:
- Install anchor bolts or ground screws into the excavated hole.
- Make sure the anchors are securely fastened and aligned with the turbine’s mounting system.
- Use a level to ensure the anchors are perfectly vertical.
Turbine Assembly
After completing the foundation preparation, we can now move on to the turbine assembly. This is a crucial step in the wind turbine installation process, as it involves putting together all the necessary components that will allow the turbine to generate electricity.
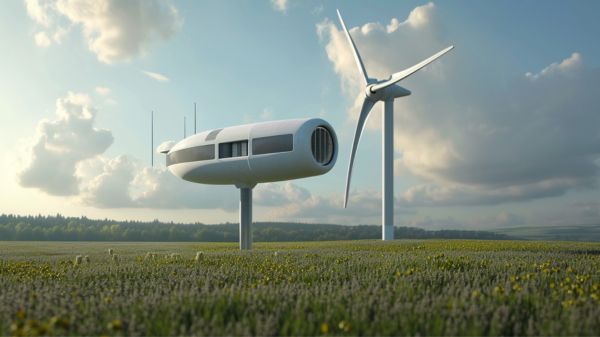
The main components of a wind turbine include the tower, nacelle, rotor, and blades. The tower provides the height necessary to capture the wind’s energy, while the nacelle houses the gearbox, generator, and control systems. The rotor consists of the hub and blades, which are responsible for capturing the wind and converting it into rotational energy.
Assembling these components requires careful attention to detail and adherence to manufacturer instructions to ensure a safe and efficient wind turbine installation.
Electrical Connections
Now let’s connect the electrical components of the wind turbine. This step is crucial for ensuring proper power generation and energy efficiency. Here’s how to make the electrical connections:
Connect the turbine to the charge controller:
- Use the appropriate cables to connect the turbine’s output wires to the charge controller’s input terminals.
- Make sure to follow the manufacturer’s instructions regarding wire size and connection method.
Connect the charge controller to the battery bank:
- Connect the charge controller’s output terminals to the battery bank using the recommended cables.
- Ensure that the polarity is correct to avoid damage to the controller or batteries.
Testing and Maintenance
Once the electrical connections are complete, we can move on to testing and maintaining the home wind turbine. Proper testing is crucial to ensure the turbine is functioning optimally and safely. Start by conducting a visual inspection of the turbine and its components. Look for any signs of damage, loose bolts, or worn-out parts.
Next, check the electrical connections for any loose wires or faulty connections. It’s important to follow safety precautions during the testing process, such as wearing appropriate protective gear and ensuring the turbine is securely fastened. Troubleshooting tips can help identify and resolve any issues that may arise.
Regular maintenance, including lubrication of moving parts and cleaning of blades, is essential to prolong the lifespan of the turbine. By following these guidelines, you can maintain a reliable and efficient home wind turbine system.
Conclusion
By following this step-by-step guide, home wind turbine installation can be successfully accomplished. Proper site assessment and foundation preparation are crucial for optimal performance. Careful turbine assembly and electrical connections ensure efficient energy generation. Regular testing and maintenance will help to maintain the turbine’s functionality. So, with this comprehensive guide, anyone can become an expert in installing and maintaining a home wind turbine, harnessing the power of the wind for sustainable energy production.
