Every year, millions of lead-acid batteries are unceremoniously dumped into landfills, contributing to a massive global toxic waste problem. As off-grid enthusiasts and sustainability advocates, we know that true self-reliance means maximizing the lifespan of the resources we already have. If you are tired of spending hundreds of dollars replacing dead car, solar, or marine batteries, learning how to recondition old batteries is a game-changing skill.
In this comprehensive guide, I am going to walk you through the exact process I have used to bring dozens of seemingly dead batteries back to life. You will learn the science behind sulfation, the precise tools you need, and the safe, step-by-step methodology to restore your power banks. By mastering these battery reconditioning steps, you will not only save a significant amount of money but also take a powerful stand for environmental sustainability. Let’s dive into how to restore old batteries and bring your dead power banks back from the brink.
Don’t throw away batteries that still have life left! EZ Battery Reconditioning system teaches you simple, step-by-step methods to rejuvenate old batteries — from car batteries to golf cart and deep-cycle batteries — using tools most people already have at home. Learn more about the EZ Battery Reconditioning System Here.
Why Trust This Guide?
Hi, I’m the lead off-grid systems specialist here at Green Life Zen. Over the past decade, I have built, maintained, and troubleshooted countless off-grid solar arrays, marine power systems, and backup battery banks. When you live off-grid, a failed battery isn’t just an inconvenience; it’s a critical failure.
Through years of hands-on trial and error, cross-referencing chemistry textbooks, and collaborating with alternative energy experts, I have refined my DIY battery reconditioning process. The technical details, voltage thresholds, and chemical ratios provided in this guide aren’t just theoretical—they are the exact metrics I rely on in my own workshop to keep my homestead powered safely and efficiently.
⚠️ Important Safety Disclaimer. Before we begin, you must understand the risks. Lead-acid batteries contain highly corrosive sulfuric acid and can emit highly flammable hydrogen gas during the charging process. Working with them requires absolute focus and respect. Always wear proper Personal Protective Equipment (PPE), work in a heavily ventilated area, and never smoke or allow open flames near a charging battery. If you are uncomfortable working with corrosive chemicals or electrical currents, please seek professional assistance. This guide is for informational purposes; proceed at your own risk.
Useful Source: Battery Council International (BCI) on Lead-Acid Battery Safety Guidelines
The Science of Sulfation: Why Batteries “Die”
To effectively recondition a lead-acid battery, you need to understand why it stopped holding a charge in the first place. Lead-acid batteries generate electricity through a chemical reaction between lead plates and a sulfuric acid electrolyte solution.
Over time, and especially when a battery is regularly discharged below 50% or left sitting in a discharged state, lead sulfate crystals form on the battery’s internal plates. This process is called sulfation. As these crystals build up, they harden, acting as an insulator. They block the chemical reaction, reducing the battery’s capacity until it can no longer hold a meaningful charge.
When we perform DIY battery reconditioning, we are essentially reversing this sulfation. By introducing a new battery electrolyte solution enriched with magnesium sulfate (Epsom salt) and applying a slow, controlled electrical charge, we can dissolve these stubborn crystals, clean the lead plates, and restore the battery’s ability to store energy.
Step 1: Identify Your Battery Type
The very first step is making sure you are working with the correct type of battery. The techniques in this guide are specifically designed to recondition lead-acid battery types.
Why is this distinction important? Different chemistries require entirely different restoration methods. You cannot use this method on Lithium-ion (Li-ion), Nickel-Metal Hydride (NiMH), or Nickel-Cadmium (NiCd) batteries. Furthermore, within the lead-acid family, there are flooded (wet cell) batteries, Absorbent Glass Mat (AGM) batteries, and Gel batteries.
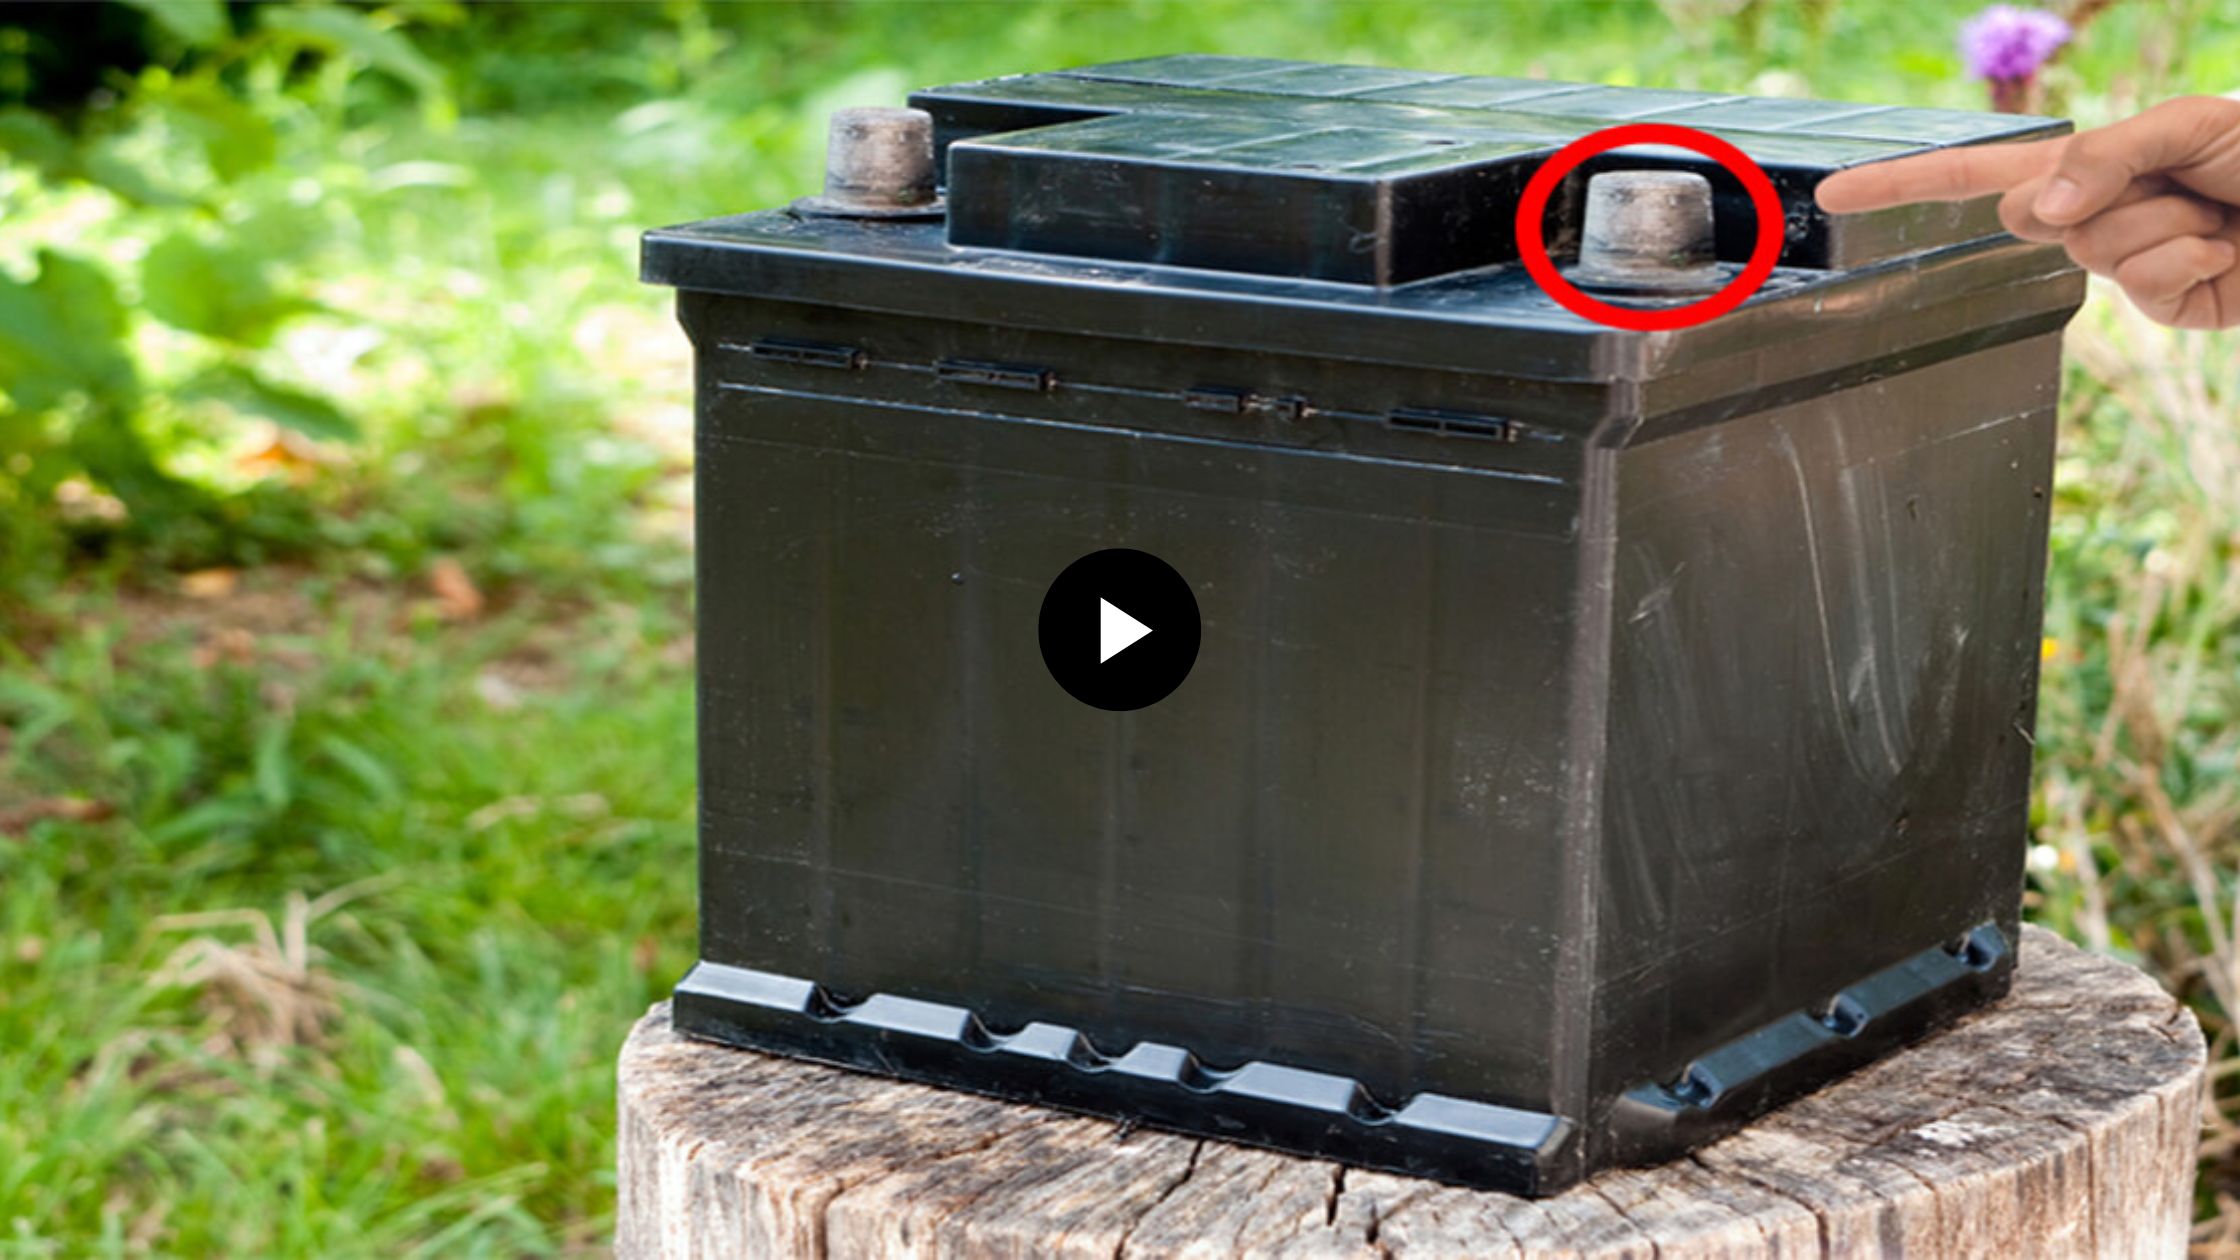
Our focus is on flooded (wet cell) lead-acid batteries. These are your standard car batteries, deep-cycle marine batteries, and traditional off-grid solar storage batteries. You can identify them by the removable caps on top, which allow you to access the individual battery cells and check the fluid levels. If your battery is completely sealed and states “Maintenance Free” without removable caps, this specific chemical flush method will not apply.
Step 2: Gather Tools and Materials
Success in battery restoration relies heavily on having the right tools on hand before you start. Do not substitute materials, especially when it comes to the water and chemicals used. Here is your comprehensive checklist:
Safety & Protective Gear:
- Heavy-duty acid-resistant protective gloves (nitrile or thick rubber).
- Wrap-around safety goggles (do not rely on standard prescription glasses).
- A chemical-grade face mask or respirator.
- An old, thick apron or dedicated work clothes you don’t mind ruining.
Cleaning & Diagnostic Tools:
- A reliable digital multimeter (crucial for accurate voltage readings).
- A stiff-bristled toothbrush or a dedicated terminal wire brush.
- Fine-grade steel wool (for heavily corroded terminals).
- A flathead screwdriver (to carefully pry off cell caps).
- A large, heavy-duty plastic bucket (for draining old acid).
- A plastic funnel or a clean turkey baster.
Chemicals & Reconditioning Supplies:
- Baking soda (Sodium Bicarbonate): You will need at least two large boxes for cleaning and neutralizing acid.
- Distilled water: Buy 2 to 3 gallons. Never use tap water; the minerals will permanently destroy the battery plates.
- Epsom salt (Magnesium Sulfate): Readily available at pharmacies. Ensure it is 100% pure without added fragrances.
- A compatible battery charger: A “smart” charger is best, specifically one capable of a slow trickle charge (12V / 2 amps).
Helpful Article: Top 10 Essential Off-Grid Tools Every Toolkit Should Include
Step 3: Set Up Your Safety Workspace
Before you even touch the battery, you need to prepare your environment. I cannot stress this enough: do not do this inside your house or in a closed, unventilated garage.
- Ventilation is Key: Set up a sturdy workbench outdoors, under a carport, or in a garage with the large bay door completely open. Hydrogen gas is lighter than air and dissipates quickly outdoors, but it can pool explosively in an enclosed room.
- Organize Your Tools: Lay out your tools on the workbench so everything is within arm’s reach. You don’t want to be fumbling for a funnel while holding a battery full of acid.
- Prepare the Neutralizing Solution: In a small plastic bowl, mix a paste using a 2:1 baking soda-to-water ratio. This thick paste will be used to clean the battery terminals.
- Prepare the Emergency Spill Station: Have a large, open box of baking soda right next to your workstation. If you spill any battery acid, instantly dump dry baking soda on it to neutralize the acid before cleaning it up.
Step 4: Inspect and Assess Battery Health
Now it is time to diagnose the patient. We need to determine if the battery is physically sound and chemically viable for restoration.
Visual Inspection:
Put on your safety goggles and gloves. Wipe down the exterior of the battery with a dry rag. Inspect the entire plastic casing. Are there any cracks? Is the plastic bulging, swelling, or warped on the sides? Do you see severe leaks?
If you see cracks, bulges, or severe leaks, STOP. The internal structure is compromised. The battery cannot be saved and must be recycled safely at an auto parts store or hazardous waste facility.
Multimeter Voltage Testing:
If the case is intact, grab your digital multimeter. Set it to DC Voltage (usually marked with a solid and dashed line over a V).
- Touch the red probe to the positive (+) terminal.
- Touch the black probe to the negative (-) terminal.
Here is how to interpret your readings:
- 12.6V or higher: The battery is fully charged.
- 10V – 12.6V: The battery is undercharged and highly sulfated. This is the sweet spot. A battery in this range is a prime candidate for reconditioning.
- Below 10V: The battery is heavily degraded and likely has a “dead” or shorted cell. You can still attempt the reconditioning process—I’ve saved batteries sitting at 8V—but your chances of long-term success are lower.
Electrolyte Level Check:
Carefully pop the cell caps off the top of the battery using your flathead screwdriver. Look inside with a flashlight. The lead plates should be completely submerged in fluid. If the plates are exposed to the air, rapid sulfation has occurred, which explains the battery’s failure.
Step 5: Clean and Neutralize the Battery
To ensure a solid electrical connection for the charger and to keep our workspace safe, we must clean the battery thoroughly.
Terminal Cleaning:
Apply the 2:1 baking soda-to-water paste you prepared earlier directly onto the lead terminals. You will likely see it fizz and bubble—this is the alkaline baking soda neutralizing the acidic corrosion. Use your toothbrush or wire brush to scrub the terminals vigorously. For stubborn, hardened corrosion, use a piece of fine steel wool. Wipe the terminals completely clean and dry with a rag. They should look like shiny metal.
Emptying the Old Acid:
Caution: This is the most dangerous step. Move slowly.
Ensure your cell caps are removed. Pick up the battery and carefully tilt it over your designated heavy-duty plastic bucket. Allow all the old battery electrolyte solution to drain out completely. It may take a few minutes.
Once the battery is empty, set it aside safely.
Neutralizing the Old Acid:
You now have a bucket of toxic sulfuric acid. You cannot pour this down the drain or into the dirt. Slowly and carefully pour large amounts of dry baking soda into the bucket. It will foam violently. Stir gently with a wooden stick or plastic spoon. Keep adding baking soda until the foaming completely stops. Once the reaction ceases, the acid is neutralized. Check your local municipal guidelines on how to dispose of this neutralized liquid (often it is safe to pour down a utility drain once fully neutralized, but verify locally).
Step 6: Prepare and Apply New Electrolyte Solution
With a clean, empty battery, it is time to mix the chemical solution that will dissolve the sulfation on the lead plates.
The Epsom Salt Recipe:
The exact ratio is critical for altering the battery chemistry effectively. The formula is 4 cups of distilled water to 4 oz (by weight) of Epsom salt (roughly half a cup by volume, but weighing is more accurate).
Pro Tip: Epsom salt dissolves very slowly in cold water. To speed up the process, heat the distilled water on a stove or in a microwave until it is warm (not boiling). Stir in the Epsom salt until the water is completely clear and no crystals remain at the bottom. Allow the solution to cool to room temperature before using it.
Refilling the Battery:
Place your plastic funnel into the first battery cell. Slowly pour your new Epsom salt electrolyte solution into the cell. Do not overfill. Stop pouring when the liquid level is just below the bottom of the plastic fill tube, ensuring the lead plates are fully submerged by about 1/4 to 1/2 inch of fluid. Repeat this process for all six cells. If you need more solution, mix a new batch using the exact same 4 cups to 4 oz ratio.
Once all cells are filled, press or screw the battery caps back on securely. Now, grab the battery by the handles and gently shake it back and forth for about 30 seconds. This helps distribute the magnesium sulfate evenly across all the lead plates.
Step 7: Charge, Test, and Monitor
The chemical flush is complete; now we must reverse the sulfation electrically. This requires a “low and slow” approach. Fast, high-amperage charging will not dissolve the crystals and will likely boil your new electrolyte.
The Slow Charge Process:
Take your battery charger and set it to a trickle charge setting: 12V / 2 amps. Connect the red clamp to the positive terminal, then the black clamp to the negative terminal. Plug the charger into the wall.
You must leave the battery on this slow charge for at least 24 to 36 hours. Do not rush this step. The sustained low current is what breaks down the hardened lead sulfate.
Monitoring the Charge:
Periodically check on the battery. It is normal for the battery to get slightly warm to the touch and for the internal liquids to bubble mildly. However, if the battery becomes hot to the touch or begins violently boiling/hissing, unplug the charger immediately.
Post-Charge Testing:
After 36 hours, disconnect the charger. Let the battery rest for at least 2 to 4 hours to allow the surface charge to dissipate. Take your multimeter and test the voltage again.
- Your Target Voltage: You want to see a reading of 12.42V or higher. If you see this, the reconditioning was a success!
The Load Test (The Final Proof):
Voltage is only half the story; a battery must also provide sustained amperage under stress. To perform a DIY load test, install the battery in a vehicle. Connect your multimeter to the terminals so you can see the screen from the driver’s seat. Turn the ignition to the “ON” position (do not crank the engine). Turn on the high-beam headlights, the radio, and the AC blower motor on high. Watch your multimeter.
- The Minimum Threshold: The voltage will drop immediately. However, it must stay above 9.6V while under this heavy electrical load. If it drops below 9.6V and continues dropping, the battery’s internal structure is too degraded, and it cannot be saved. If it holds above 9.6V, you have successfully reconditioned your battery!
Document your results (date, starting voltage, ending voltage) with a piece of masking tape on the battery casing for future reference.
Useful Article: How To Identify A Malfunctioning Solar Battery Bank?
Advanced Tips for Prolonging Reconditioned Battery Life
Successfully executing these battery reconditioning steps is incredibly rewarding, but maintaining that success requires diligence. Here is how I keep my reconditioned batteries running for years:
- Implement a Maintenance Schedule: Every three months, clean the terminals with your baking soda paste. Check the fluid levels inside the cells. If the fluid is low, top it off only with pure distilled water (do not add more Epsom salt).
- Invest in a Desulfating Charger: If you rely heavily on battery banks for off-grid living, invest in a smart charger that features a specific “desulfation” or “repair” mode. These chargers send high-frequency pulses through the battery to knock sulfate crystals off the plates automatically.
- Avoid Deep Discharges: The number one killer of lead-acid batteries is drawing them down below 50% capacity. Try to keep your batteries fully charged. If you are using them in a solar setup, ensure your solar array is sized correctly to replenish what you use daily.
Frequently Asked Questions (FAQ)
Can all batteries be reconditioned?
No. This guide is for flooded lead-acid batteries. Furthermore, if a lead-acid battery has physical damage—such as a cracked case, bulging sides, or internally shorted plates (often indicated by a voltage reading well below 10V that refuses to climb)—it cannot be restored.
How many times can you recondition a battery?
In my experience, you can successfully perform this DIY battery reconditioning process about 3 to 5 times on a single battery. Eventually, the lead plates will physically degrade to the point where chemical and electrical restoration is no longer possible.
Is reconditioning a battery safe?
Yes, but only if strict safety protocols are followed. Working with sulfuric acid and the potential emission of explosive hydrogen gas requires working in a well-ventilated space and wearing appropriate PPE (gloves, goggles, mask).
Do I absolutely have to use distilled water?
Yes. This is non-negotiable. Tap water, bottled drinking water, and well water contain trace minerals like iron, calcium, and chlorine. These minerals will react with the acid and permanently coat the lead plates, ruining the battery.
How long does a reconditioned battery last?
A successfully reconditioned battery can give you an additional 1 to 3 years of viable lifespan, depending on how heavily it is used and how well it is maintained moving forward.
Conclusion: Empowering Your Off-Grid Journey
Learning how to recondition old batteries is a powerful skill that embodies the true spirit of self-reliance and sustainability. By following these 7 battery reconditioning steps, you have transformed a toxic piece of landfill waste into a valuable, functioning asset. You have saved yourself the hefty cost of a replacement, reduced environmental impact, and gained a deeper understanding of the systems that power your life.
While this guide provides a robust foundation for restoring standard lead-acid batteries, the world of battery technology is vast. If you want to take your skills to the professional level, learn how to restore lithium-ion packs, revive power tool batteries, and build your own sustainable power banks from recycled materials, I highly recommend looking into the EZ Battery Reconditioning system. It is a phenomenal resource that dives much deeper into advanced restoration techniques.
Don’t throw away batteries that still have life left! EZ Battery Reconditioning system teaches you simple, step-by-step methods to rejuvenate old batteries — from car batteries to golf cart and deep-cycle batteries — using tools most people already have at home.
👉 Learn more about the EZ Battery Reconditioning system here.
A smart, budget-friendly way to extend battery life while protecting the planet — perfect for homesteaders, gardeners, solar owners, and DIYers.
Stay safe, keep experimenting, and keep living green!