Imagine harnessing the sun’s abundant energy, empowering oneself with the ability to convert it into electricity right at home. This article thoroughly explores the complexities and nuances of constructing solar panels as a do-it-yourself project.
It provides an in-depth understanding of different types of solar cells, their appropriate use, and the step-by-step process of assembling solar panels.
The importance of safety measures, the intricacies of installation for optimal efficiency, and the critical factors that influence the longevity of the panels are also discussed.
Furthermore, the potential costs and savings associated with the project are analyzed, including the exploration of government incentives and net metering policies.
The information presented in this article aims to serve as a comprehensive guide for those seeking autonomy in their energy generation and consumption, offering an insight into the potential benefits and challenges of undertaking such a project.
Key Takeaways
- DIY solar panels offer the opportunity to generate clean energy at home
- Significant savings on electricity bills over the expected lifespan
- Proper training and installation are crucial
- Consideration of additional costs and government incentives
Understanding Solar Panel Types
In exploring the potential of DIY solar panels, it is essential to comprehend the various types of solar panels. These types include monocrystalline, polycrystalline, and thin film. Each type is produced using different materials such as mono silicon, polysilicon, or amorphous silicon. Additionally, each type undergoes a distinct production process starting from sand and ending in panel assembly and testing.
Despite the complexity of these processes, they can be replicated on a smaller scale for DIY projects, provided that quality materials are used. Monocrystalline panels, owing to their uniform structure, often have higher efficiency rates. On the other hand, thin film panels are suitable for different applications due to their flexibility.
However, choosing between mono silicon and amorphous silicon materials necessitates a comprehensive understanding of their individual characteristics and performance.
DIY Construction Process
Constructing your own photovoltaic system can be an engaging and rewarding project, provided that quality materials are used and careful attention is paid to each step of the process.
The DIY construction challenges involve the selection of suitable materials and mastering soldering techniques. The chosen materials should include efficient solar cells, a sturdy frame, a reliable junction box, and durable glass.
The soldering process intertwines the solar cells in a specified pattern that maximizes power generation. It requires precision and patience to ensure the electrical connections are secure and efficient.
These tasks, although intricate, foster a sense of accomplishment and belonging among DIY enthusiasts. However, it is critical to understand that success in this endeavor demands technical knowledge, dedication, and careful workmanship.
Components and Safety Measures
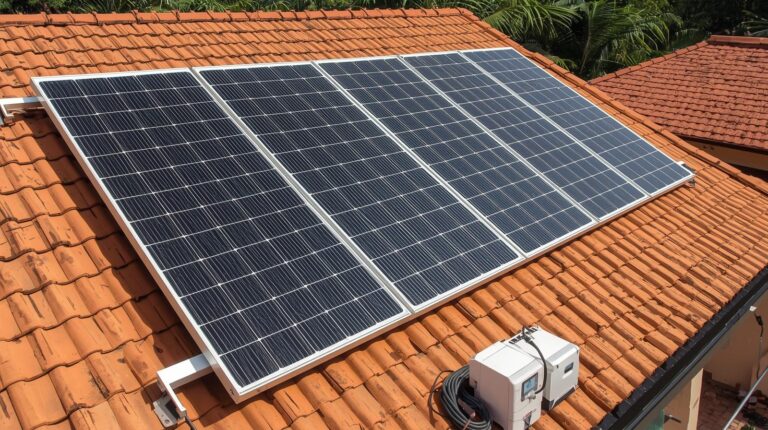
Understanding the components of a photovoltaic system is crucial for the success of any self-made energy production project. Essential solar panel components include solar cells, a junction box, glass, and a frame. Ethylene-vinyl acetate is often used as an adhesive in assembly.
The selection of quality materials is paramount to ensure the durability and efficiency of the finished product.
Safety measures during assembly are also important to consider. Proper handling of materials, use of correct tools, and adherence to electrical safety procedures are essential.
Furthermore, post-assembly safety measures such as regular inspection, maintenance, and weatherproofing are vital for the longevity and safety of the installed panel.
Taking a meticulous approach to component selection and safety measures ensures a sense of belonging to the community of sustainable energy advocates.
Installation and Efficiency
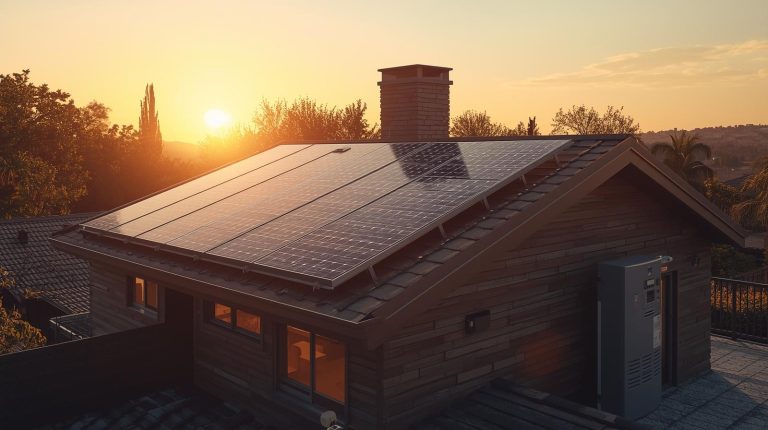
Optimizing the placement and setup of photovoltaic systems can significantly enhance their energy efficiency and overall performance. The incorporation of weatherproofing techniques is crucial to prevent moisture damage and corrosion, thereby extending the lifespan of the solar panels.
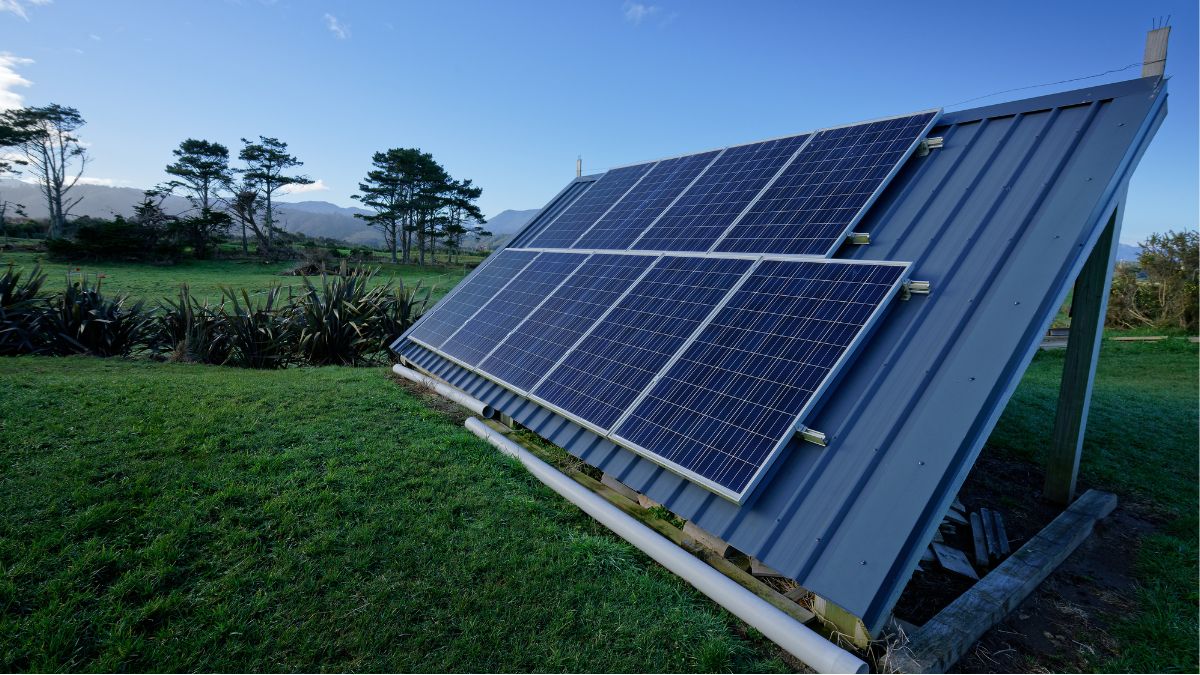
Proper installation practices, such as positioning the solar panels at the optimal angle of inclination and towards a south-facing direction, can maximize sunlight access and consequently, energy generation. However, it is imperative to consider potential obstructions such as trees or buildings that may overshadow the panels and reduce their efficiency.
In addition, adherence to local regulations is mandatory to ensure safe and legal installation. The prospect of belonging to a society that promotes sustainable living can be realized through successful DIY solar panel projects.
Costs, Lifespan and Incentives
Consideration of the financial aspects, such as the initial costs for materials and tools, permit fees, and potential expenses for professional labor, is an essential step in the process of setting up a home-based photovoltaic system.
Despite these costs, the long-term benefits make the investment worthwhile as the system can have a lifespan of 10 to 20 years, and the energy output, which depends on the number and type of cells, can result in substantial savings on electricity bills.
Additionally, to offset the initial investment, government incentives for renewable energy projects are available in many regions, promoting the use of clean energy and providing financial relief for households.
However, it is essential to note that the installation process requires a certain level of training and knowledge, which may necessitate additional expenses for those without prior experience.
Despite this, with proper planning and consideration of all costs, the benefits of having a renewable energy source can outweigh the initial investment.
Conclusion
In conclusion, constructing DIY solar panels constitutes a commendable commitment to renewable resources, providing potential power production and pecuniary profits. However, the process presents particular challenges, such as procurement of proper materials, acquisition of necessary knowledge, and adherence to safety standards.
With expected endurance extending to two decades, these panels provide an appealing prospect. Nevertheless, navigating the nuances of net metering policies, government grants, and other incentives necessitates careful consideration.