Are you tired of high energy bills draining your wallet? Imagine harnessing the power of magnets to generate your own electricity, all while saving money and reducing your carbon footprint. In this step-by-step guide, we will show you how to build your very own magnet generator for free energy. From procuring the materials to understanding the science behind it, this guide has all you need. But what’s the secret behind this seemingly magical device? Keep reading, and you’ll soon discover how magnets can revolutionize the way you power your home.
Ready to Build Your Own Off-Grid Power System?
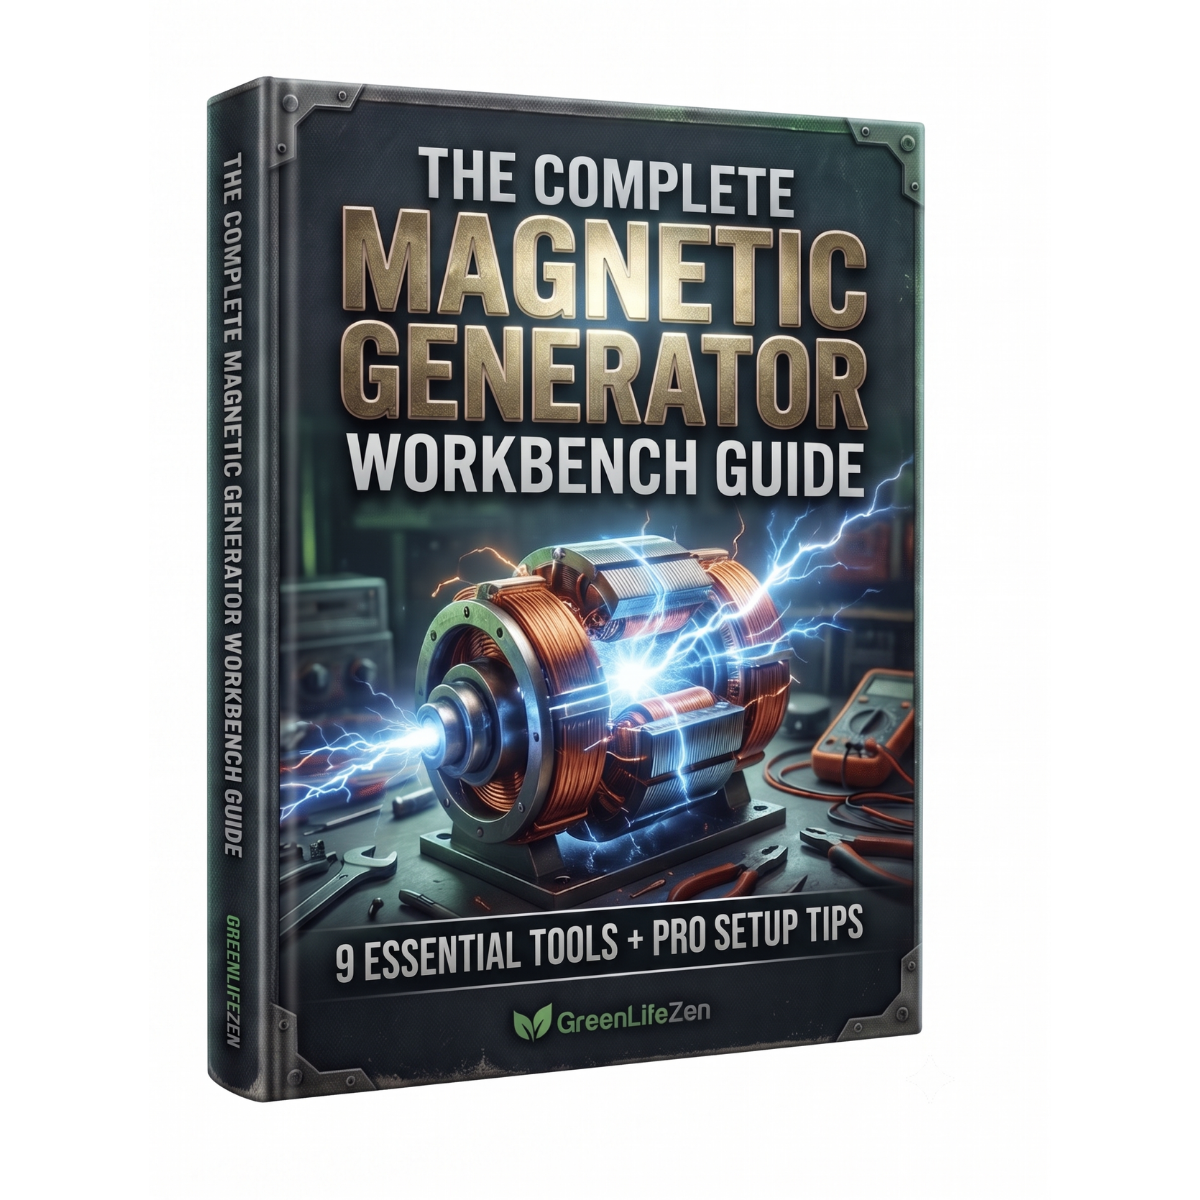
The number one reason DIY magnetic generators fail isn’t the physics—it is a lack of precision tools. Don’t drill a single hole or twist a single wire until your workspace is set up like a professional energy lab. Grab our free 17-page blueprint covering the exact tools, safety gear, and air-gap instruments you need to succeed on your first try.
Key Takeaways
- Use copper wire of the appropriate gauge to create a dynamo coil and connect components for optimal performance.
- Construct a sturdy frame for the generator to ensure stability and support for the components.
- Properly install magnets on the frame to maximize energy generation potential.
- Insulate and secure the magnet wire to create coils and prevent short circuits for efficient power output.
Required Materials
To build a magnet generator for free energy, you’ll need a specific set of materials. One crucial component is copper wire to create the dynamo coil. The coil is made by wrapping the copper wire around a donut magnet, generating electricity when the magnet spins.
It’s important to use the appropriate gauge of copper wire to ensure optimal performance. Additionally, copper wire is used for connecting various components such as the DC motor, switch, and battery. The wire acts as the conductor, allowing the flow of electric current throughout the generator.
When selecting the copper wire, make sure to choose a high-quality, durable option to ensure the longevity and efficiency of your magnet generator.
Building the Frame
Now that you have gathered the required materials, the next step in building your magnet generator for free energy is constructing the frame.
The frame serves as the foundation for assembling the components of the magnetic generator, ensuring efficient functionality. To build the frame, cut a piece of cardboard into an 8cm x 30.4cm size.
Fold the cardboard to create a box shape, securely forming the structure of the generator. Insert and position a large nail, measuring 8cm or longer, through the center of the frame. This nail will act as the axis around which the magnetic generator will rotate.
It’s crucial to ensure that the frame is sturdy and stable to support the components of the magnet generator effectively.
Finishing the Frame
To complete the frame construction, ensure that the cardboard is securely folded and the nail is vertically positioned at the center, serving as the spinning axis. The frame acts as the foundation for the magnet generator, holding all components in place for efficient operation.
It’s crucial to create a sturdy and properly folded cardboard frame to support the magnets and wire winding path. Position the magnets on the nail without obstructing the winding path, allowing for a smooth rotation. To maintain stability during rotation, strive for a balanced and symmetrical design.
The frame plays a vital role in the overall functionality of the generator, providing a stable structure for the magnetic components.
Wiring the Generator
After completing the frame construction, the next step is to wire the generator by tightly wrapping the magnet wire around the cardboard box to create the necessary coils for generating electricity. Ensure that the wire is insulated and securely wrapped to prevent short circuits and maintain efficient power flow.
Make sure to use a sufficient amount of wire for the coils, as this will determine the generator’s power output. Start by securing one end of the wire to the box and then tightly wind the wire around the box in a consistent manner. Once you have completed the wire wrapping, secure the other end of the wire to the box to keep it in place.
Remember that the quality of the wire wrapping will directly impact the generator’s performance, so take your time and do it carefully.
Installing the Magnets
Position the ceramic magnets vertically on the sides of the nail to ensure proper alignment and maximize magnetic field interaction. By following these steps, you can effectively install the magnets for your magnet generator:
- Secure the magnets firmly to the nail using adhesive or tape. This will prevent displacement during rotation, ensuring consistent performance.
- Maintain a consistent distance between the magnets and the wire-wrapped nail. This optimal spacing promotes strong magnetic field interaction, enhancing energy generation.
- Ensure that the magnets are evenly spaced around the nail. This balanced distribution of magnetic forces helps to stabilize rotation and improve overall efficiency.
Proper installation of the magnets is crucial for harnessing the full potential of the magnetic field. The alignment and spacing of the magnets play a significant role in maximizing energy generation. Take the time to position the magnets accurately, allowing for symmetrical distribution and optimal magnetic field interaction.
Testing and Troubleshooting
Now that you’ve installed the magnets properly, it’s time to test and troubleshoot the magnet generator for optimal performance.
To test the energy generator, connect the wire ends to a light and observe if it illuminates when the nail is spun. If the light doesn’t turn on, it’s important to troubleshoot the system. Check for breaks in the wire wrapping around the magnets or loose connections. Make sure that you attach the magnets securely to the nail without disrupting the flow of electricity.
Additionally, verify that the rotation of the nail is fast enough to generate sufficient voltage for the light to turn on. Experiment with different spinning speeds to understand the relationship between rotation and electricity production.
Ready to Build Your Own Off-Grid Power System?
The number one reason DIY magnetic generators fail isn’t the physics—it is a lack of precision tools. Don’t drill a single hole or twist a single wire until your workspace is set up like a professional energy lab. Grab our free 17-page blueprint covering the exact tools, safety gear, and air-gap instruments you need to succeed on your first try.
Frequently Asked Questions
How to Produce Electricity From Magnets at Home Step by Step?
To produce electricity from magnets at home, wind copper wire tightly around the magnets, creating an electromagnetic field. Spin the magnets, inducing a current in the wire, generating electricity. Connect the wire to a load to demonstrate electricity production.
How to Build a Magnetic Field Generator?
To build a magnetic field generator, start by understanding its applications. From powering small devices to harnessing free energy, this guide will show you step by step how to create your own generator.
Can a Magnetic Generator Power a House?
Yes, a magnetic generator can power a house, but its capacity depends on the size and efficiency of the generator. You can use it as an alternative energy source, but additional systems may be required for consistent power supply.
Is Free Energy Generator Possible With Magnets?
Yes, a free energy generator using magnets is possible. By harnessing the power of magnetic fields, you can create alternative energy sources and provide a sustainable and environmentally friendly way to generate electricity without relying on external power sources.
Conclusion
This step by step guide on building your magnet generator for free energy provided a comprehensive and concise approach to constructing a magnet generator. With easily accessible materials and clear instructions, this guide enables anyone to create their own free energy source. By understanding the science behind the generator and following the outlined steps, individuals can embark on a sustainable energy journey. So why wait? Start building your magnet generator today and harness the power of magnets for a greener tomorrow.