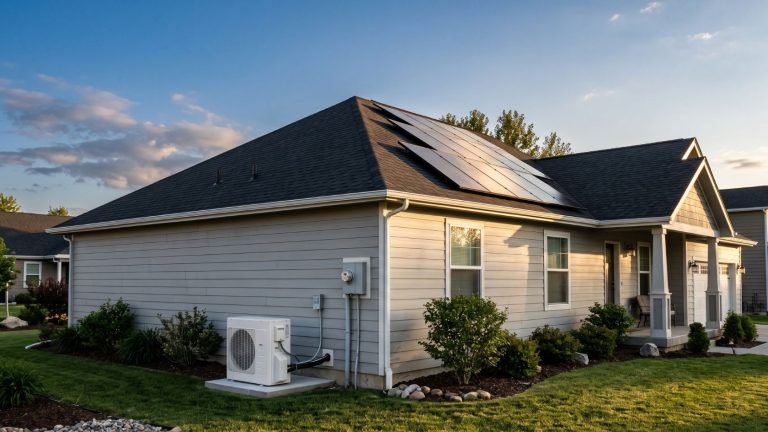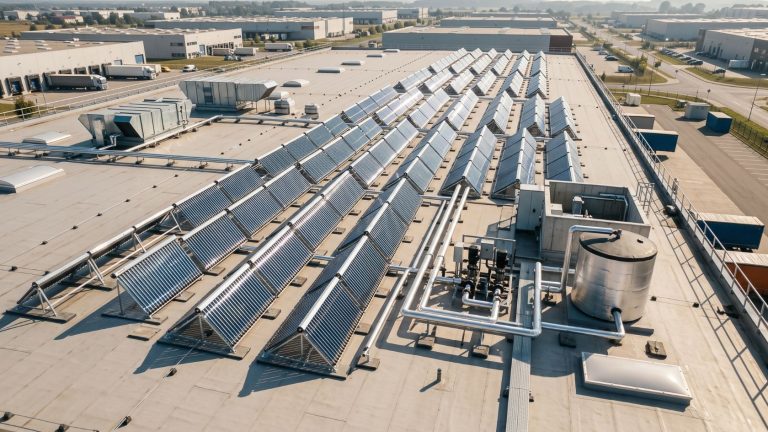
With global electricity rates continually climbing, achieving energy independence is no longer just an environmental ideal—it is a financial necessity. If you have ever looked at your monthly utility bill and wondered if there is a better way, learning how to build solar panels could be your first step toward off-grid freedom and significant long-term savings.
According to the U.S. Energy Information Administration (EIA), the average American home consumes roughly 886 to 900 kilowatt-hours (kWh) of electricity per month. Offsetting even a fraction of that usage with a DIY solar panel installation can dramatically reduce your utility costs. While commercial solar arrays are excellent, they often come with steep installation markups. By sourcing your own components and mastering the basics of solar panel wiring and construction, you can custom-build a system tailored precisely to your energy needs.
In this comprehensive guide, we will walk you through the seven essential steps of building your own solar panels. From calculating your baseline energy load and safely soldering photovoltaic cells, to optimizing your solar panel tilt angle for maximum efficiency, you will learn the exact technical procedures required to generate your own clean power.
💡 Ready to cut your power bill without the guesswork?
While this guide covers the core mechanics of building solar panels, sourcing the right materials and avoiding expensive wiring mistakes can take months of trial and error. If you want to bypass the steep learning curve, the DIY Home Energy System provides complete, step-by-step video blueprints designed specifically for beginners. Learn how to build a fully functional off-grid system this weekend for a fraction of retail cost. Watch the Step-by-Step Video Guide Here ➔
Disclaimer: This guide is written by a renewable energy technical specialist to provide an educational overview of DIY solar panel construction and installation. Working with electricity carries inherent risks. We strongly recommend having a certified solar installer, licensed electrician, or structural engineer review your plans—especially for grid-tied systems or roof-mounted arrays—to ensure compliance with local building codes and the National Electrical Code (NEC).
Step 1: Research and Planning Your Solar Array
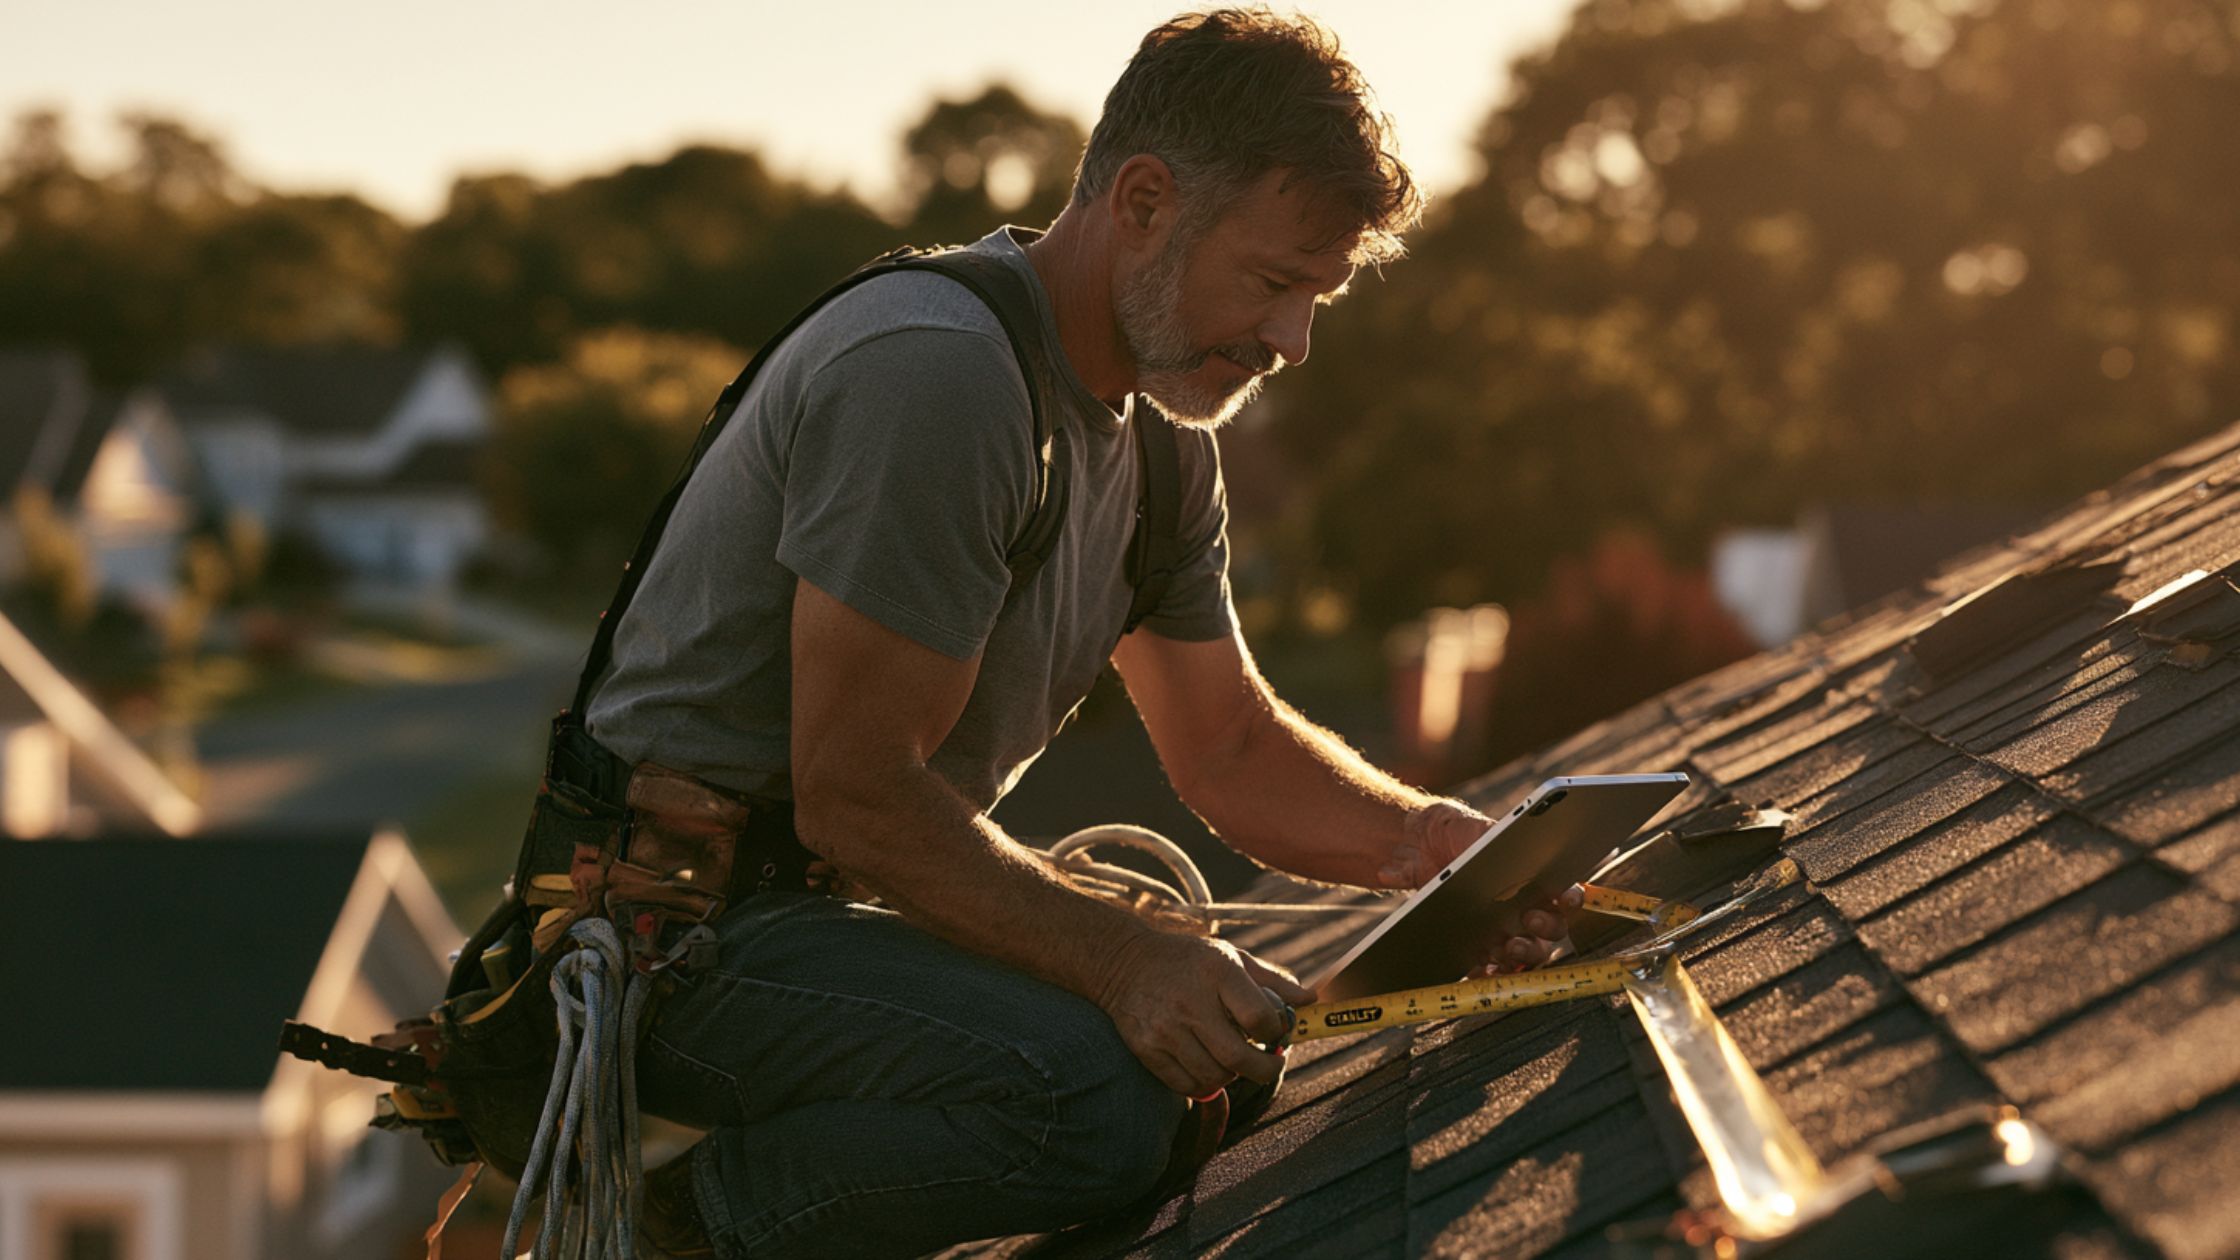
Before purchasing a single wire or photovoltaic (PV) cell, you must establish a concrete plan. Building a solar panel system without a precise energy audit is like building a house without a blueprint.
Calculate Your Energy Needs
Start by reviewing your last 12 months of utility bills to find your average daily and monthly kilowatt-hour (kWh) consumption. This baseline will dictate how many solar panels you need to build. Use an online solar calculator, like the NREL PVWatts Calculator, to estimate the solar potential of your specific geographic location based on historical weather data and sun hours.
Assess Space and Structural Integrity
Solar panels require significant physical footprint. Assess your available roof space or land:
- Roof Mounts: Do you have south-facing roof space? What is the condition of your shingles? A standard 250-watt DIY panel weighs roughly 40 pounds. Ensure your roof’s load capacity can support the combined weight of the panels and the racking system.
- Ground Mounts: If roof space is limited or shaded, a ground-mounted system in a clear, unshaded area of your property might be a better option.
Local Regulations and Incentives
Research your local zoning laws and homeowner association (HOA) guidelines. Some municipalities require specific setbacks or structural permits for solar installations. Additionally, investigate state and federal tax incentives. Even for a DIY solar panel installation, certain components may qualify for the Federal Solar Tax Credit (ITC), provided they meet specific efficiency and regulatory standards.
💡 Pro Tip: The Site Survey
Spend a full day monitoring your proposed installation site. Note how shadows from trees, chimneys, or neighboring buildings move across the area from sunrise to sunset. Even partial shading on a single solar cell can drastically reduce the output of an entire panel.
With your energy load calculated and your site surveyed, you are ready to gather your materials.
Step 2: Purchasing and Preparing Components
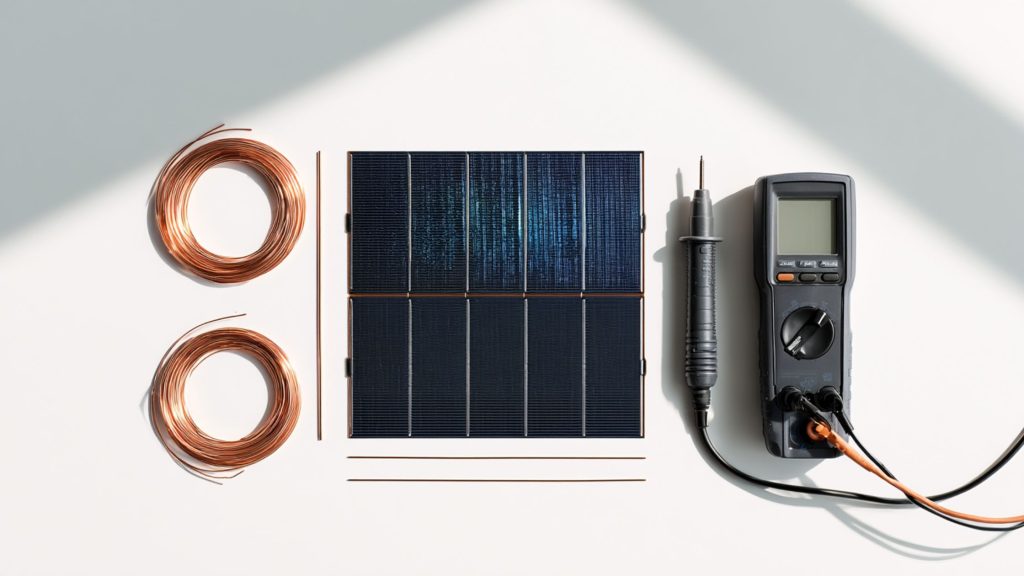
Sourcing high-quality solar panel components is critical. The materials you choose will directly impact the lifespan and efficiency of your off-grid solar system. Compare pricing across multiple wholesale suppliers to find the best balance between cost and performance.
Core Materials You Will Need
- Photovoltaic (PV) Cells: You must choose between monocrystalline and polycrystalline cells. Monocrystalline cells are highly efficient and space-saving but more expensive. Polycrystalline cells are slightly less efficient but highly cost-effective, making them the preferred choice for many DIYers building their first panels.
- Tabbing Wire and Bus Wire: Used to connect the individual solar cells in series and parallel.
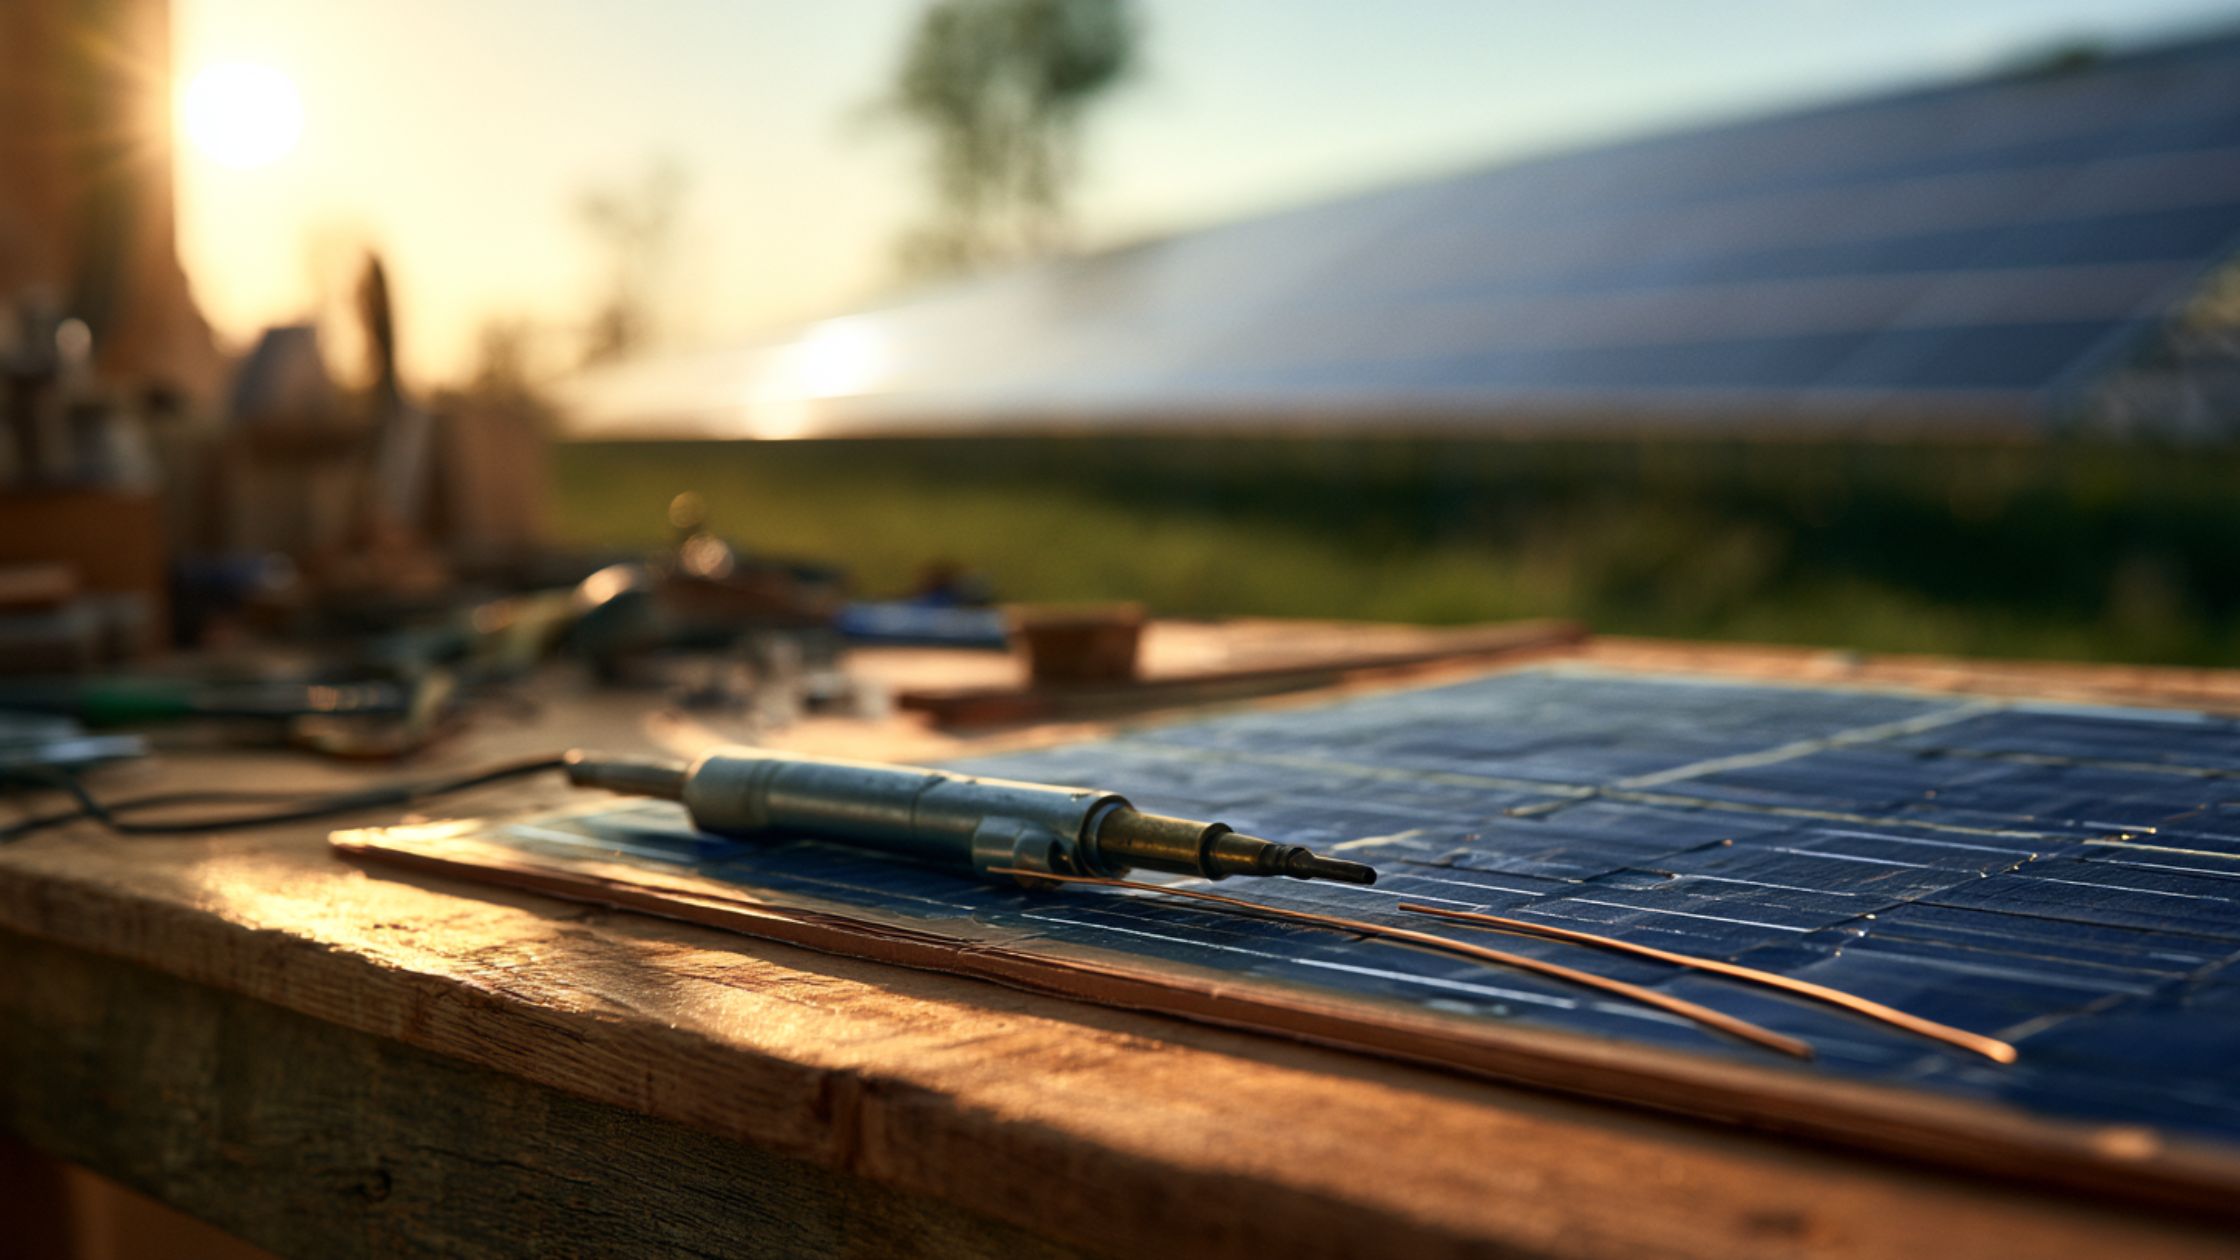
- Flux Pen and Solder: Essential for creating strong, conductive electrical bonds between cells.
- Encapsulant (Silicon or EVA Film): Protects the fragile cells from moisture and physical damage.
- Backing Material (Plywood or Glass): 3/8-inch or 1/2-inch plywood is standard for budget DIY builds, coated heavily in UV-resistant paint.
- Front Cover (Plexiglass or Tempered Glass): Plexiglass is easy to drill and cut, but tempered glass offers superior longevity and light transmission.
- Blocking Diodes: Prevents your batteries from discharging electrical current back through the solar panels at night.
System Infrastructure Components
- Solar Charge Controller: Regulates the voltage and current coming from the panels going to the battery.
- Inverter: Converts the Direct Current (DC) generated by your panels into the Alternating Current (AC) used by household appliances.
- Deep Cycle Batteries: Stores the generated power. Lead-acid or Lithium iron phosphate (LiFePO4) are standard.
- Racking System: Aluminum rails and brackets to mount the panels securely.
When budgeting, do not forget to factor in the hidden costs: shipping fees for heavy batteries, local taxes, specialized tools (like a heavy-duty soldering iron and wire strippers), and safety gear. Read: How Much Do Solar Panels Cost? The 2026 Homeowner’s Financial Guide.
Now that your workspace is prepped and materials are sourced, it is time for the most delicate phase of the project: assembly.
Stop Overpaying for Solar Components
The biggest mistake DIYers make is buying the wrong batteries or incompatible charge controllers, instantly wiping out their savings. The DIY Home Energy System includes a closely guarded list of wholesale suppliers where you can source deep-cycle batteries and high-efficiency PV cells at deep discounts. Get the Blueprint and the Secret Supplier List Here ➔
Step 3: Building the Panels
Building the solar panels yourself requires patience and a steady hand. Photovoltaic cells are as fragile as potato chips; buy at least 20% more than you need to account for accidental breakage.
1. Prepare the Backing Board
Cut your plywood to fit the planned grid of your solar cells (e.g., a 36-cell panel arranged in a 4×9 grid). Paint the plywood with three coats of high-quality, UV-resistant exterior paint to prevent rot and warping.
2. Solder the PV Cells (Tabbing)
Apply a UV protector and use a flux pen down the conductive silver lines of each solar cell. The flux removes oxidation and ensures a clean solder joint.
Carefully solder the tabbing wire to the front of one cell, and connect it to the back of the next cell. This connects the cells in a series, increasing the voltage.
3. Secure the Cells
Once you have your strings of cells soldered together, carefully transfer them to your prepared plywood backing. Apply a small dab of non-conductive, outdoor-grade silicon to the center of each cell’s back to adhere it to the board. Do not glue the edges, as the cells need slight room to expand and contract with temperature fluctuations.
4. Wire the Busbars and Diodes
Solder thicker bus wire to the ends of your cell strings to connect them together. Route the positive and negative ends to the top of the panel. Solder a blocking diode to the positive lead; this is a critical one-way valve that ensures power flows out to your batteries during the day, but doesn’t drain them at night.
5. Enclose and Weatherproof
Drill holes for your positive and negative wires to exit the back of the panel. Create a raised border around the edges of the plywood using 1×2 lumber. Seal all interior edges heavily with silicon to prevent water leakage. Attach your plexiglass or tempered glass to the wooden border and secure it tightly with screws, sealing the screw holes and edges with more silicon.
6. Ventilation
Drill a small, downward-facing hole at the very bottom of the wooden frame. This allows for airflow and ensures any internal condensation has a way to weep out, preventing internal corrosion.
⚠️ Safety Warning: Toxic Fumes
Soldering creates fumes that can be hazardous. Always construct your panels in a highly ventilated area, wear safety glasses, and consider using a fume extractor or a respirator mask designed for soldering work.
With your panel fully assembled and sealed, you must now safely connect it to your wider system.
Step 4: Wiring and Installation
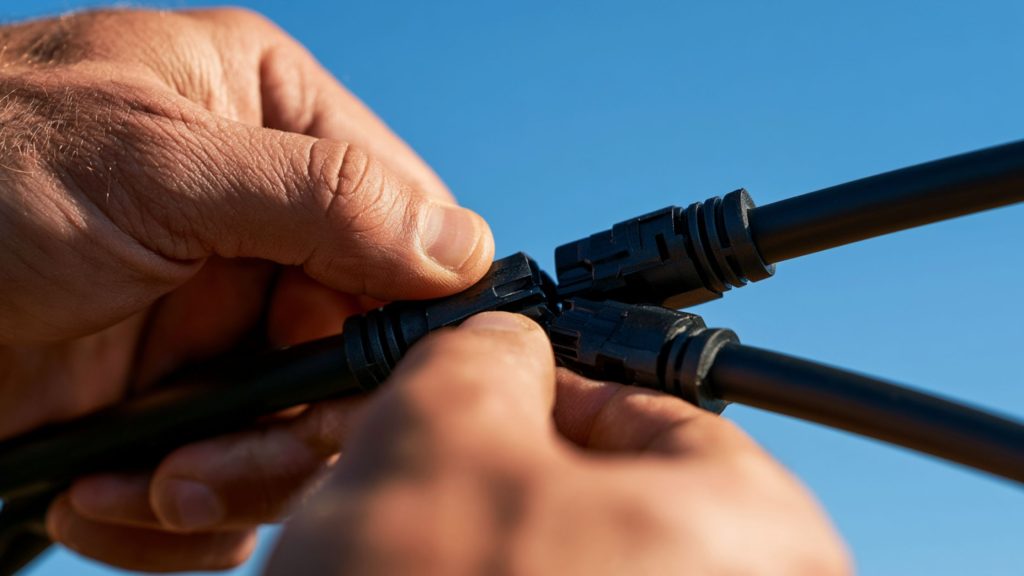
Proper solar panel wiring is the difference between a high-performing off-grid solar system and a dangerous fire hazard. Before beginning any electrical work, physically shut off all main breakers and disconnect any existing power sources.
Series vs. Parallel Wiring
How you wire your panels together depends on your inverter and battery bank requirements:
- Series Wiring: Connect the positive terminal of Panel A to the negative terminal of Panel B. This increases the overall voltage while keeping the amperage the same. This is ideal for long wire runs to reduce voltage drop.
- Parallel Wiring: Connect all positive terminals together, and all negative terminals together. This increases the amperage while keeping the voltage the same. This setup performs better in conditions where partial shading might occur.
Cable Sizing and Management
Never skimp on cabling. Use high-quality, UV-rated, copper PV wire (typically 10 AWG or 12 AWG, depending on your system’s amperage). Using wire that is too thin will cause dangerous overheating and severe voltage drops, meaning the power you generated won’t make it to your batteries.
Use waterproof MC4 connectors for all exterior connections. These lock tightly together and are specifically designed to withstand rain, ice, and UV degradation. Route all cables neatly along your racking system using UV-resistant zip ties, ensuring no wires are resting directly on the roof surface where they could chafe or sit in standing water.
Your panels are built and wired; now they need to be positioned to capture the sun’s energy.
If calculating voltage drops and mapping out parallel vs. series wiring feels too risky, you do not have to do it alone. We highly recommend using the exact wiring schematics provided in the DIY Home Energy System Blueprint, which simplifies the entire electrical setup into a safe, paint-by-numbers process.
Step 5: Positioning and Optimization
The most efficient solar panel in the world is useless if it is pointed in the wrong direction. Optimizing your solar panel tilt angle and orientation is vital to maximizing your energy yield.
Orientation and Tilt Angle
If you live in the Northern Hemisphere, your solar panels must face True South (not magnetic south). Conversely, in the Southern Hemisphere, they must face True North.
The ideal tilt angle is heavily dependent on your latitude. A general rule of thumb for year-round performance is to tilt your panels at an angle equal to your latitude. For example, if you live in Denver, Colorado (latitude 39°), a 39-degree tilt is optimal.
- Winter Optimization: To capture the lower winter sun, add 15 degrees to your latitude.
- Summer Optimization: To capture the high summer sun, subtract 15 degrees from your latitude.
Dealing with Seasonal Variations and Shading
Account for local geography and seasonal foliage. A tree that loses its leaves in the winter might cast a massive shadow when it blooms in the spring. Keep your panels clear of chimney shadows, roof vents, and neighboring buildings.
Automated Solar Trackers
For ground-mounted systems, consider investing in a solar tracker. Single-axis or dual-axis trackers use light sensors and small motors to physically tilt and rotate the panels throughout the day, following the sun’s path. While they add upfront cost and mechanical complexity, trackers can increase a system’s energy output by 25% to 40% compared to a fixed mount.
💡 Pro Tip: The Water Shed Effect
A tilt angle of at least 15 degrees is recommended even near the equator. A completely flat panel will collect rain, dust, and debris. A minimum 15-degree tilt ensures that rainwater will naturally wash dirt off the glass, keeping the cells clean and efficient.
Once positioned correctly, the DC power generated needs to be managed and converted for home use.
Step 6: Electrical System Setup
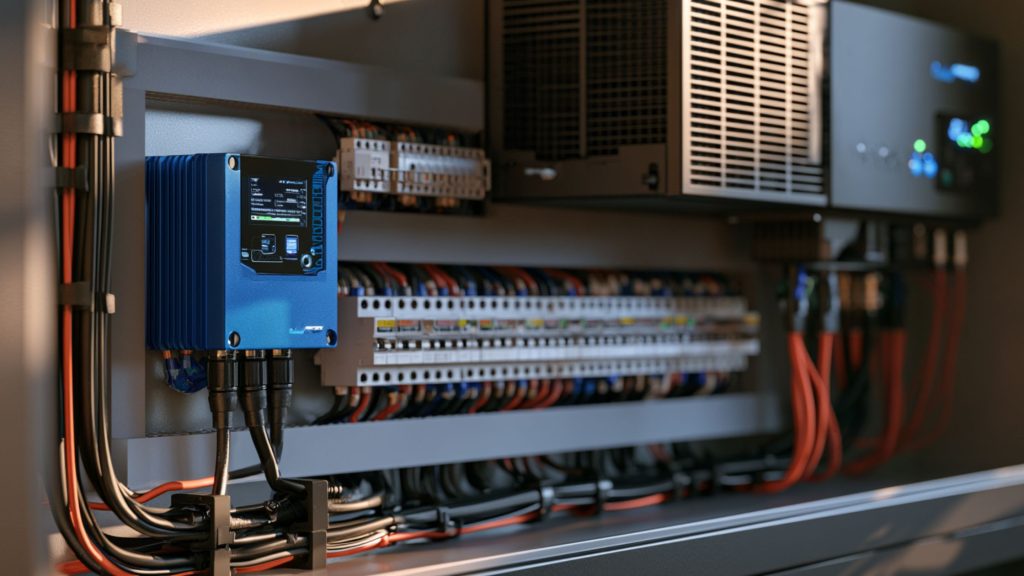
Connecting the generation side (panels) to the storage and consumption side (batteries and home) is where strict adherence to electrical codes is paramount. Check out our detailed guide on Off-Grid Solar Systems for deep dives into component sizing.
The Solar Charge Controller Setup
The solar charge controller is the brain of your battery bank. Never connect solar panels directly to a battery; the fluctuating voltage will overcharge and destroy the battery, potentially causing an explosion.
There are two main types of controllers:
- PWM (Pulse Width Modulation): Cheaper, but less efficient. Best for small, simple systems where the panel voltage matches the battery voltage.
- MPPT (Maximum Power Point Tracking): More expensive, but up to 30% more efficient. MPPT controllers actively convert excess voltage into usable amperage, making them essential for larger arrays or varying weather conditions.
Installation Order: Always connect your batteries to the charge controller FIRST. This allows the controller to boot up and recognize the battery voltage (12v, 24v, or 48v). Only after the battery is connected should you connect the solar panels to the charge controller.
Inverters and Safety Breakers
Your inverter connects to the battery bank, drawing DC power and converting it to standard 120V/240V AC power. Choose an inverter rated for your maximum expected peak load, plus a 25% buffer.
Safety is non-negotiable here. Install DC-rated circuit breakers or inline fuses between:
- The solar panels and the charge controller.
- The charge controller and the battery bank.
- The battery bank and the inverter.
These fuses protect your expensive components from sudden power surges, lightning strikes, or accidental short circuits. Follow all manufacturer specifications for grounding your system properly. If you are integrating this into your home’s main electrical panel (a grid-tied system), you must consult a licensed electrician.
Step 7: Testing, Maintenance, and Troubleshooting
Your system is fully wired, but the job is not quite finished. Before relying on your new DIY solar panel installation, you must rigorously test it and establish a maintenance schedule.
Initial Testing Procedures
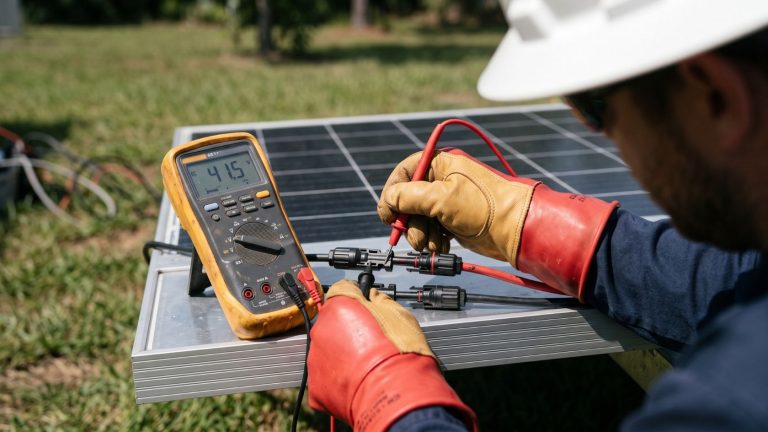
Before throwing the main breaker to power your home, test each component independently using a digital multimeter.
- Test the Panels: Measure the Open Circuit Voltage (Voc) and Short Circuit Current (Isc) of your array in full sunlight. The readings should closely match the specifications calculated when you built the panels.
- Verify Connections: Check every MC4 connector, battery terminal, and inverter lug. Loose connections cause electrical arcing, which is a major fire hazard. Ensure all junction boxes are properly sealed against moisture.
Routine Maintenance
Solar panels have no moving parts, making maintenance relatively simple, but it cannot be ignored.
- Cleaning: Clean the glass surface of your panels every 3 to 6 months. Use a soft brush, mild soap, and a squeegee. Never use abrasive sponges or harsh chemicals that can scratch or degrade the glass.
- Visual Inspections: Twice a year, inspect the wiring for signs of UV degradation, rodent damage, or corrosion.
- Battery Care: If using flooded lead-acid batteries, check the water levels monthly and equalize them according to manufacturer specs. LiFePO4 batteries require much less maintenance but should be kept in a temperature-controlled environment for maximum lifespan.
Troubleshooting Common Issues
If your system underperforms, check the obvious first:
- Is there a new source of shading (like a rapidly growing branch)?
- Are the panels coated in thick dust or snow?
- Is a breaker tripped or a fuse blown between the controller and the batteries?
By monitoring your charge controller’s digital readout daily during your first month, you will learn the normal operational rhythm of your system, allowing you to quickly spot and resolve anomalies.
Frequently Asked Questions (FAQs)
How much does it cost to build your own solar panels?
Building a single 250W solar panel from scratch typically costs between $100 and $200 in raw materials (cells, plywood, glass, wiring). However, you must also budget for the balance of system (BOS) components like the inverter, batteries, and charge controller, which can add hundreds or thousands of dollars depending on the scale of your project.
Stop Overpaying for Solar Components
The biggest mistake DIYers make is buying the wrong batteries or incompatible charge controllers, instantly wiping out their savings. The DIY Home Energy System includes a closely guarded list of wholesale suppliers where you can source deep-cycle batteries and high-efficiency PV cells at deep discounts. Get the Blueprint and the Secret Supplier List Here ➔
Is it actually cheaper to build DIY solar panels than to buy them?
Yes, building the panels from raw photovoltaic cells is cheaper in terms of direct material costs. However, commercially manufactured panels have dropped significantly in price and offer extensive 25-year warranties, superior weatherproofing, and guaranteed efficiency. Many DIYers prefer to buy pre-made panels but save thousands of dollars by doing the installation and wiring themselves.
Can a DIY solar panel system power my whole house?
Absolutely. However, powering an entire modern home requires a large array (often 20 to 40 panels), a robust battery bank, and a heavy-duty inverter. A system of this size requires careful engineering, precise load calculations, and typically requires professional permits and inspections.
Do I need an electrician to hook up my solar panels?
If you are building an entirely off-grid solar system (like for a shed, RV, or remote cabin), you can legally do the wiring yourself in most jurisdictions. However, if your system connects to your home’s main electrical panel or interacts with the municipal utility grid (grid-tied), virtually all local laws require the final connections to be performed or signed off by a licensed electrician.
Conclusion: Powering Up
Learning how to build solar panels is a challenging but immensely rewarding endeavor. By taking the time to properly research and plan, carefully purchase and prepare your components, and meticulously follow best practices for building, wiring, and positioning, you can create a reliable source of renewable energy for your home.
Remember that the heart of a successful installation lies in the electrical setup and ongoing maintenance. Never compromise on safety—use the correct wire gauges, install appropriate breakers, and respect the power of electricity.
Are you ready to take the next step toward energy independence? Share your project plans or ask questions in the comments below! If you are still figuring out your budget, check out our comprehensive guide to map out the exact financials for your upcoming DIY solar build.
Your Next Step Toward True Energy Independence
You now know the science and the seven essential steps to building your own solar panels. But reading about it and actually generating your first kilowatt of free electricity are two different things. To guarantee your build is safe, efficient, and successful on the very first try, grab the DIY Home Energy System. It removes all the technical guesswork, providing you with over-the-shoulder video instructions, exact material lists, and safety-verified wiring diagrams. Stop renting your electricity from the utility company. Click here to download the DIY Home Energy System and start building your array today.