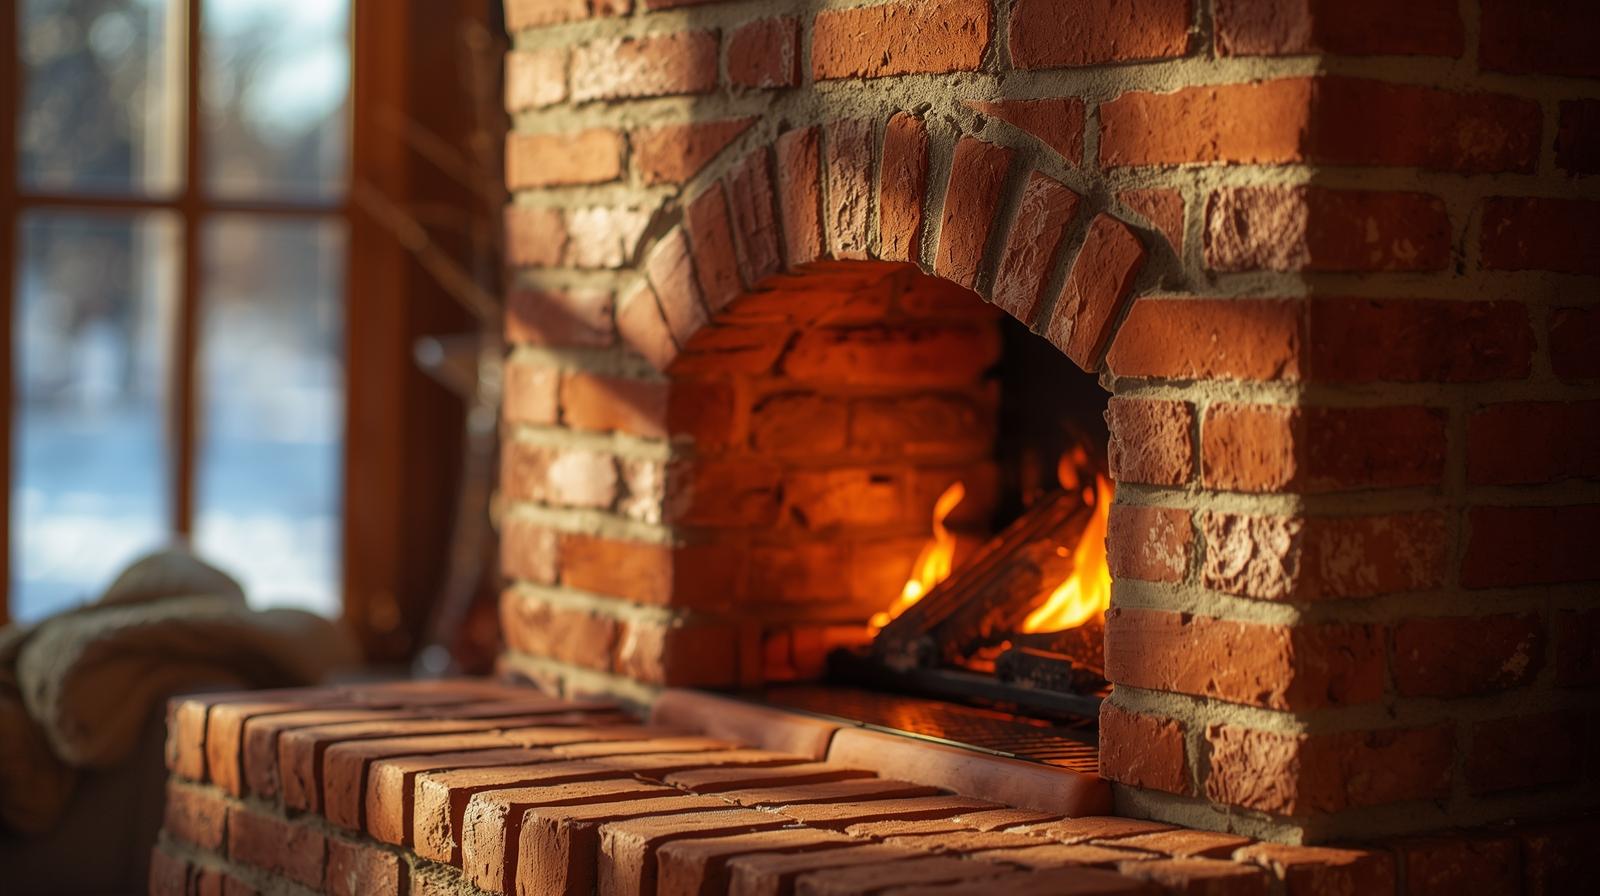
What if warmth didn’t come from a power bill — but from the earth beneath your feet? Imagine heating your home with just a few firebricks, a handful of clay, and the energy of a small wood fire that keeps your space warm for hours — long after the flames are gone. That’s the quiet genius of a thermal mass heater — an ancient idea, reborn for modern sustainable living.
Unlike conventional stoves that waste most of their heat up the chimney, a thermal mass heater stores heat like a battery — in its clay and brick body — and slowly releases it back into your home. It’s beautiful, functional, and built entirely from natural materials. Today, we’ll walk through how to build your own — a system that turns fire into stored sunlight.
What Is a Thermal Mass Heater (And Why It’s Genius)
Think of a thermal mass heater as a living radiator. You burn a small, intense fire in a compact chamber. Instead of letting that heat vanish, it’s absorbed by dense materials — typically bricks and clay — which then release warmth over 12–24 hours. This method isn’t new. It’s inspired by traditional Russian stoves, Finnish masonry heaters, and modern “rocket mass heater” designs. The principle is simple:
The more thermal mass, the longer and steadier the heat.
Why It Matters
- Efficiency: Burns 80–90% less wood than open fires.
- Sustainability: Made from clay, sand, and reclaimed bricks.
- Comfort: Produces gentle radiant warmth instead of hot dry air.
- Freedom: Works perfectly off-grid — no power, no fuel costs.
When you build a thermal mass heater, you’re not just heating space. You’re reviving a timeless relationship between fire, earth, and human craft.
Related Post: DIY Solar Oven: Cook and Dehydrate With the Sun
Materials You’ll Need
| Material | Purpose | Notes |
|---|---|---|
| Fire bricks / red clay bricks | Core heat retention | Avoid concrete or cement blocks (they crack under high heat). |
| Clay & sand (3:1 ratio) | Mortar + body | Use natural, local clay if possible. |
| 55-gallon metal barrel | Heat exchanger | Recycled drum; ensure it’s clean and rust-free. |
| Flue pipe (6-inch diameter) | Gas flow channel | Stainless or galvanized for durability. |
| Gravel or stones | Stable base | Distributes heater weight evenly. |
| Perlite or ash insulation | Keeps heat in the core | Optional but highly efficient. |
🪶 Tip: If you’re building indoors, let materials dry naturally before firing. Clay expands slightly when heated.
Step-by-Step: Building Your Thermal Mass Heater
This design follows a rocket mass heater style — small combustion chamber, tall insulated riser, and a long clay bench that stores warmth.
Step 1: Build a Solid Base
Start with a flat, fireproof foundation — concrete, brick, or packed gravel.
Mark your layout: about 3 feet by 6 feet for a small home heater.
Compact the base firmly to prevent shifting, and layer bricks evenly.
If working indoors, ensure at least 4 inches clearance from all walls for fire safety.
Step 2: Create the Firebox
The firebox is the heater’s heart. It’s where your wood burns hot and clean.
- Arrange fire bricks in a rectangle roughly 12×16 inches.
- Leave a small air inlet at the front for oxygen flow.
- Use clay-sand mortar (not cement) to seal gaps.
Your goal: a combustion chamber that burns efficiently, not endlessly.
A small, well-contained fire creates far more usable heat than a large, wasteful one.
Step 3: Build the Heat Riser
Stack bricks upward to form a vertical chimney — about 24 inches high.
This “riser” creates draft, pulling hot gases upward to the barrel.
Insulate around it using perlite, vermiculite, or wood ash, which traps heat and increases combustion temperature.
🌿 Think of the riser as the heater’s lungs — breathing energy into motion.
Step 4: Install the Barrel
Place the metal barrel directly over the riser. This is where the magic happens.
The rising hot gases hit the barrel’s cool metal surface, releasing intense heat into the room. Then the gases spiral downward and flow into your thermal mass bench — the long clay structure that will store residual warmth.
Seal the connection with a clay-sand mix for an airtight fit.
Step 5: Construct the Thermal Mass Bench
This clay-and-brick bench (or wall) is your heat battery.
- Lay the flue pipe through its length, connecting the barrel to the exhaust vent.
- Surround the pipe with packed clay-sand mix and reclaimed bricks.
- Shape it into a sitting bench, wall ridge, or built-in sofa if you wish — the design is flexible.
Once the clay hardens, it will radiate warmth for 12–24 hours after a single firing.
Step 6: Add the Exhaust System
Route the flue pipe to exit safely outdoors. Use insulated sections if it passes through walls.
Ensure at least a 6-inch pipe diameter for smooth gas flow — anything smaller risks smoke backup.
Add a small chimney cap outside to prevent rain entry.
Step 7: Test and Refine
Light a small test fire.
- Watch for steady upward draft.
- Ensure no smoke escapes indoors.
- Check the outer clay for hairline cracks (normal during drying).
Let the system dry for several days before full use. Once cured, it’s remarkably durable — some clay heaters have lasted over 40 years with only minor maintenance.
Related Post: Passive Cooling Strategies for Humid Climates
Safety & Performance Tips
- Always place the heater on non-flammable flooring.
- Install a carbon monoxide detector nearby.
- Avoid sealing surfaces with synthetic paints — use limewash or natural plaster.
- Empty ash regularly to maintain airflow.
- For efficiency, keep firewood dry and cut to consistent sizes.
💡 Pro Tip: Once heated, your clay mass can retain warmth overnight — perfect for early morning coffee in winter.*
The Science of Natural Warmth
Why does clay outperform metal radiators? Because it doesn’t fight heat — it partners with it.
Clay and brick are dense, porous materials. When heated, their molecules vibrate slowly, storing energy. As the room cools, they release that energy gradually — maintaining stable comfort without sudden temperature drops.
This slow radiation feels softer, like the warmth of sunlit stone. It’s not just physical comfort — it’s emotional equilibrium.
🌿 “You don’t heat the air. You heat the soul of the room.”
Maintenance & Longevity
A well-built thermal mass heater can last decades with simple care.
Every few weeks:
- Scoop out ash.
- Brush the flue pipe lightly.
Each season:
- Inspect clay seams for cracks. Patch with fresh mix (3:1 sand-to-clay).
- Reseal flue joints with clay if needed.
Every few years:
- Refinish surface with a thin limewash or clay plaster for aesthetics.
Design Variations & Upgrades
Compact indoor unit: Fits in small cabins or tiny homes.
Outdoor cooking stove: Extend the flue upward for dual heat + cooktop use.
Hybrid water-heating coil: Run copper tubing around the riser for warm water.
To personalize your heater:
- Coat with lime plaster for a rustic finish.
- Embed mosaic tiles or natural stones for artistic texture.
- Shape seating areas into gentle curves to store more heat mass.
Common Mistakes to Avoid
| Mistake | Why It’s a Problem | Fix |
|---|---|---|
| Using cement mortar | Cracks under heat | Use clay-sand only |
| Flue too narrow | Smoke backup | Keep 6-inch minimum diameter |
| No insulation | Poor heat retention | Add perlite or ash around riser |
| Overfiring | Clay fatigue | Burn small, hot fires — not large ones |
Real-World Inspiration: The Off-Grid Cabin Test
In rural Vermont, a couple built a clay-brick heater with a recycled drum and reclaimed floor bricks. They light it twice a day in winter, using less than one wheelbarrow of wood per week.
Their report? “The house feels like it’s breathing warmth. We wake up to comfort, not cold.”
That’s the essence of a thermal mass heater — low effort, high harmony.
The Deeper Meaning of Clay Heat
There’s something ancient and mindful about crafting warmth from the elements.
When you mix clay, stack bricks, and tend your first small fire, you reconnect with the rhythm that sustained generations before electricity.
Each fire becomes a ritual of renewal. Each ember, a reminder that comfort doesn’t have to cost the planet.
“When you build your own warmth, you never forget its value.”
In Summary: The Simplicity of Self-Sufficient Heat
- Build with earth, fire, and air — no factory parts required.
- Burn small, bright fires for lasting warmth.
- Let your home breathe — and balance with nature.
A thermal mass heater isn’t just a tool; it’s a philosophy in brick form — slow energy, long comfort, eternal balance.
So this winter, consider building one. You won’t just heat your home — you’ll heat your relationship with the earth itself.