For many gardeners, the first frost feels like the end of the season. The tomatoes have withered, the peppers have slowed, and beds that were once overflowing with green now sit empty. But what if the end of summer didn’t mean the end of your harvest?
A cold frame is one of the simplest and most affordable tools to keep your garden productive well into fall, winter, and even early spring. With just a few boards, a transparent lid, and a sunny spot, you can create a microclimate that shelters your crops from frost while capturing the warmth of the sun.
Imagine harvesting crisp spinach on a frosty November morning or pulling fresh carrots from the soil in December. That’s the magic of a cold frame. In this tutorial, you’ll learn exactly how to build your own DIY cold frame, what to grow in it, and how to maintain it for success.
Related Post: Fall Planting Secrets That Guarantee Fresh Vegetables All Winter.
What Is a Cold Frame and How Does It Work?
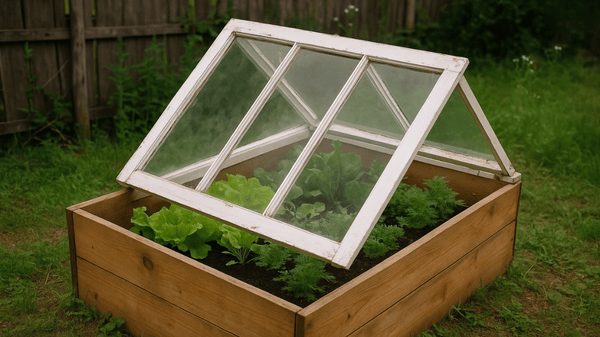
A cold frame is essentially a bottomless box with a clear top. The transparent lid—made from glass, plexiglass, or clear plastic—captures sunlight during the day and traps warmth inside, creating a stable, protected environment for plants.
Here’s what makes cold frames so effective:
- Insulation: They shield crops from frost, wind, and sudden temperature drops.
- Microclimate: Soil inside a cold frame warms earlier in spring and stays warmer later in fall.
- Versatility: Cold frames work for extending harvests, starting seeds early, or hardening off seedlings before transplanting.
Think of a cold frame as a mini greenhouse—but easier, cheaper, and perfect for small spaces like raised beds or backyard gardens.
Materials You’ll Need for a DIY Cold Frame
Building a cold frame doesn’t require fancy tools or expensive supplies. In fact, many gardeners build them with recycled or repurposed materials. Here’s what you’ll need:
- Wooden boards: Cedar, pine, or even old pallets (cedar is more durable outdoors).
- Transparent top: An old window, storm door, or plexiglass/polycarbonate sheet.
- Hinges and screws: To attach the lid and allow easy opening.
- Basic tools: Saw, drill, hammer, measuring tape.
- Optional materials:
- Straw bales or bricks for a quick no-build frame.
- Weatherstripping to seal edges.
- Handles for easy lid lifting.
💡 Budget tip: Check thrift stores, salvage yards, or neighborhood “free” groups for old windows. They’re the perfect size and give your cold frame a rustic charm.
Step-by-Step Guide to Building a Cold Frame
1: Choose the Right Location
- Pick a south-facing spot to maximize sunlight.
- Place it close to your house or garden path for convenience.
- Avoid shaded areas under trees or fences.
2: Build the Frame Base
- Cut wooden boards to create a rectangle (3–6 feet long, 2–4 feet wide).
- Make the back side taller than the front (e.g., 18 inches vs. 12 inches). This slope allows the lid to face south and capture maximum light.
- Screw the boards together securely.
3: Attach the Transparent Lid
- Use hinges to connect the lid to the back of the frame.
- Ensure it opens easily for venting.
- A snug fit is important to retain warmth, but it shouldn’t be airtight—you’ll need to vent excess heat.
4: Place and Anchor the Cold Frame
- Position the frame directly over soil or raised beds.
- Anchor it with bricks or soil piled along the edges to prevent drafts.
- For added insulation, line the inside with straw bales or bury the sides slightly.
5: Test and Adjust
- On a sunny day, measure the temperature inside. It should be 5–15°F warmer than outside.
- Practice opening the lid during midday to release excess heat.
- Add a simple stick or pole to prop the lid open when needed.
In just a weekend, you can have a fully functioning cold frame ready to extend your harvest.

- APPLICATION SCENARIOS - Our pop up PE greenhouse can be versatile for gardens, labs, or indoors...
- LARGE SPACE - The size of the greenhouse is 250*125*130CM/98.4"L x 49.2"W x 51"H, weighing 5.2kg...
- DURABLE MATERIALS -The 600D Oxford and Double-layer PE & mesh fabric used in this greenhouse have...
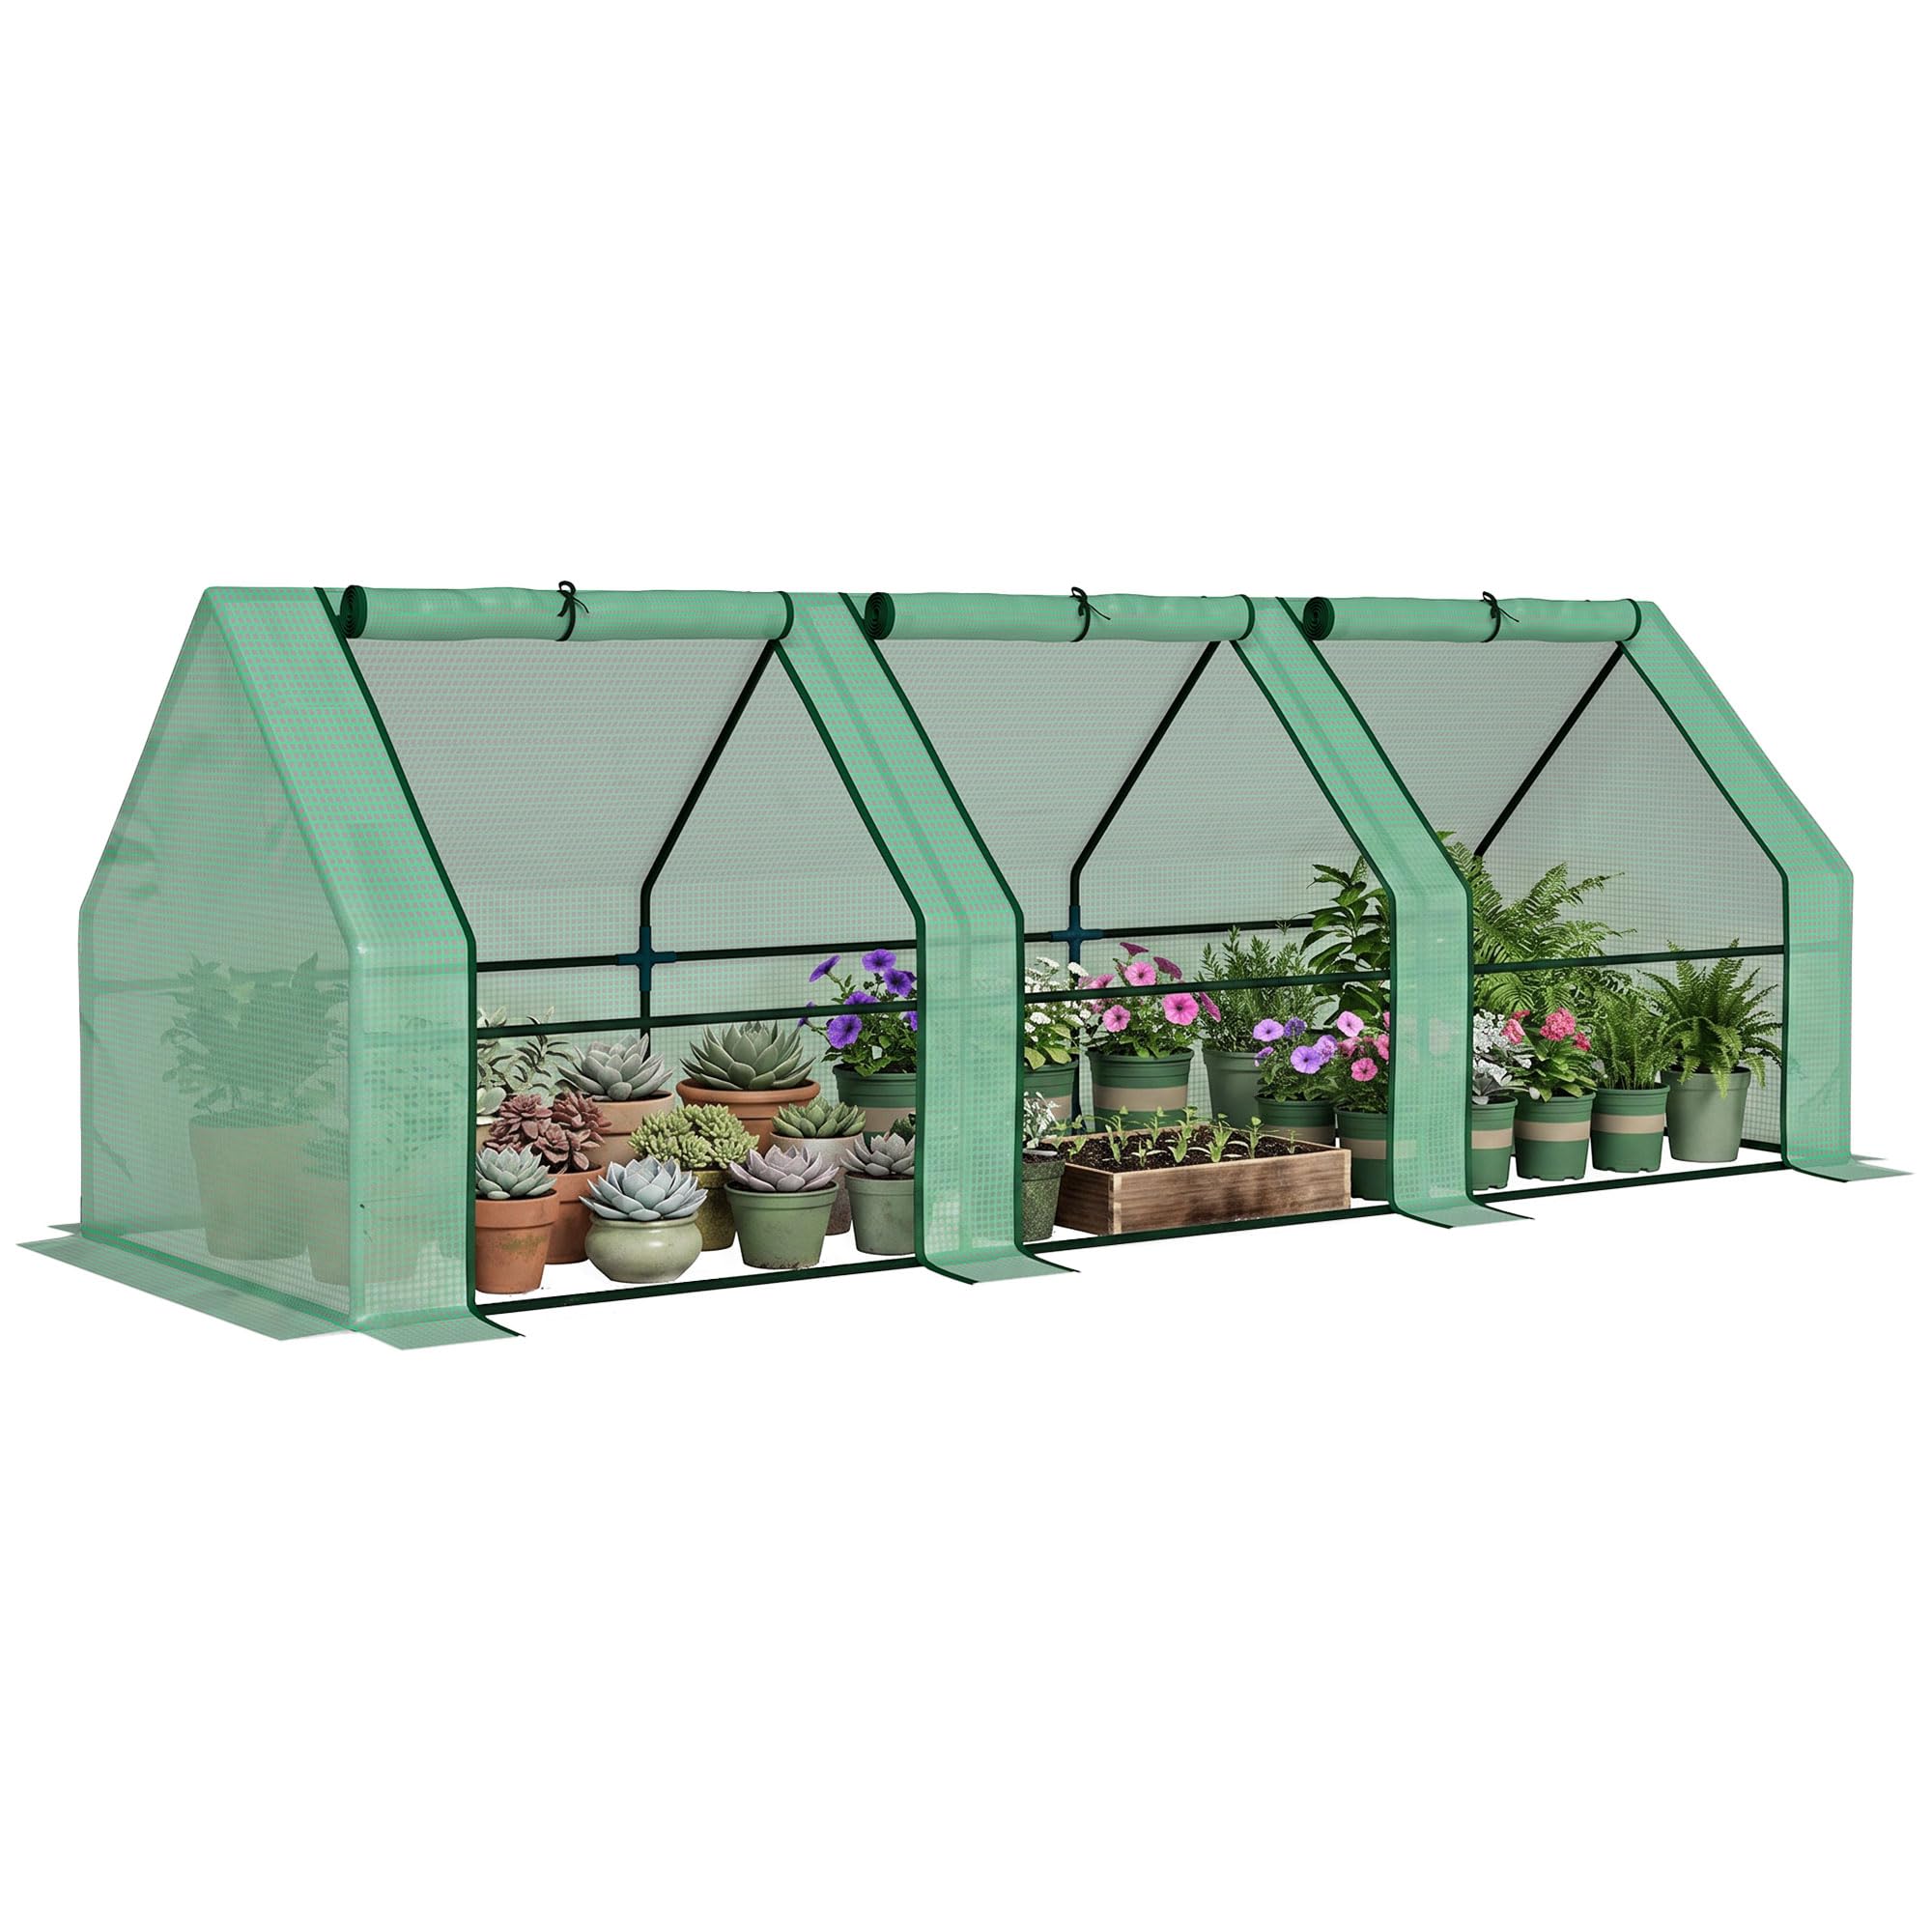
- Green House Plant Protection: Bring your plants together in a unified and protected space within the...
- Durable PE Cover: The small greenhouse made of 2-layer 140 GSM PE cover, there is a reinforcement...
- Sturdy Frame: The plant greenhouse has a strong powder-coated steel frame, the horizontal tubes help...
What to Grow in a Cold Frame During Fall & Winter
Not all crops are suited for cold frames. Focus on cold-hardy vegetables that thrive in cooler conditions:
- Leafy greens: Spinach, kale, arugula, lettuce, mustard greens.
- Root crops: Carrots, beets, radishes, turnips (harvest as needed).
- Herbs: Parsley, cilantro, chives (they handle cool temps well).
- Spring prep: Start seedlings early in February or March before the soil outside warms.
💡 Pro tip: Combine crops with different growth rates. Fast crops like radishes can be harvested early, leaving space for slower growers like carrots.
Cold Frame Maintenance & Usage Tips
Cold frames are low-maintenance, but a few habits make them more effective:
- Venting: On sunny days, even in winter, temperatures can soar inside. Open the lid slightly to prevent overheating.
- Insulation: Place water jugs or stones inside to act as thermal mass, absorbing heat during the day and releasing it at night.
- Extra protection: Add a row cover or fleece inside the cold frame for double insulation during harsh cold snaps.
- Cleaning: Keep the lid clear of dirt, snow, or condensation for maximum light penetration.
Think of your cold frame as a living system: monitor it regularly, and adjust based on weather.
Common Mistakes to Avoid When Using Cold Frames
Even a simple design can fail if misused. Avoid these common pitfalls:
- Forgetting to vent: The #1 mistake. Plants can literally cook on a sunny day if heat isn’t released.
- Building too small: Tiny frames limit airflow and crop space. Aim for at least 3–4 feet wide.
- Poor sealing: Gaps let in cold drafts that defeat the purpose. Use soil or straw to block them.
- Wrong location: Shady or north-facing spots reduce effectiveness. Always aim for maximum sun exposure.
FAQs About DIY Cold Frames
Q: How warm does a cold frame stay in winter?
Typically 5–15°F warmer than outside, depending on sun exposure and insulation.
Q: Can I build a cold frame without tools?
Yes! Use straw bales or cinder blocks with a clear plastic sheet or window on top for a no-build version.
Q: What’s the difference between a cold frame and a greenhouse?
A cold frame is smaller, simpler, and unheated—best for extending seasons. A greenhouse is larger, often with heating and ventilation systems.
Q: Do cold frames work in snowy climates?
Yes, but keep snow off the lid to prevent collapse and allow light in. Use sturdy materials if heavy snow is common.
Conclusion: Extend Your Harvest the Simple Way
You don’t need an expensive greenhouse or high-tech system to enjoy fresh vegetables past the frost. With a DIY cold frame, you can protect crops, extend your harvest, and even start planting earlier in spring.
This low-cost project transforms your raised beds or backyard into a year-round food source. With just a weekend of effort, you’ll gain weeks—or even months—of fresh harvests.
So why let winter stop your gardening? Build a cold frame, tuck your crops in, and enjoy the reward of fresh food when most gardens are long asleep.
✨ Your turn: What will you grow in your cold frame this fall? Share your ideas in the comments—I’d love to hear your plans!