As the global emphasis on sustainable living intensifies, many homeowners are turning to DIY solar panel installation as a cost-effective solution to reduce their carbon footprint and energy costs. By breaking down the process into five manageable step by step solar installation instructions, individuals can approach this task with confidence, from evaluating the suitability of their home’s location to activating their newly installed system.
However, while the steps may seem straightforward, the nuances of each stage, including selecting the right solar kit and understanding local regulations, play a significant role in the success of the installation. Mastery of these details not only guarantees peak functioning but also maximizes the financial benefits of adopting solar energy. What remains to be seen is how these installations stand the test of time and adapt to rapidly evolving technology.
Key Takeaways
- Assess your roof’s structure, orientation, and sunlight exposure using tools like solar pathfinders.
- Choose a solar kit that matches your home’s energy consumption and includes all necessary components.
- Secure permits and ensure your installation complies with local building codes and regulations.
- Install the mounting system and solar panels, ensuring correct spacing and alignment for optimal energy capture.
- Connect the panels to an inverter, switch it on, and apply for utility grid interconnection to start using solar power.
Assessing Your Site
Before starting the installation of solar panels, it is vital to thoroughly assess your site to guarantee the best energy production and system efficiency.
Begin by evaluating your roof’s orientation and angle; ideally, it should face south with a tilt of about 30 degrees to maximize sunlight exposure and enhance solar panel efficiency.
Next, inspect for any shading from trees, buildings, or other structures that might obstruct sunlight for the significant minimum of six hours daily. This assessment guarantees optimal energy capture and system performance.
Additionally, assess the structural integrity of your roof. This step is essential to confirm that it can support the weight of the panels and endure environmental pressures like wind and snow loads.
Measure the available space for solar panel installation, considering each standard panel occupies roughly 17.5 square feet. Adequate space must also be allocated for mounting and maintenance activities, guaranteeing easy access and upkeep.
It’s also beneficial to utilize solar pathfinders or online tools to simulate the sun’s path over your roof, which can further enhance the placement and angle of your solar panels for increased energy production.
Selecting the Right Kit
Having assessed your site, the next step in your solar installation journey involves selecting the appropriate DIY solar panel kit. First, evaluate your energy needs by calculating your average monthly kilowatt-hour consumption. This assessment guarantees the chosen kit can adequately meet your power requirements, a significant factor in achieving energy independence.
When choosing a solar panel kit, take into account the types of solar cells offered. Monocrystalline panels, known for up to 22% efficiency, might be preferable if space is limited and budget allows. Alternatively, polycrystalline panels offer lower costs with slightly reduced efficiency, suitable for more extensive installations with less budget constraints.
It’s important to examine the average sunlight hours your location receives, as this will influence the total number of panels needed and the overall efficiency of your system.
Confirm the kit includes all essential components for a complete system setup: high-quality solar cells, a reliable inverter, robust mounting hardware, and necessary wiring. Compatibility among these components is essential for the smooth functioning of your solar system.
Additionally, look for a kit with user-friendly instructions, akin to assembling a piece of IKEA furniture, to simplify the installation process.
Lastly, compare various suppliers to find a cost-effective kit. Remember, choosing a DIY solar panel kit not only reduces initial expenses but also empowers you towards sustainable living, with potential savings of approximately $10,500 compared to professional installations.
Preparing for Installation
One must thoroughly assess the structural integrity and orientation of their home’s roof to guarantee it is suitable for a solar panel installation. This involves ensuring ample sunlight exposure, essential for optimizing energy production.
Additionally, conducting a home energy audit is imperative. This audit will reveal your household’s energy consumption patterns and highlight areas for efficiency enhancements. Understanding these aspects is fundamental to accurately size the solar system to meet your energy requirements.
It’s important to evaluate the types of solar power systems available, as this can influence both the cost and the efficiency of your installation.
Next, familiarize yourself with various governmental incentives. For instance, the Federal Investment Tax Credit (ITC) offers up to 30% off the installation costs, markedly lowering your financial burden. This step not only supports your budgeting but also maximizes the economic feasibility of your solar panel installations.
Before proceeding, secure all necessary permits. Local regulations, including zoning laws and building codes, must be adhered to meticulously to prevent any legal complications during or after installation.
Executing the Installation
To begin the installation process, the first step is to secure all necessary permits and confirm compliance with local regulations. This guarantees a lawful setup, sparing you from potential legal complications as you move forward with your DIY solar project.
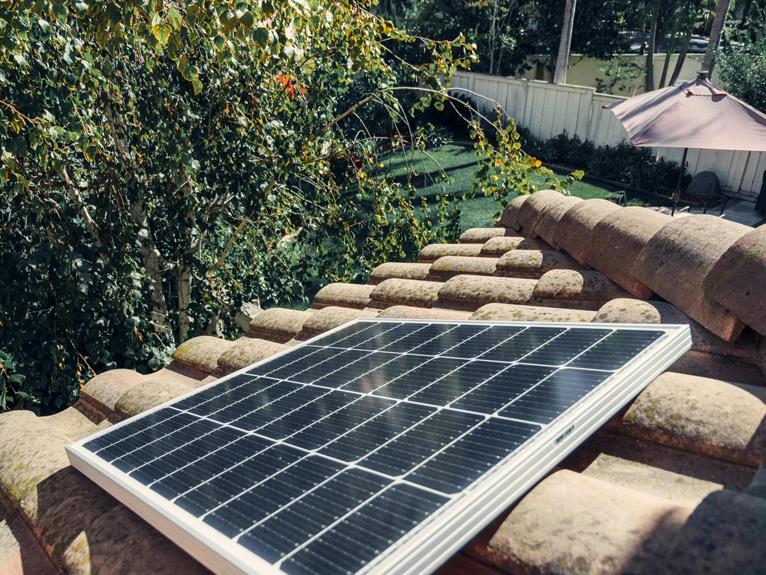
Next, focus on preparing the mounting system. It is vital to attach the racking securely, whether on a roof or on the ground. Make sure the base is level and stable to support the solar panels effectively. This foundational step is paramount for the safety and efficacy of your installation.
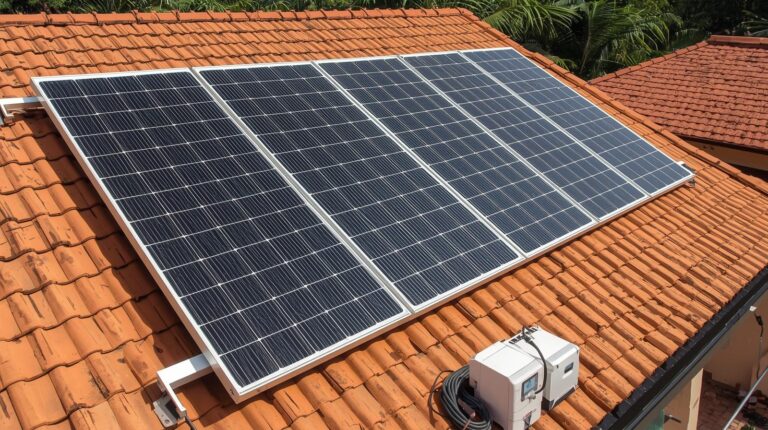
Once the racking is in place, proceed to install the solar panels. Adhere strictly to the manufacturer’s guidelines concerning spacing and alignment to optimize exposure to sunlight, which is essential for efficient energy production.
Then, connect the solar panels to the inverter. This step involves careful wiring and grounding to confirm safety and functionality. Proper electrical connections are key to preventing hazards and enabling efficient energy conversion.
Activating Your System
Upon successful installation of your solar panels and verifying all connections are secure, the next essential step is activating your system. This phase is critical in moving from installation to a fully operational renewable energy source.
Begin by checking that all components, including the inverter and batteries, are connected and secure as per the manufacturer’s guidelines.
Switch on the inverter to start converting the solar energy into usable electricity. It’s important to confirm the inverter is correctly set to the appropriate operating mode. Monitoring tools come into play here; utilize any applications or devices provided to track the system’s energy output and overall performance. This step is significant in identifying any unforeseen issues early.
The interconnection process with your utility company is a key step. Submit the necessary interconnection application, accompanied by detailed documentation of your system’s specifications and evidence of compliance with local regulations. This guarantees your system is recognized and legally connected to the grid.
Lastly, confirm that all relevant permits have been acquired and that all required inspections have been passed. This will secure the Permission to Operate (PTO) from your utility provider, marking the culmination of your DIY Solar Panel Installation and the beginning of energy independence.
Conclusion
In summary, the successful implementation of a DIY solar panel system involves a structured process beginning with a thorough site assessment and concluding with the activation of the installed system.
Each step, from selecting the appropriate kit to preparing and executing the installation, is essential for guaranteeing peak functionality and efficiency.
This approach not only fosters sustainable energy production but also contributes to energy independence and environmental stewardship. Adhering to these steps guarantees a reliable and effective solar energy system.


